Copyright © 2007, 2008 AudioNote Kits
www.AudioNoteKits.com
audionotekits@rogers.com
Page 73
On the underside of the board you can gently bend the legs back on an angle
(not as far as 90 degrees!) so that the resistor will stay in position for later when
we solder.
Continue installing all the resistors – you will notice that we have the Beyschlag
resistors for many of the values along with the red PNP precision resistors and
the black HOLCO precision.
In a phono stage there are some standard values and some exact values and
this is why the mix of resistor types!
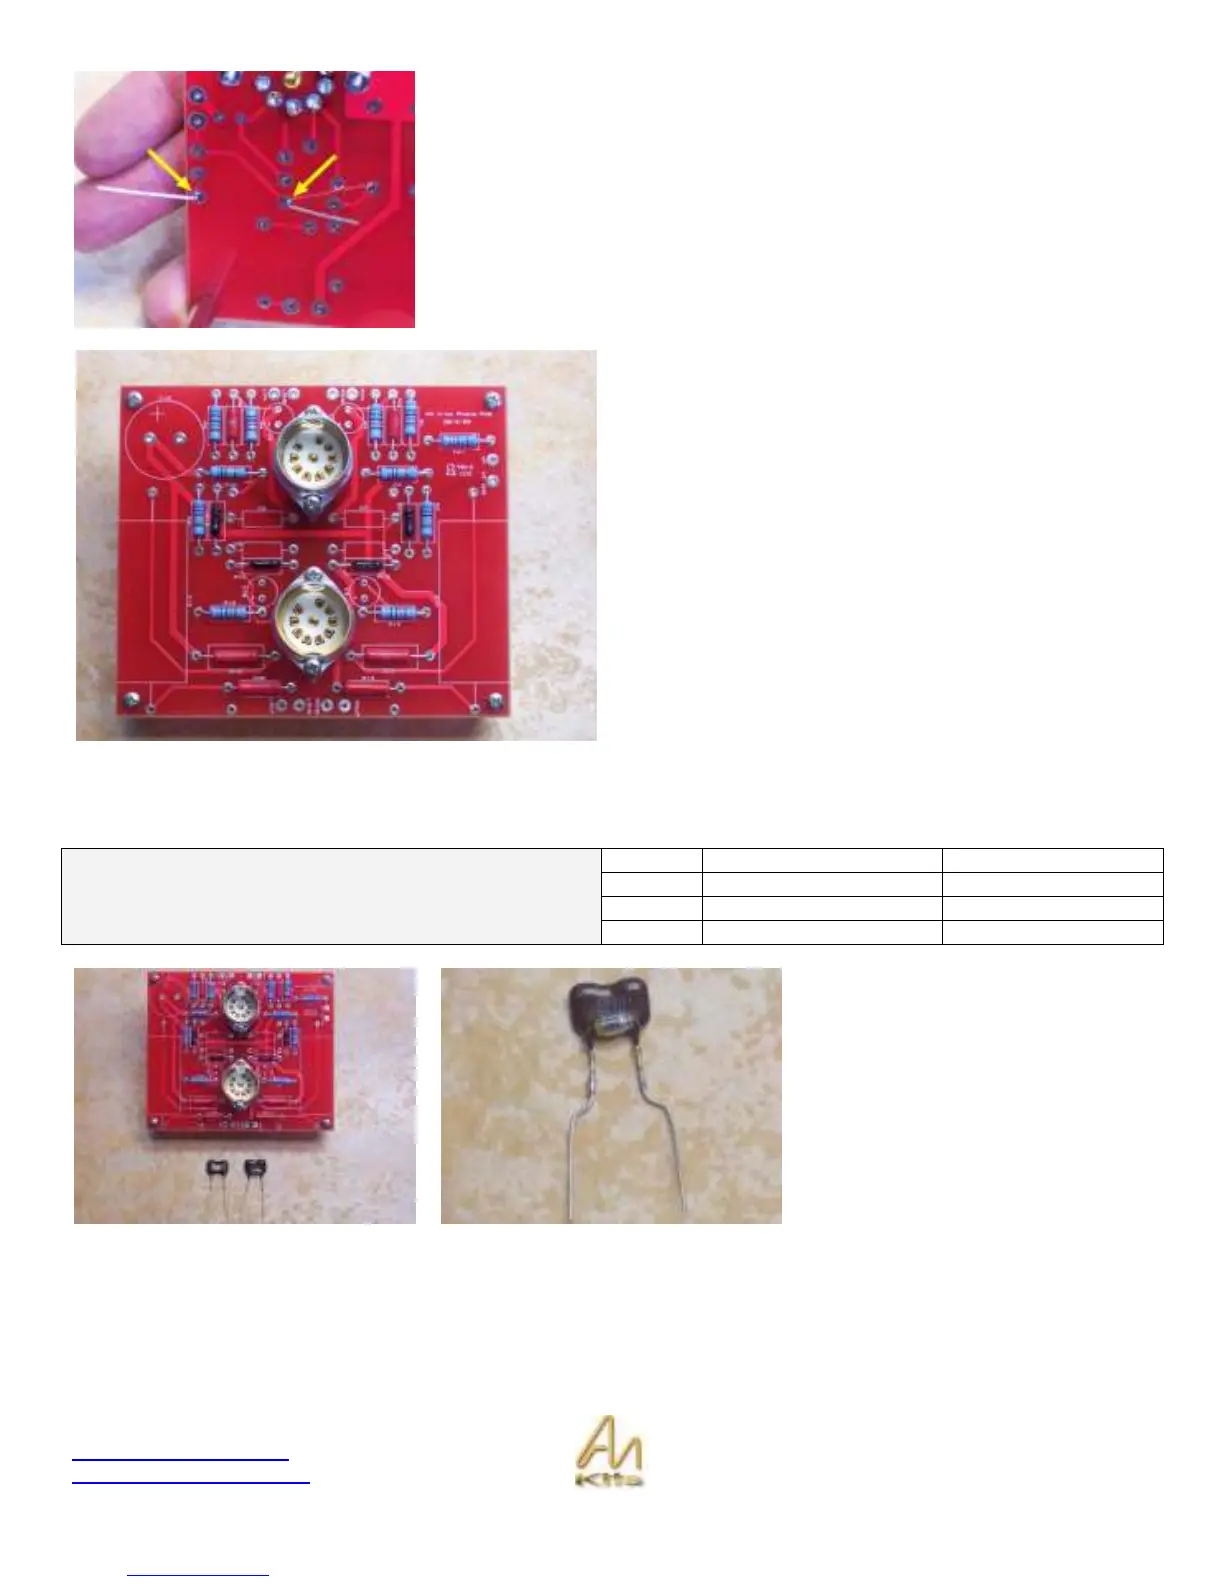
Compare your board to the picture opposite and double
check that all correct values have been inserted in the
correct locations.
Once you are confident then you can begin soldering on the
underside of the board and clipping!
Installing the Capacitors
2
.047uf
C3, C4
2
.22uf
C11, C12
2
2.7n
C7, C8
Capacitors (Non-polarized)
2
8n2 (8200pf)
C5, C6
We will now install some of the RIAA
capacitors.
You will notice the capacitor in the
pictures opposite with the smaller
value soldered in parallel – this is a
2N7 farad value – you will want to
bend the capacitor as it appears in the
picture in the middle – then install this
into position in C7 and C8.