Copyright © 2007, 2008 AudioNote Kits
www.AudioNoteKits.com
audionotekits@rogers.com
Page 20
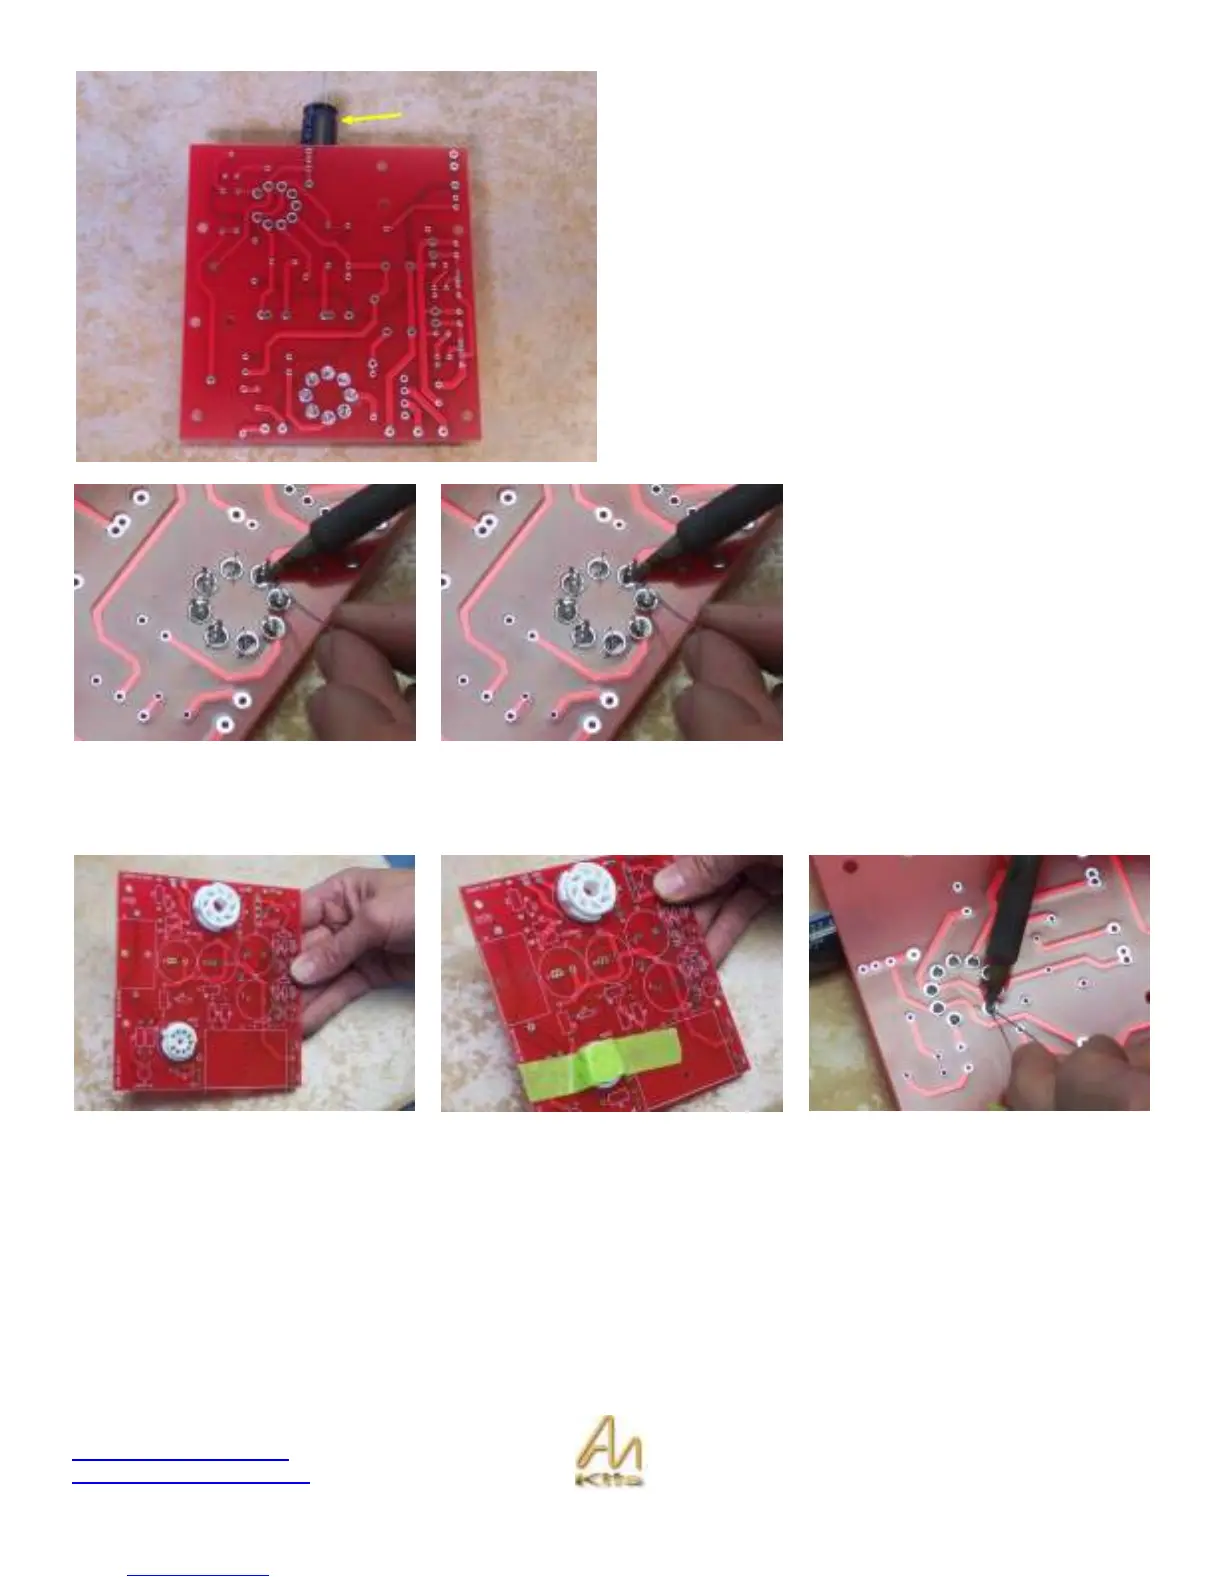
The next job is to solder the valve base into position – Once
you have fitted the octal into position I suggest you use a
cap or something to support the board so that it is nice and
horizontal.
The reason for this is so that the valve base will be
soldered into the board nice and level – you may want to
solder a pin on one side and then the opposite and then
double check that the valve base is nice and level see the
following images.
It is only necessary to solder half the
valve base whole – feel free to put
solder on the entire hole if you feel like
you need to do so – I usually pick one
side and solder the lead to the board –
you may want to pull on the lead to
make sure that it is all the way out –
sometimes a valve base lead can stick
in position.
Next step is to solder in the 9-pin valve base – this one only goes in one way so you can’t really make a mistake. I would
suggest using some tape though to make sure that the valve base is level to the board – then solder a pin on one side
and then the other to make sure the valve base is level and that you are on track. See pictures below: