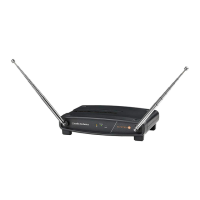
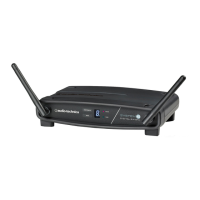
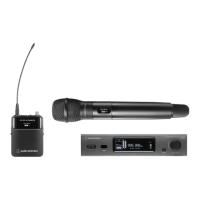
Setting ATW-R1440
63
Transmitter ID
4
Turn the control dial to select “Pair” and press the control dial.
“Pairing” appears on the display of the receiver, and pairing with the transmitter starts.
When pairing is successful, “Pairing succeeded” appears.
When a timeout occurs, “Timeout” appears. When pairing is canceled, “Canceled” appears. When pairing
fails, “Failed” appears.
Setting the LINE/MIC level
1
Press the CH MENU button to select the channel to set.
Each press of this button switches the channel to set.
2
Turn the control dial to select “LINE/MIC” and press the control dial.
3
Turn the control dial to select “LINE”/“MIC” and press the control dial.
The setting is complete.
Setting the output level
1
Press the CH MENU button to select the channel to set.
Each press of this button switches the channel to set.
2
Turn the control dial to select “LEVEL” and press the control dial.
3
Turn the control dial to select the output level to use and press the control dial.
The level changes +/− 1dB each time you turn the control dial.
It can be set from −20 to +20dB.
The setting is complete.