APPENDIX 8 DVD WRITER INSTALLATION
~61~
Step5: Connect the data bus and power cables to the IDE bus and power jack on the DVR main board as illustrated in
Step1.
Note: Please make sure the power cable of the DVD writer is plugged into the black jack. This power jack
can supplied power to one hard disk and one DVD writer simultaneously.
The white jack is used to supply power to only one hard disk.
For SATA DVD Writer
Note: Before installing the DVD writer, make sure your current DVR mainboard supports SATA DVD
writer installation or not. If not, you need to install an additional SATA sub-board to support this
installation. For details, please refer to Step4 & Step5 below.
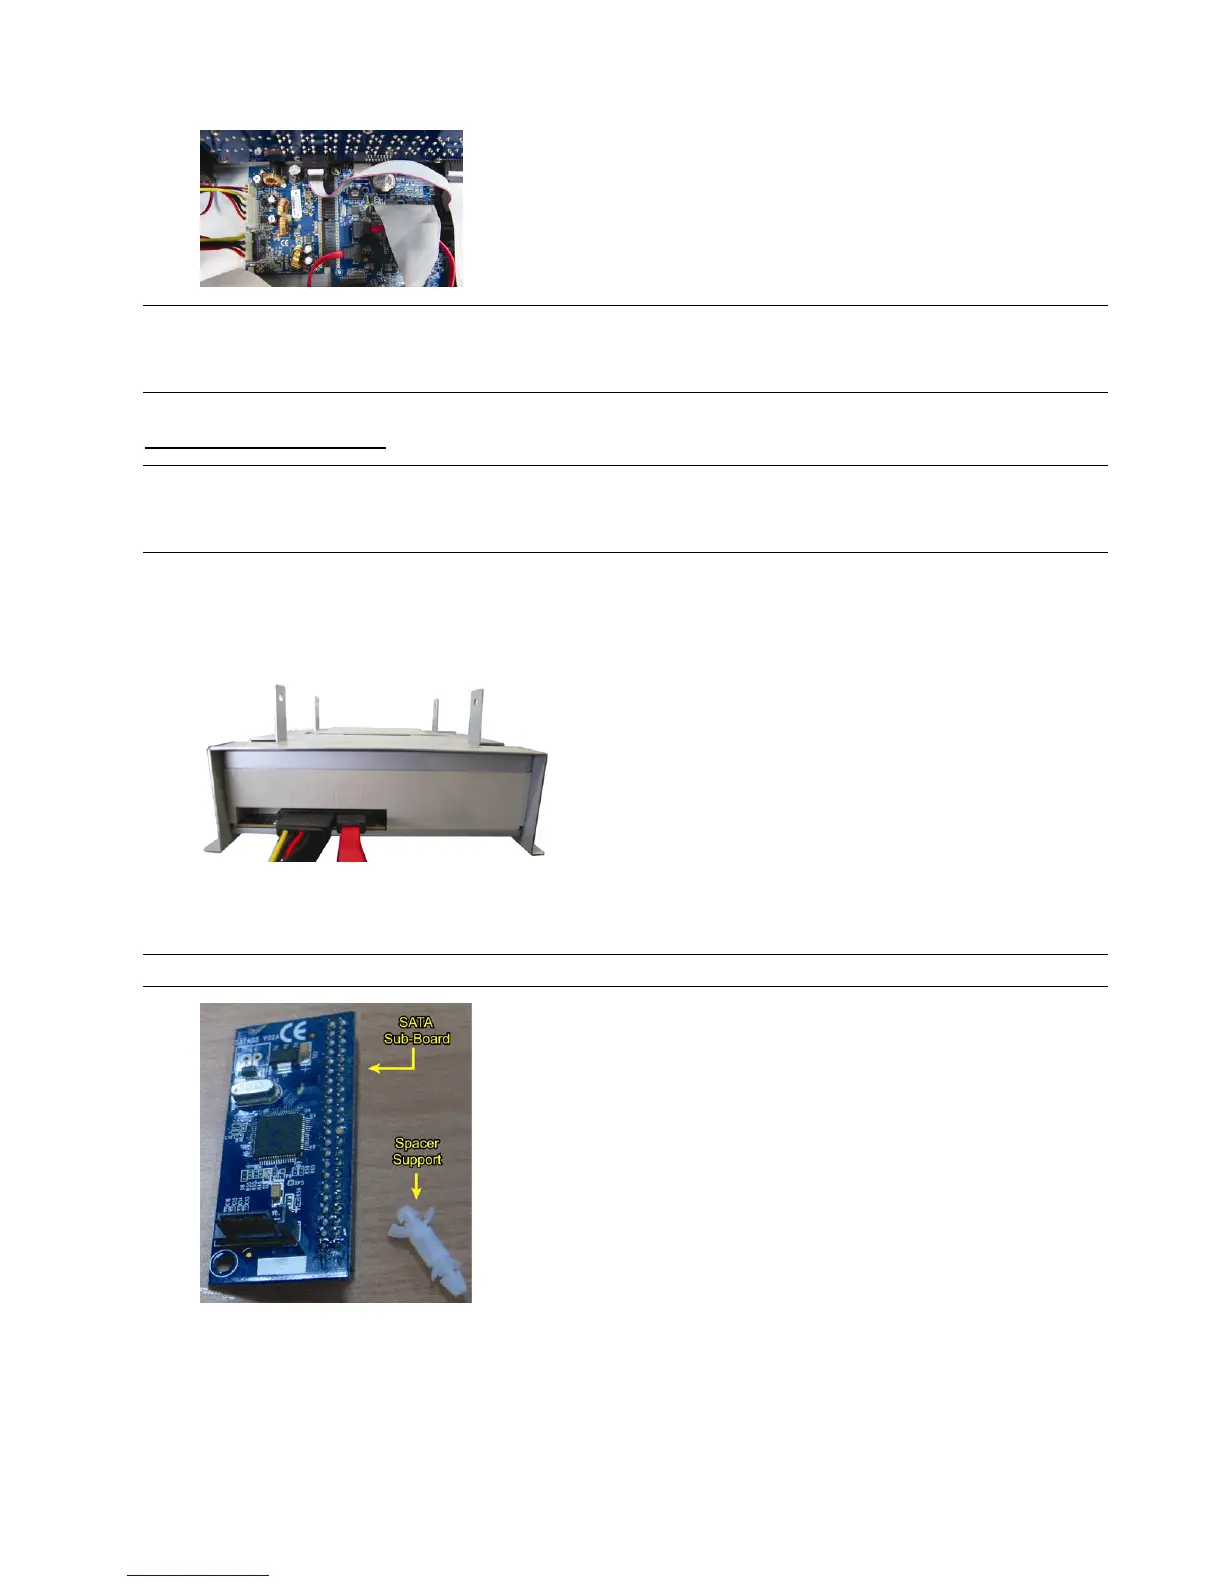
Step1: Remove the DVR cover, and find the DVD writer bracket to remove it.
Step2: Put the DVD writer in the bracket, and fix it to the bracket with two screws on each side.
Step3: Connect the data bus and power cables* to the SATA DVD writer.
*Data bus & power cables are optional.
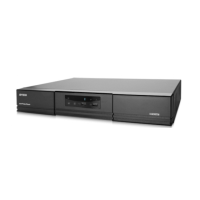
Step4: (This step is available only when your current DVR mainboard doesn’t support SATA DVD writer installation.)
Make sure you have a SATA sub-board and a spacer support.
Note: The SATA sub-board & spacer support are optional and need to be purchased separately.