8. Installation menu
Image 8-5
Installation menu, Warp
2. In the Warp menu, select Bo w.
Image 8-6
Warp menu, Bow
A check symbol at the bottom r ight corner indicates that the bow function is activated.
3. To enable Bow correction, make sure the Bow slider is set to On.
The slider is enabled when set to the right and when it is colored blue.
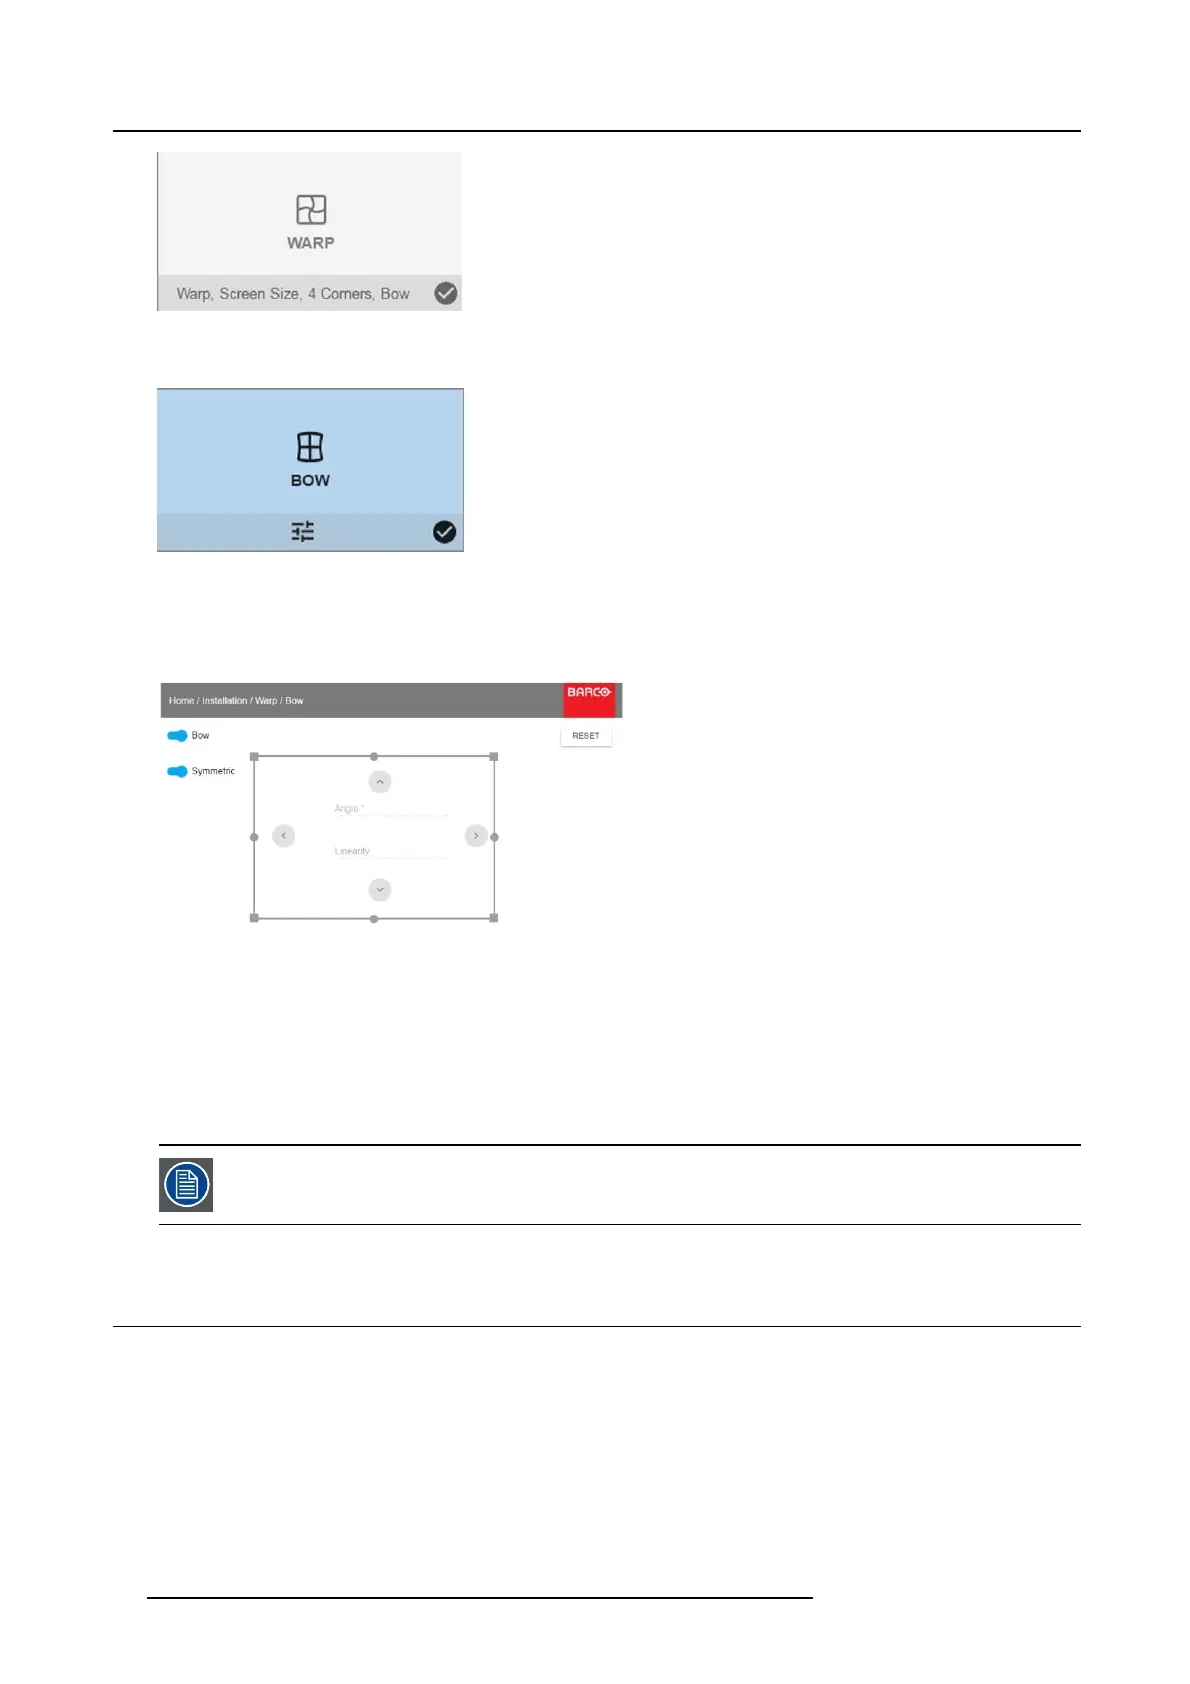
Image 8-7
Bow adjustment
4. To enable a symmetric adjustment, m ake sure the Symmetric slider is set t o On.
The slider is enabled when set to the right an d wh
en it is colored blue.
5. Select an adjustment point and us e the arrow key s to adjust.
When selecting a mid point of an edge, the bow angle can be adjusted.
When selecting a corner point, the linearity c an be adjusted.
To reset the bow adjustme nts, select Reset and p ress the OK button.
8.5 Basic Blend
About
When two projectors are used together to make one picture on the screen, the blend function must be activated. T his blend function
ensures a seamless transition of the images between the two projectors.
The pr inciple is that the light intens
ity in the blend zone from each projector w ill be adjusted individually, so that the rendering on the
screen are perceived as from one projector.
The b lend function can be enabled for both pictures ov er/under, and pictures side by side.
56
601–426 F70 SERIES 16/06/2017