33
Roller shutter
Drives
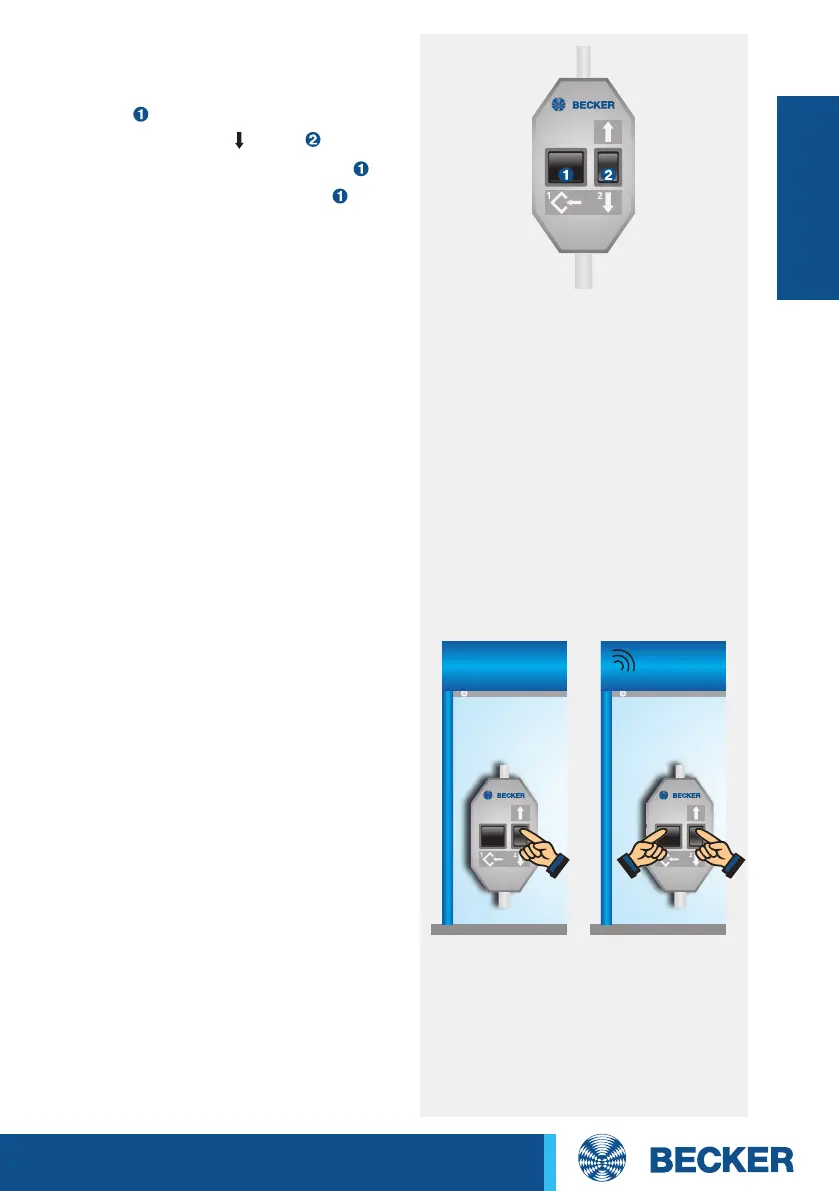
3. Deleting the limit positions
using the programming unit
- Press and hold the programming
button
- Press and hold the button
- Release the programming button
- Press the programming button again
until the drive clicks twice.
Note: For safety reasons, the drive
uses less force when opening the
shutter for the first time (installation
run). If the force is borderline, the
drive may stop before reaching the
upper limit position. After reversing
a short way, the drive is started again
until it reaches the upper limit posi-
tion.
The drive indicates the lack of a limit
position by briefly starting up, stopping
and then continuing (limit position sta-
tus indicator). Once the limit positions
have been detected correctly 3 times in
succession (3 opening and closing
movements), the drive definitively saves
the limit positions.
4. Activating the anti-freeze
mechanism at the top (optional)
Run the roller shutter towards the
upper limit stop and keep the UP button
pressed.
Also press the programming button until
the drive clicks three times.
You can also activate the upper anti-freeze
mechanism by pressing the program-
ming button for 10 seconds with the roller
shutter in any position. The drive’
confirms the action by clicking three
times.
After the programming is complet-
ed (3 complete opening and closing
movements), the roller shutters stop
shortly before reaching the upper
limit position and only runs up to the stop
every 32nd time (correction run).
3x click