Sequence A
Enable sequence monitor A: Activate or access the Sequence Mon. A menu to activate and
setup the tour function (sequence of camera views). The sequence will automatically start
when the system is in live view. To stop and start a camera sequence on Monitor A, use the
Sequence on/off option on the Quick menu (right-click mouse button) or click the sequence
button on the remote control or front panel (DIVAR 5000 only)
The other selections are:
– Interval: This value ranges from 5 (default) to 120 seconds.
Quick Config: Choose to quickly select default values for which view combinations are
displayed (1, 4, 8, 9 and/or 16 windows) and which combination of cameras to use in the
camera sequence.
If required, use <Add>, <Delete>, <Move up> or <Move down> to add or delete views, or to
adjust the order of view settings.
Note 1: Use Default to select all camera sequences for all possible view types (the Enable
sequence will be deactivated, and the Interval will be reset to 5 seconds).
Note 2: An enabled alarm/event will override a sequence and briefly display the event before
returning to the sequence.
Sequence B
Use the same procedure here to setup the live display sequence as used for Monitor A.
MON adjust
Adjust here the monitor output settings by dragging the slide bar for each item.
When ready, click <OK> to save changes and go back to the previous menu.
Serial port
Use the Serial port menu to configure the connections for a Console connected to the RS232
port, and an optional Bosch keyboard (Intuikey series) connected to the extra RS485 port
(on DIVAR 5000 models). Configure the settings for Console or Bosch keyboard as described
below.
RS232 serial port
Baud rate: from 1200 to 115200 (default)
Data bit: from 5 to 8 (default)
Stop bit: 1 (default) or 2
Parity: none/odd/even/space/mark (default is none)
Note: If the console connection to the RS232 port is not working, the RS232 port may already
be selected for PTZ control – this is done in the Camera > Configuration > PTZ screen. If so,
go first to this screen and reset the Com connection field to RS485.
Bosch keyboard
Baud rate: from 1200 to 115200 (default is 19200)
Data bit: from 5 to 8 (default)
Stop bit: 1/2 (default is 1)
Parity: none/odd/even/space/mark (default is none)
Keyboard address: (default is 1) One Intuikey keyboard can communicate with a maximum 16
DIVARs. If assigning multiple DIVARs to a keyboard, Set the Keyboard address for every
DIVAR.
First camera offset: (default is 1) Set this offset for every DIVAR. Camera 1 of the DIVAR will
be called on the keyboard by selecting the programmed ‘First camera offset’ number. For
example, set the offset to 101 so when you select 101, camera 1 is displayed in full screen on
monitor A of that selected DIVAR. Press 112 to display camera 12 in full screen.
Press <Save> to enter changes and go back to the previous menu.
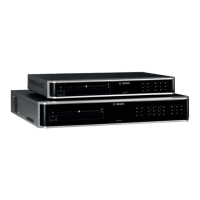
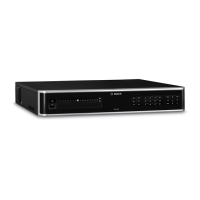
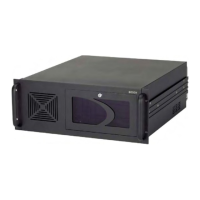
8.1.4
DIVAR 2000 / DIVAR 3000 / DIVAR
5000
Settings | en 33
Bosch Security Systems Operation Manual 2016.09 | v1.0 | AM18-Q0717