cab - Produkttechnik GmbH38
Adjustment of the Transfer Ribbon
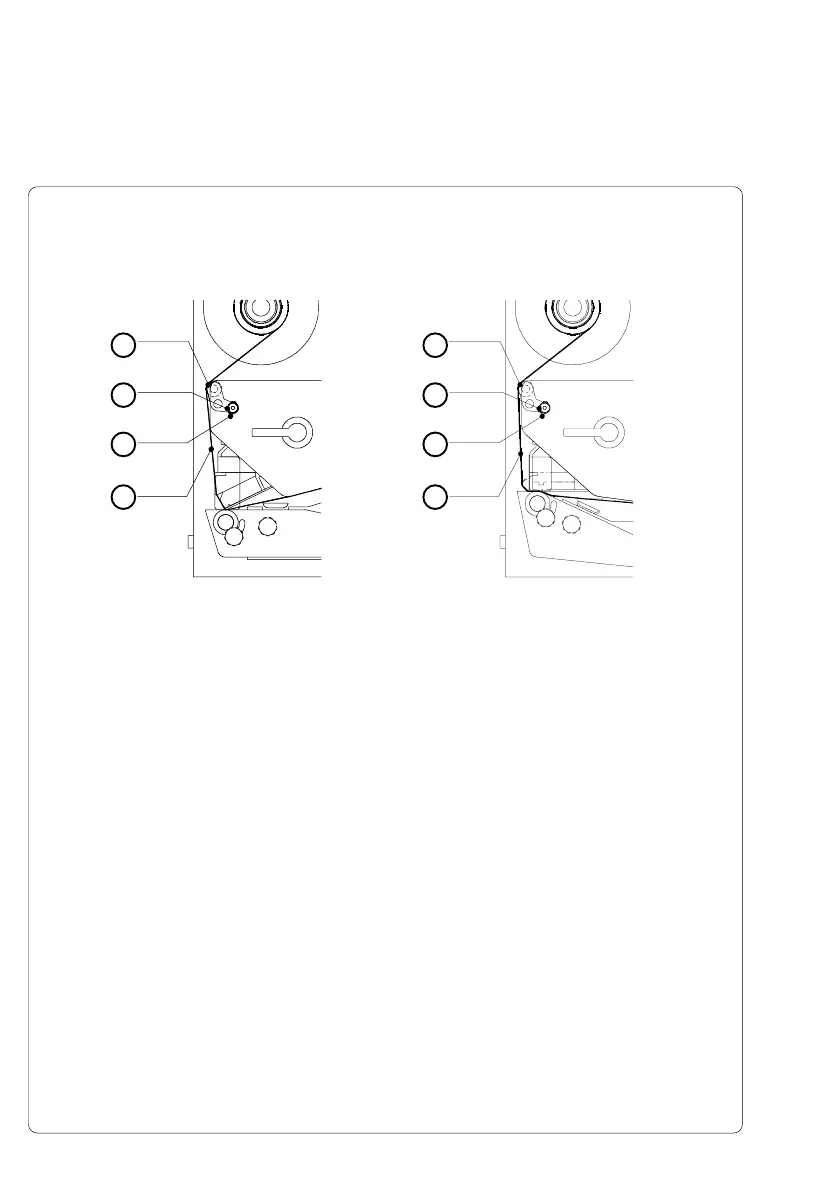
Fig. 7d Adjustment of the transfer ribbon
If creases, lines or black patches appear in the print image resulting in a poor
print quality, this may be caused by wrinkles in the transfer ribbon (4). To
remove the wrinkles, the tension of the ribbon should be made even from the
left to the right by slanting the axle (1).
1. Loosen the locking screw (2).
2. The axle may be slanted by moving the locking screw (2) as required inside
the adjustment slot (3). Moving it to the bottom will tightened the ribbon on
the inner edge. In the other case it will be done on the outer side of the
transfer ribbon.
To reduce the formation of wrinkles the ribbon must be tightened at this
side where the wrinkles will be built
3. After completing the adjustment, tighten the locking screw (2).
4
3
2
1
4
3
2
1
Hermes 4N/5N Hermes 4F/5F