Follow these steps to configure the settings.
1
Load the paper.
•
Attaching the Roll Holder to Rolls ➔P.354
•
Loading Rolls in the Printer ➔P.357
•
Loading Sheets in the Printer ➔P.375
2
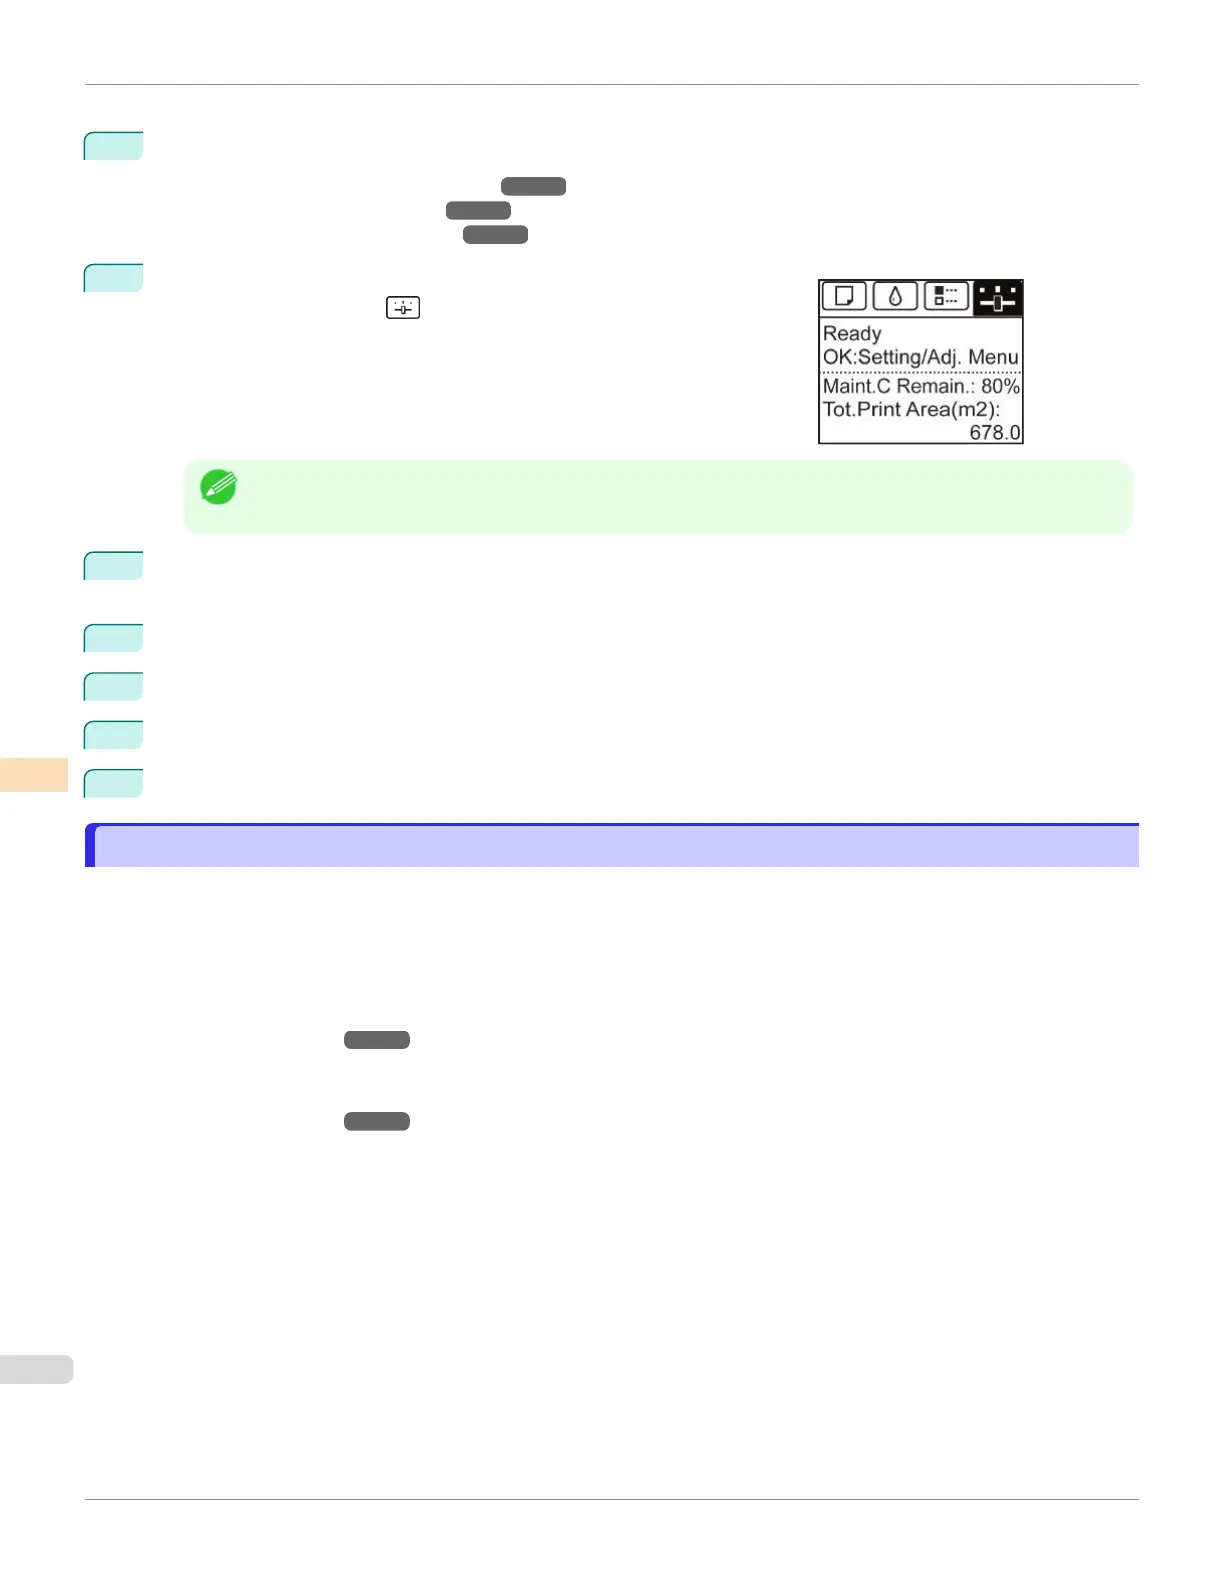
On the Tab Selection screen of the Control Panel, press ◀ or ▶ to se-
lect the Settings/Adj. tab ( ).
Note
•
If the Tab Selection screen is not displayed, press the Menu button.
3
Press the OK button.
The Set./Adj. Menu is displayed.
4
Press ▲ or ▼ to select Adjust Printer, and then press the OK button.
5
Press ▲ or ▼ to select Feed Priority, and then press the OK button.
6
Press ▲ or ▼ to select Adj. Priority, and then press the OK button.
7
Press ▲ or ▼ to select Automatic, Print Quality, or Print Length, and then press the OK button.
Automatic Banding Adjustment
Automatic Banding Adjustment
If printed images are affected by banding in different colors across the sheet, execute Adj. Quality for automatic ad-
justment of the paper feed amount.
There are two modes of automatic adjustment to correct banding: Auto(GenuinePpr) and Auto(OtherPaper). In either
mode, the printer prints and reads a test pattern for automatic adjustment of the feed amount.
•
Auto(GenuinePpr)
Use this mode with paper identified in the Paper Reference Guide.
(See "Types of Paper.") ➔ P.344
•
Auto(OtherPaper)
Use this mode with paper not in the Paper Reference Guide, or if Auto(GenuinePpr) does not eliminate banding.
(See "Types of Paper.") ➔ P.344
Automatic Banding Adjustment
iPF670
User's Guide
Adjustments for Better Print Quality Adjusting the feed amount
534