● Selecting destinations directly by entering coded dial numbers. You can also specify previously used
destinations.
Selecting Destinations Directly by Entering Coded Dial Numbers(P. 276)
Specifying Previously Used Destinations(P. 281)
5
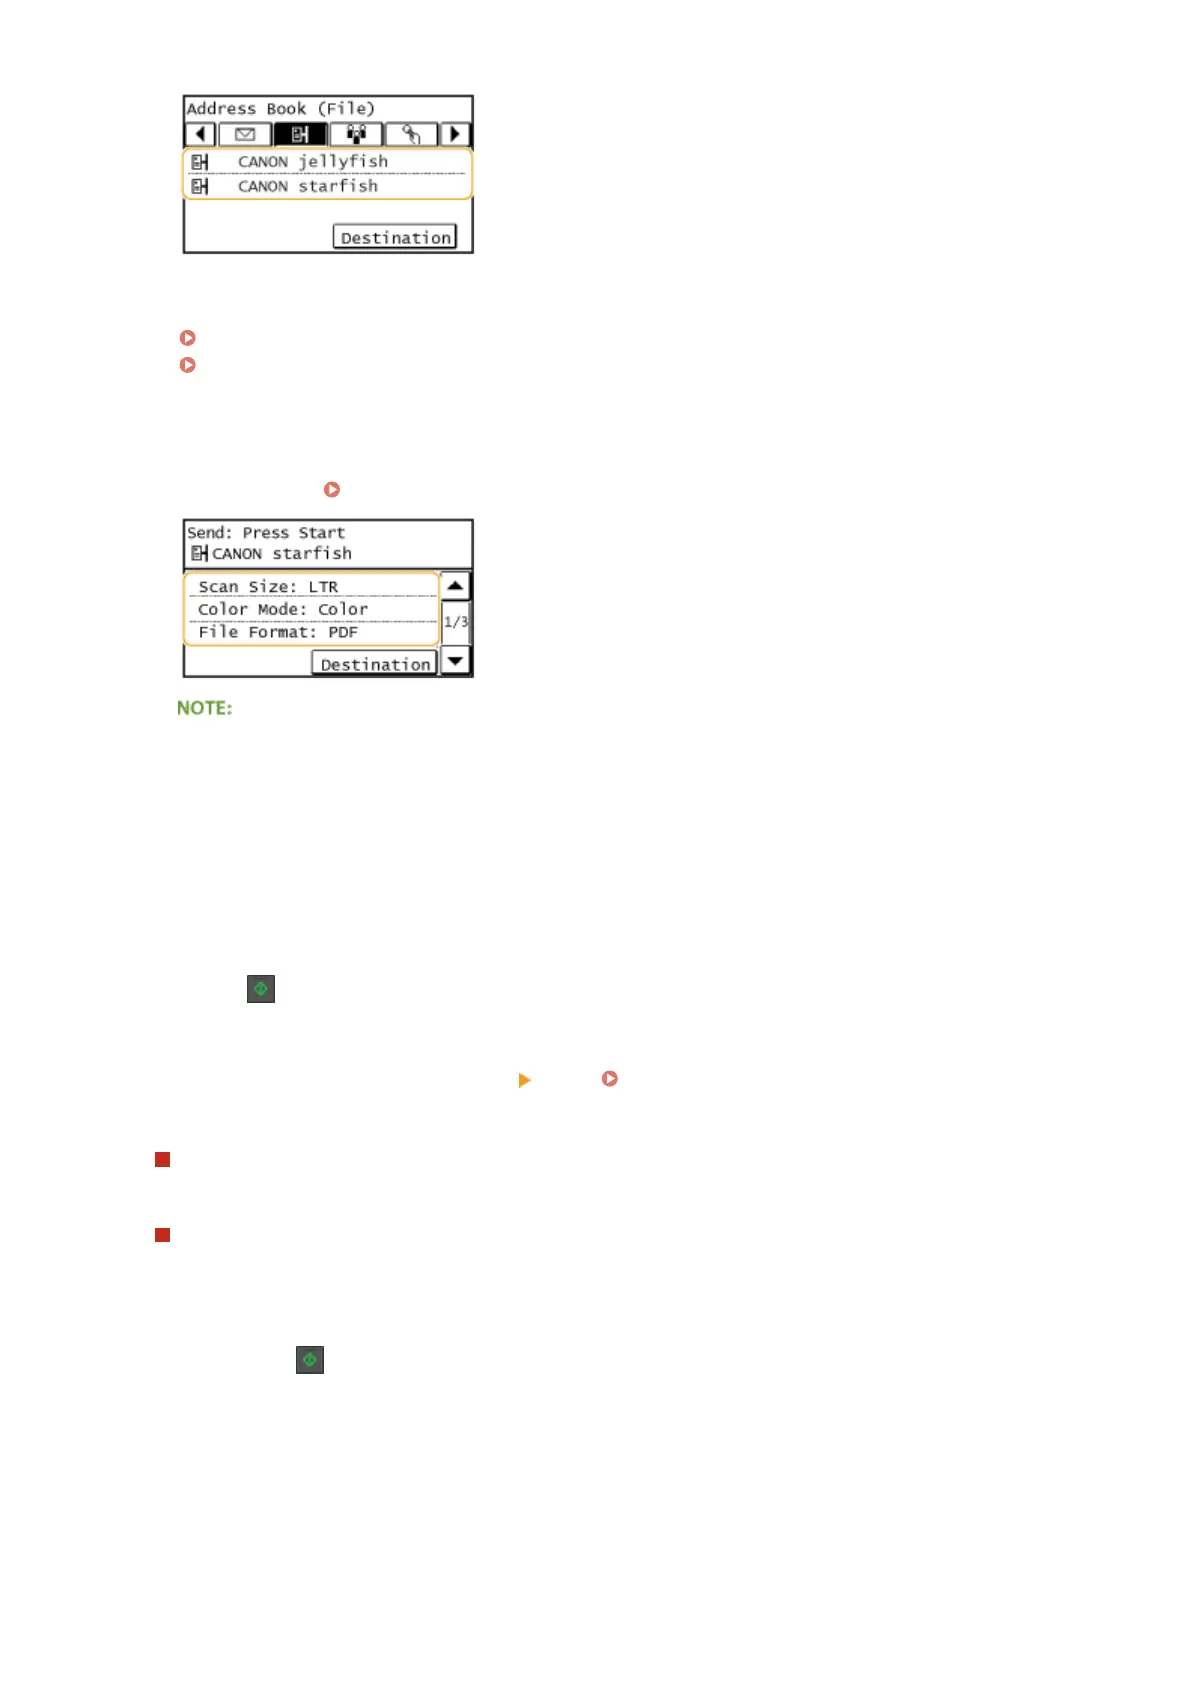
Specify the scanning settings as necessary.
● Tap the settings. Specifying Detailed Settings(P. 258)
● The le name of a scanned document is automatically assigned based on the following format:
"communication management number (four digits)_sent date and time_document number (three
digits).le extension name."
Example of le names: If a one-page document is converted into a PDF le and sent on October 17, 2015
at 07:00:05 P.M.
"0045_151017190005_001.pdf"
● You cannot specify le names yourself.
6
Press to start scanning.
➠
Scanning of the document starts.
● To cancel scanning, tap <Cancel> <Yes>. Canceling Sending Documents (E-Mail/Shared Folder)
(P. 256)
When placing documents in the feeder in step 1
When scanning is complete, the documents are scanned to the shared folder.
When placing documents on the platen glass in step 1
When scanning is complete, follow the procedures below (except if you selected JPEG as a le format in step 5).
1
If there are additional pages of documents to be scanned, place the next document on the platen glass,
and press .
● Repeat this step until you nish scanning all of the pages.
● When there is only one page to be scanned, proceed to the next step.
2
Tap <Start TX>.
➠ The documents are scanned to the shared folder.
Using the Machine as a Scanner
254
 Loading...