45
Maintenance of the Liberty Blue
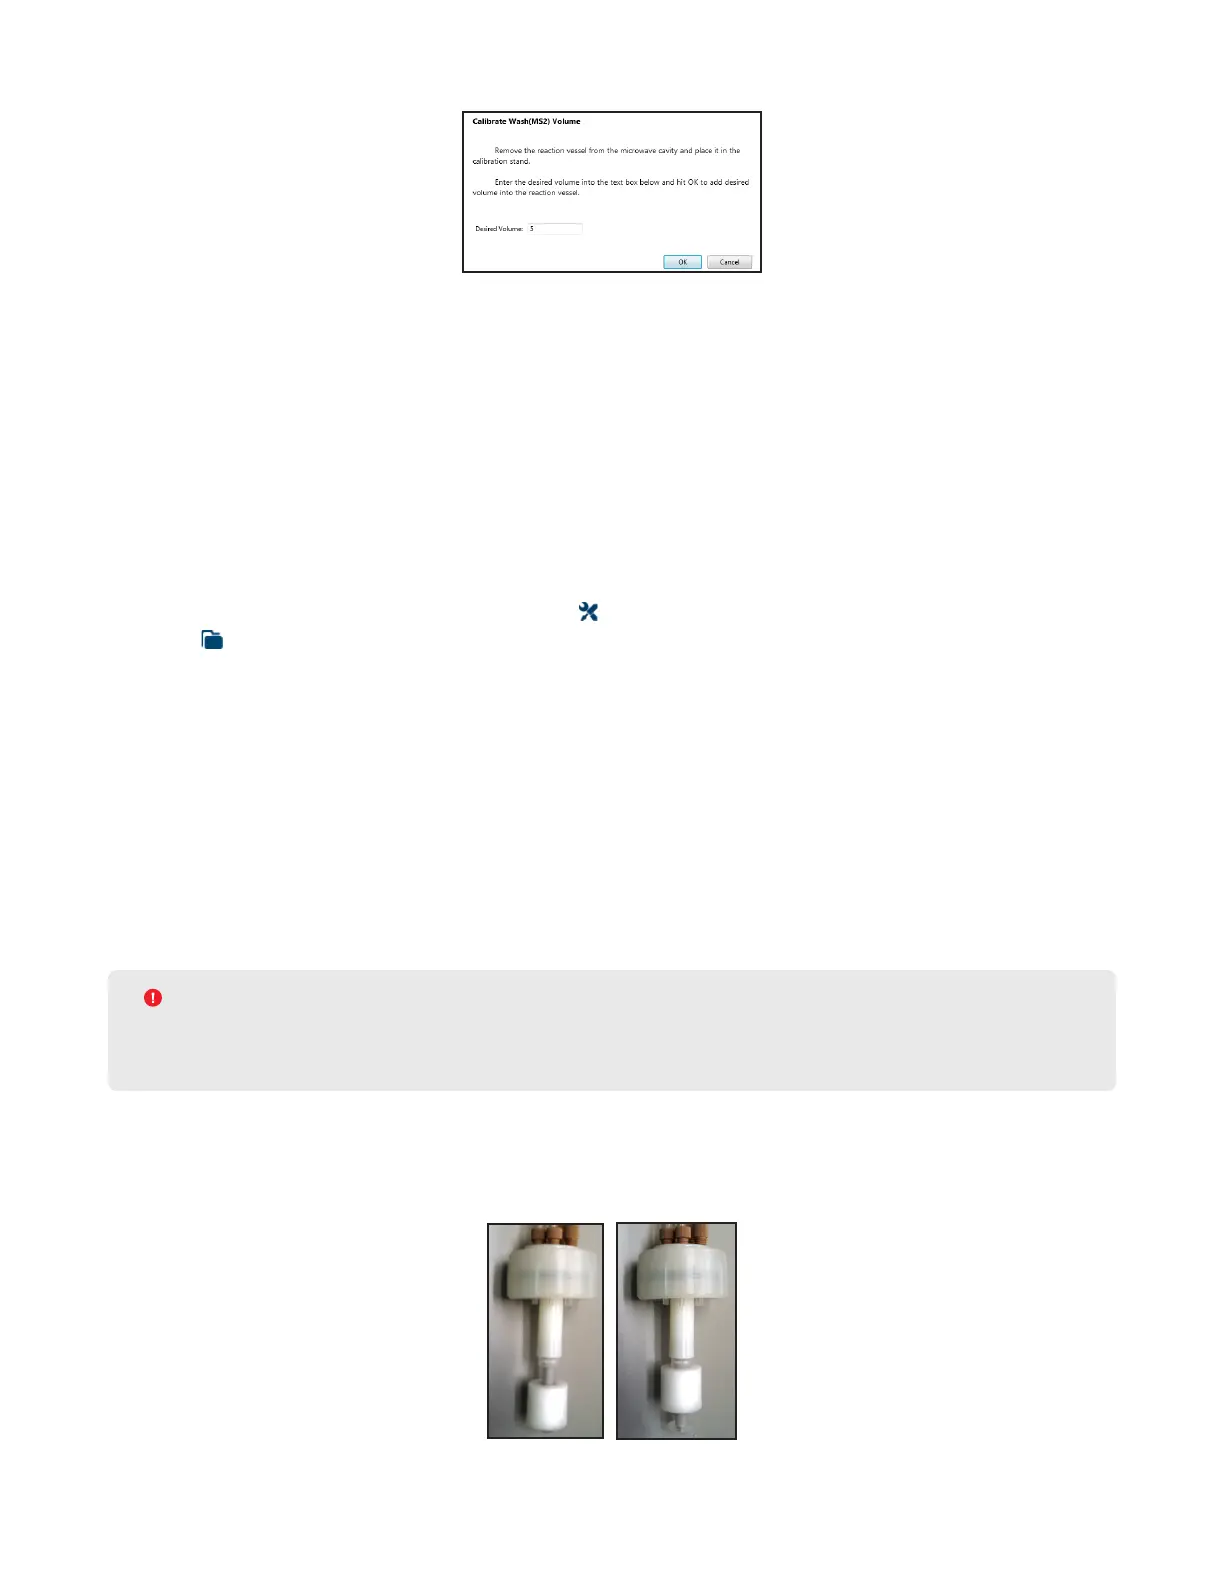
4. Enter the volume to be used for calibration, then click OK. Typically, 5 mL of reagent are used for calibration.
5. The selected reagent will be added to the reaction vessel. Once the addition is nished, measure the volume
delivered to the reaction vessel using the graduations on the calibration stand.
6. Enter the volume into the Delivered Volume box.
7. Click OK to drain the reaction vessel. The software will then calculate the new ow rate. Click OK to save the
new calibration values.
8. Once the new rate has been saved, click OK to complete the operation.
9. If the new timed addition ow rate is less than 1.0 mL/s, replace the position’s lter with PN 551000 and
recalibrate. If the ow rate is still below 1.0 mL/s, contact CEM.
Reaction Vessel Drain Test
1. In the Liberty Blue application software, open the Maintenance screen.
2. Under Addition, select the Add Main Wash (MS2) operation.
3. On the Parameters tab, double click the value for Volume, enter 10 in the pop-up, then click OK.
4. Click the Run Operation button to execute the operation. This will add 10 mL of solvent to the vessel.
5. Click the Drain button at the bottom of the Maintenance screen.
6. The liquid should drain within 10 seconds. If the liquid requires more than 10 seconds to fully drain, replace the
entire vessel (PN 167260).
Verification of Waste Sensor Operation
The Waste Sensor is a oat sensor located on the top of the waste bottle. It is connected to the Liberty Blue
through a 9-pin connector cable plugged into the left side of the Liberty Blue module. Periodically, operation of the
Waste Sensor should be veried.
WARNING
Handle all waste under a fume hood, and wear suitable protective clothing. Dispose of all waste in
accordance with all applicable local, state, and federal health and safety recommendations.
1. Ensure the Liberty Blue is idle.
2. Remove the cap from the waste container.
3. Lift the oat sensor.
 Loading...