54
Advanced Features
Reaction Vessel Camera Option
The lightweight, easy-to-use reaction vessel camera captures full-color images which can be added to
presentations and publications, or for real time method optimization and troubleshooting.
Camera Hardware Installation
Liberty Blue instruments ordered with the camera option will have the camera hardware installed in the Discover
microwave prior to shipment. To connect the camera, plug the black USB camera cable into a USB port on the
computer.
For eld installation of the camera option, please contact your local CEM representative to order the Discover Bio
Camera Retrot Kit (PN 730125).
Camera Software
The Liberty Blue with camera option includes a USB drive with the necessary software driver for operating the
camera option. To download this driver, connect the USB drive to a computer and open the Dell Webcam folder.
Double click Setup to begin installation.
Enabling the Camera
1. Open the Settings screen in the Liberty Blue application software (
Options -> Settings
).
2. In the Application folder, select Vessel Camera.
3. Check the box next to Vessel Camera Enabled and save.
4. The vessel camera icon will appear in the bottom right corner of the application software.
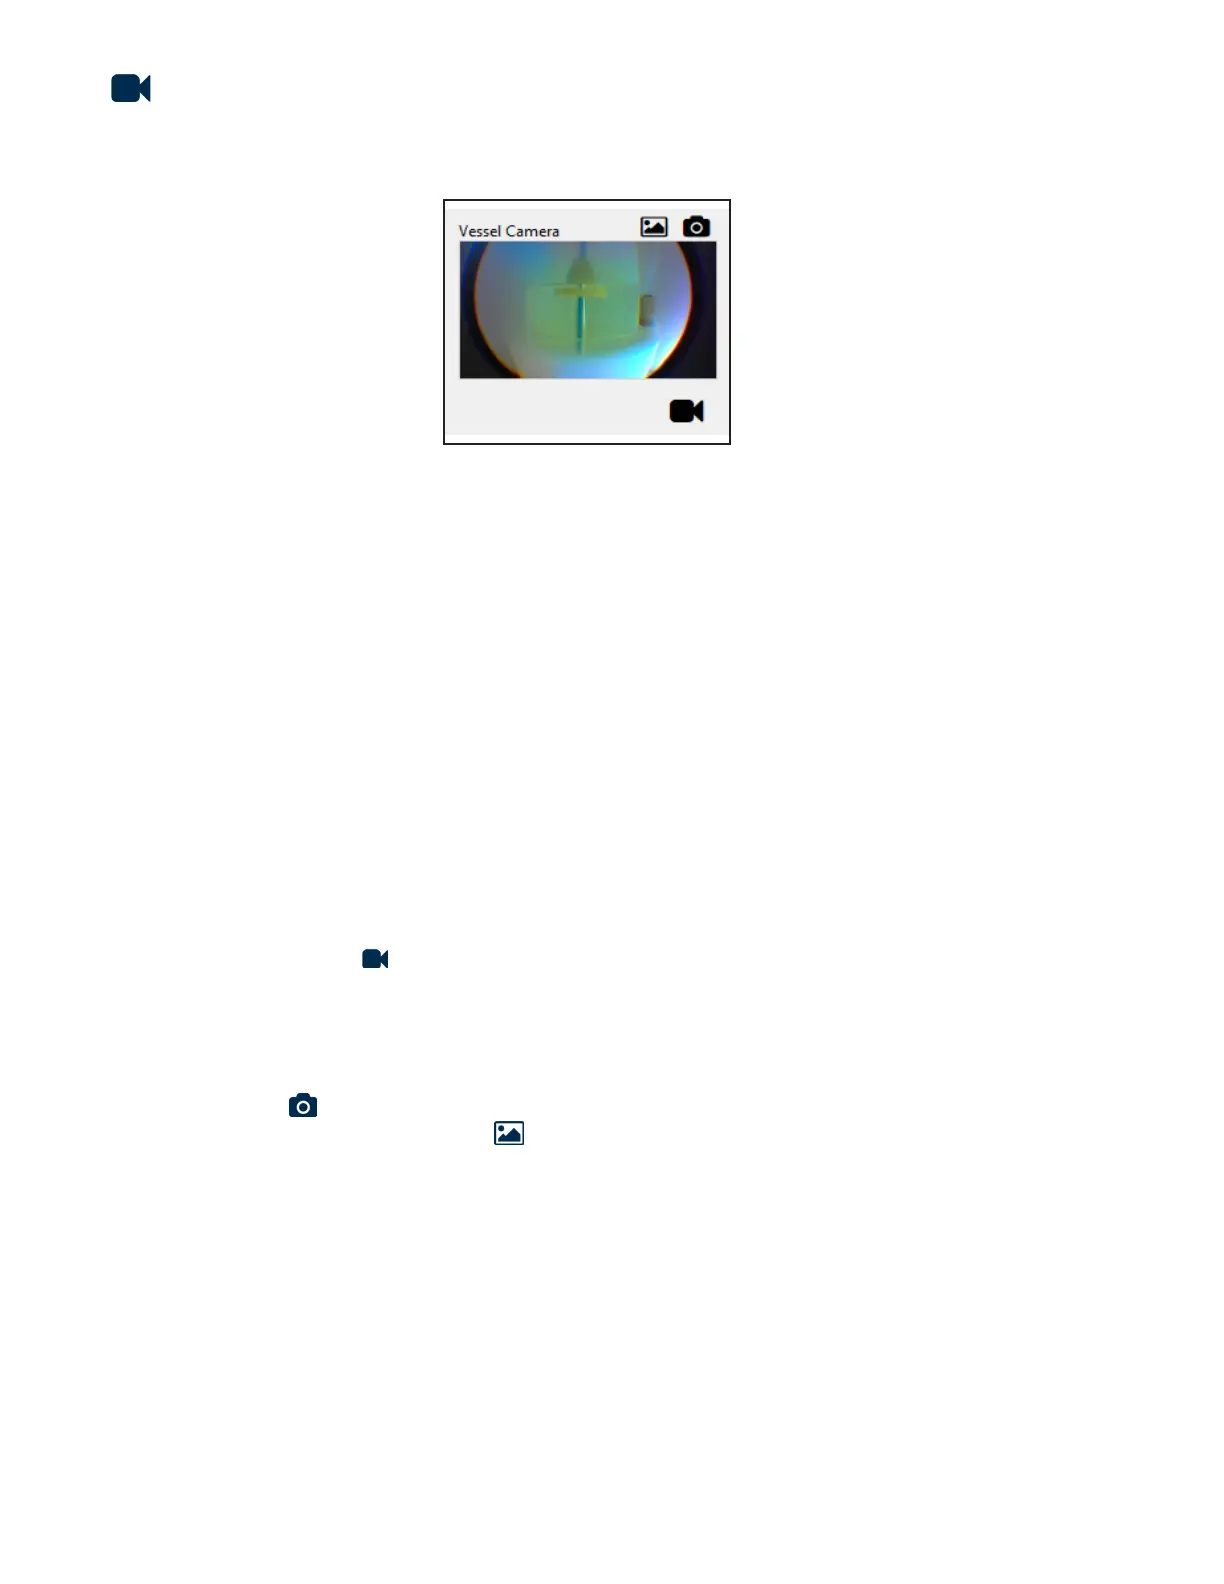
Capturing Images During a Run
1. Install the camera spill cup (PN 169560).
2. Click on the vessel camera icon to open the camera window and view the vessel in real time. To capture an
image, click the snapshot icon. The camera window will ash briey, indicating a snapshot has been taken.
3. To view all captured images, click the gallery icon. Alternatively, select File then Show Vessel Camera
Snapshots. All images are saved to the computer hard drive (C:\ProgramData\CEM Corporation\Liberty Blue\
Snapshots).

 Loading...