Chore-Tronics® 2 Control Control Installation
MT1843B
87
Starting the Control
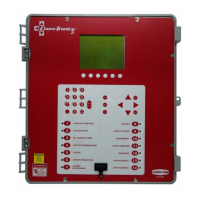
Once the Control, Back Up Box, and all outputs have been installed and wired
properly, power should be turned on to the Control. When power is first turned on to
the Control the screen should look like Figure 102.
The light next to the Alarms Button (Button 8) should be flashing green. If the screen
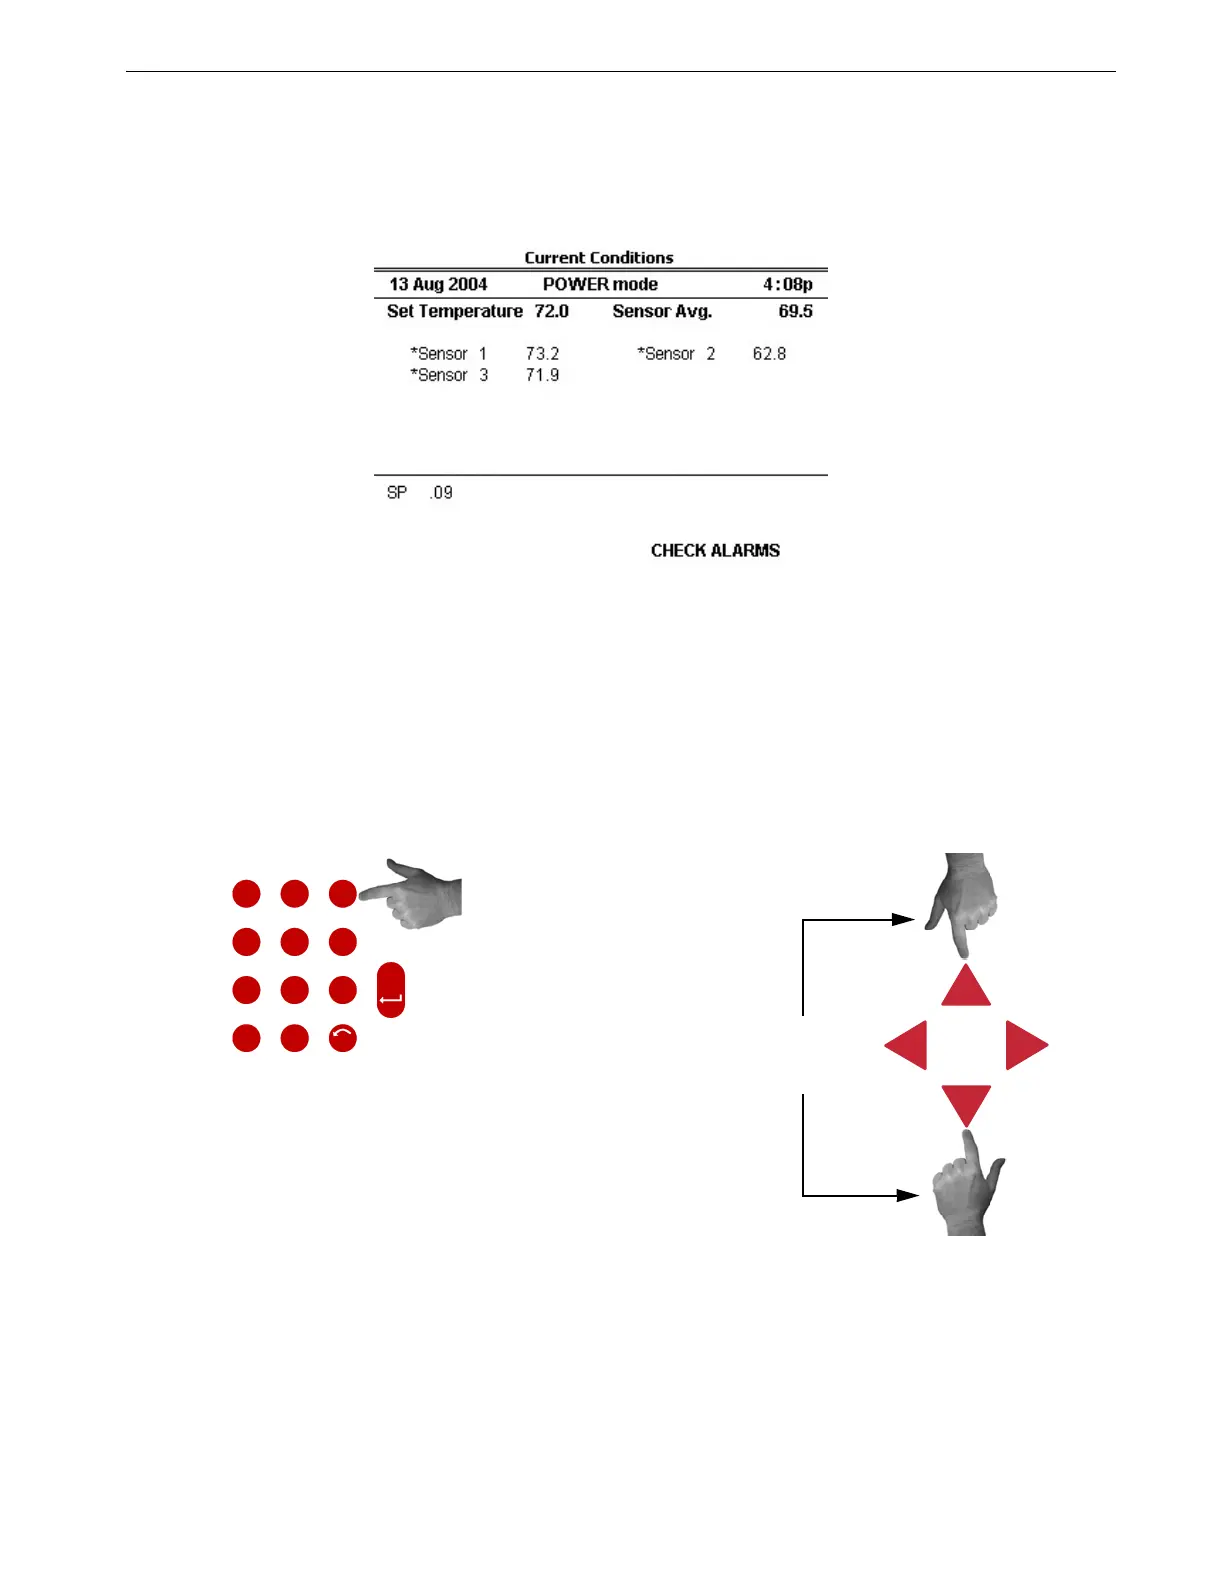
is hard to read, the intensity may need to be adjusted. To adjust the Intensity of the
screen, hold the 3 key on the Numerical Keypad down, and use the Up and Down
Buttons as shown in Figure 103 below. If the Control is mounted in a non-insulated
area the screen may need to be adjusted periodically because temperature can effect
the readability of the screen.
MT1842-151 10/04
Figure 102. Power on Screen
O
L
I
X
W
Y
Y
T
V
U
Q
P
R
S
N
M
J
K
G
H
D
F
E
ENTER
A
B
C
4
1
78
5
2
9
6
3
.0
UNDO
Push and hold down the 3 Key
Press the Up or Down
Navigational Buttons.
Figure 103. Adjusting Screen Intensity
on the Numerical Keypad