(2) Raise front of spring and install four mounting
bolts (Fig. 31). Tighten bolts to 61 N·m (45 ft. lbs.)
torque.
(3) Install rear of spring onto rear spring shackle.
Install shackle plate. Do not tighten.
(4) Verify lower leaf spring isolator is in position.
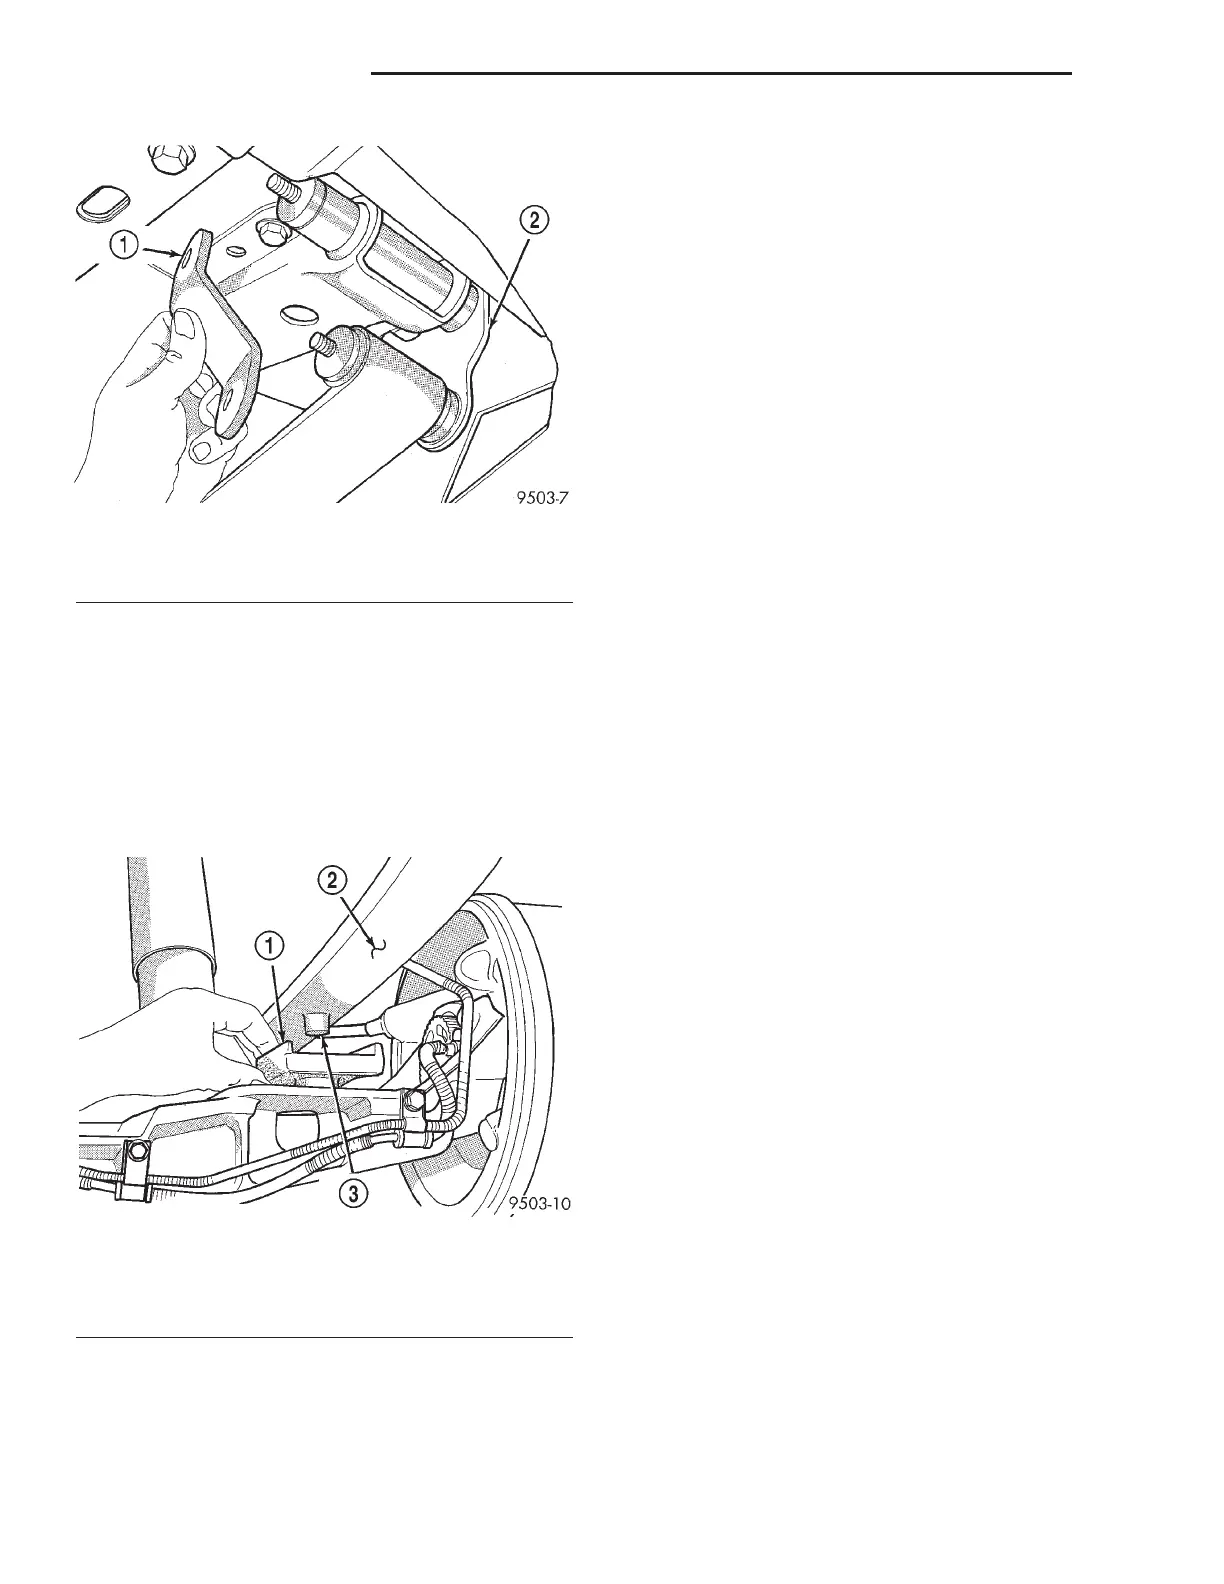
(5) Raise axle into correct position on leaf spring
with axle centered under spring locator post (Fig.
36).
(6) Verify that the leaf spring isolator is correctly
positioned in the spring plate.
(7) Install spring plate in position on the spring
(Fig. 33).
(8) Install spring plate bolts (Fig. 33). Tighten
bolts to 95 N·m (70 ft. lbs.) torque.
(9) Install lower shock absorber bolt. Do not
tighten at this time.
(10) Remove jack under axle.
(11) Lower the vehicle and remove hoist arms and
block of wood from under vehicle.
CAUTION: The following sequence must be fol-
lowed when tightening the pin nuts on the rear
hanger for the rear leaf spring. First the hanger pin
nuts must be tightened to the specified torque
shown below. Then tighten the retaining bolts for
the inner to outer half of the spring hanger to the
torque specification listed below. This sequence
must be followed to properly seat the bushings into
the springs and to avoid bending the spring hanger.
(12) Tighten the spring front pivot bolt to 156 N·m
(115 ft. lbs.) torque.
(13) Tighten rear spring shackle pin nuts to 61
N·m (45 ft. lbs.) torque.
(14) Tighten rear spring shackle inner to outer
half retaining bolts to 61 N·m (45 ft. lbs.) torque.
(15) Tighten the lower shock absorber mounting
bolt to 102 N·m (75 ft. lbs.) torque.
SPRING MOUNTS - FRONT
REMOVAL
(1) Raise vehicle on frame-contact hoist as follows:
(a) Position the hoist arm supporting the corner
of the vehicle to be serviced against a block of wood
placed on the body sill as shown (Fig. 37).
(b) Position the remaining hoist arms at each
corner of the vehicle in the normal fashion. (Refer
to LUBRICATION & MAINTENANCE/HOISTING
- STANDARD PROCEDURE)
(c) Raise the vehicle to a comfortable working
level.
(2) Position an under-hoist utility jack or transmis-
sion jack under rear axle toward the side needing
bushing replacement. Jack pad should just contact
axle.
(3) Remove shock absorber lower mounting bolt.
NOTE: If shock absorber bolt deflects upward dur-
ing removal, raise axle by adjusting support jack. If
shock absorber bolt deflects downward during
removal, lower axle by adjusting support jack (or by
pulling on axle).
(4) Remove four bolts securing leaf spring front
mounting bracket to the body (Fig. 37).
(5) Using jack, slowly lower rear axle, permitting
the forward end of rear spring to hang down. Lower
Fig. 35 Rear Spring Hanger
1 - SHACKLE PLATE
2 - SPRING HANGER
Fig. 36 Leaf Spring Locator Post
1 - LEAF SPRING ISOLATOR
2 - LEAF SPRING
3 - LOCATOR POST
2 - 42 REAR SUSPENSION RS
SPRING - FWD (Continued)