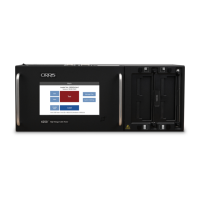
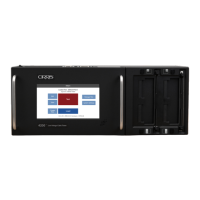
Run a Test
35
16.1.4 Finishing a Test
10. Upon completing the test(s), you may want a printed report
summarizing the results. If auto-print was selected from the
System Settings menu, a report will print automatically, or you
can press the Print button to print the report (see page 38 for
printing instructions).
11. If attach cable has been selected, remove the cable to complete
the test. The results of the test will remain on the screen until the
next cable is attached. The Lot information will update to show
the results of the test.
12. At the end of the test—pass or fail—you have the option to retest the cable. Make any necessary adjustments to the
hardware and press Retest. Pressing retest will remove the last recorded test from the Lot information. The retest option
is only available until the cable has been removed.
16.2 Test Results
Test results are displayed in the box on the right side of the screen. If an error occurred, the details of the error will be dis-
played. See page 36 to learn about interpreting test results.
16.3 Printing Reports
In order for reports to print, the report must be added to the test program during setup.
When you press the Print button, a list of available reports will appear in a window. Select the report you wish to print and
press OK.
If Auto-Print is set up, the report will print automatically upon the predetermined event.
16.4 Using the Probe
In the test window, probe any point on the attached connector to show information pertaining to the probed point. Release
the probe to hide the window. This will help you locate errors within the cable.
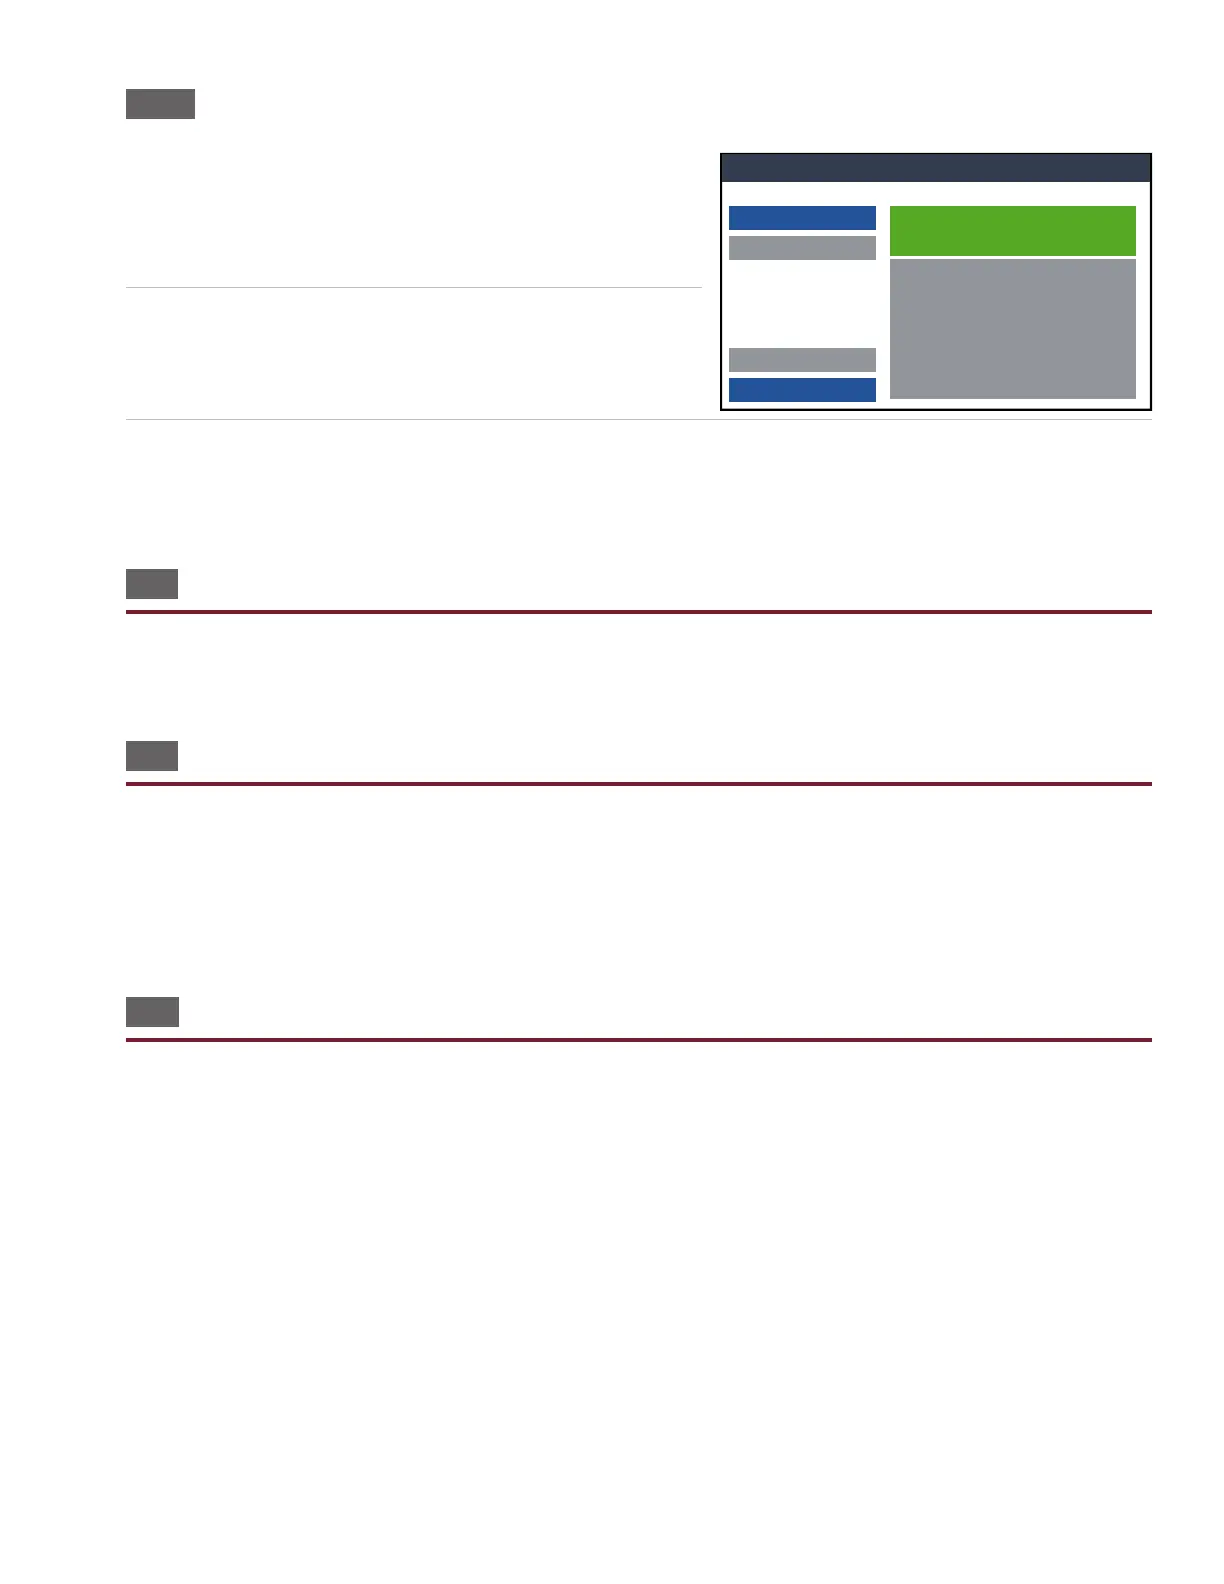
Ready to Test
PassedTest: NewTest
Start Test
Abort
Print Done
Lot:
Passed: 1
Failed: 0
Total: 1
Test: NewTest
Low Voltage Test: Passed
High Voltage Test: Passed
Intermittents Test: Passed 276 Cycles
Ready to Test
Passed
Start Test
Abort
Print
Done
Lot:
Passed: 1 Failed: 0
Total: 1
Test: NewTest
Low Voltage Test: Passed
High Voltage Test: Passed
Intermittents Test: Passed 276 Cycles