10
Cirris 4200 Series User Manual
6. After startup, the tester may require that you set the date and time for your area.
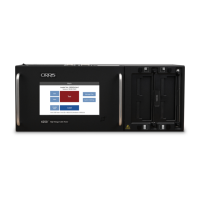
7. The Main Menu screen will open.
■ Set Date and Time
Setting the date and time ensures the correct information will show on test reports.
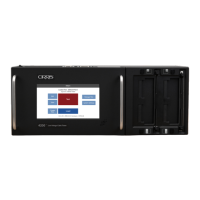
1. From the Main Menu, press System Settings.
2. The date and time are displayed on the buttons so you will be able to see if they need correcting. Press the button to
change the information.
3. Press the button for the eld you wish to change. For example, if you wish to change the month, press the month
button and select the correct number.
4. You can also select how you want the date and time displayed by pressing the drop down inside the date or time menu
and selecting an option from the list.
5. Once nished, press the OK button to save the changes.
6. Press Done to return to the Main Menu.
■ Set Mains Frequency
Also known as Power Line Frequency, you will want to set this value to 50 or 60 Hz depending on your country’s AC line
frequency. The correct selection will improve test measurement accuracy.
1. From the Main Menu, press System Settings.
2. Press the Mains Frequency button to switch it to either 50 or 60 Hz.
3. Press Done to return to the Main Menu.
Note: For more setup options, such as changing the language or volume, see System Settings onpage 41.
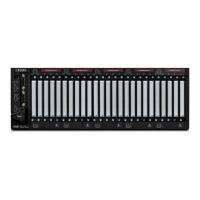
3.5 Install Expansion Boxes
Each expansion box adds an additional 128 test points. You can connect up to seven expansion boxes for a total of 1024 test
points.
1. Remove both cover plates by removing all four fasteners. Use either a screwdriver or a quarter to turn the fasteners to a
horizontal position.
2. Remove the scanner assembly and place it face down next to the tester.
3. Use a at object to press against the rivets on the inside of the chassis, detaching the plastic cover piece.
4. Replace the scanner assembly, ensuring the ribbon cable connector is accessible through the opening in the side of the
chassis.
5. Connect the ribbon cable connector from the expansion box to the main unit and push the two units together.
Note: Small posts on the expansion box will t into corresponding holes in the main unit.