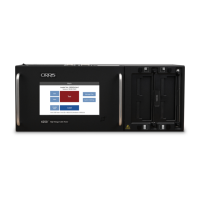
Hardware Setup
9
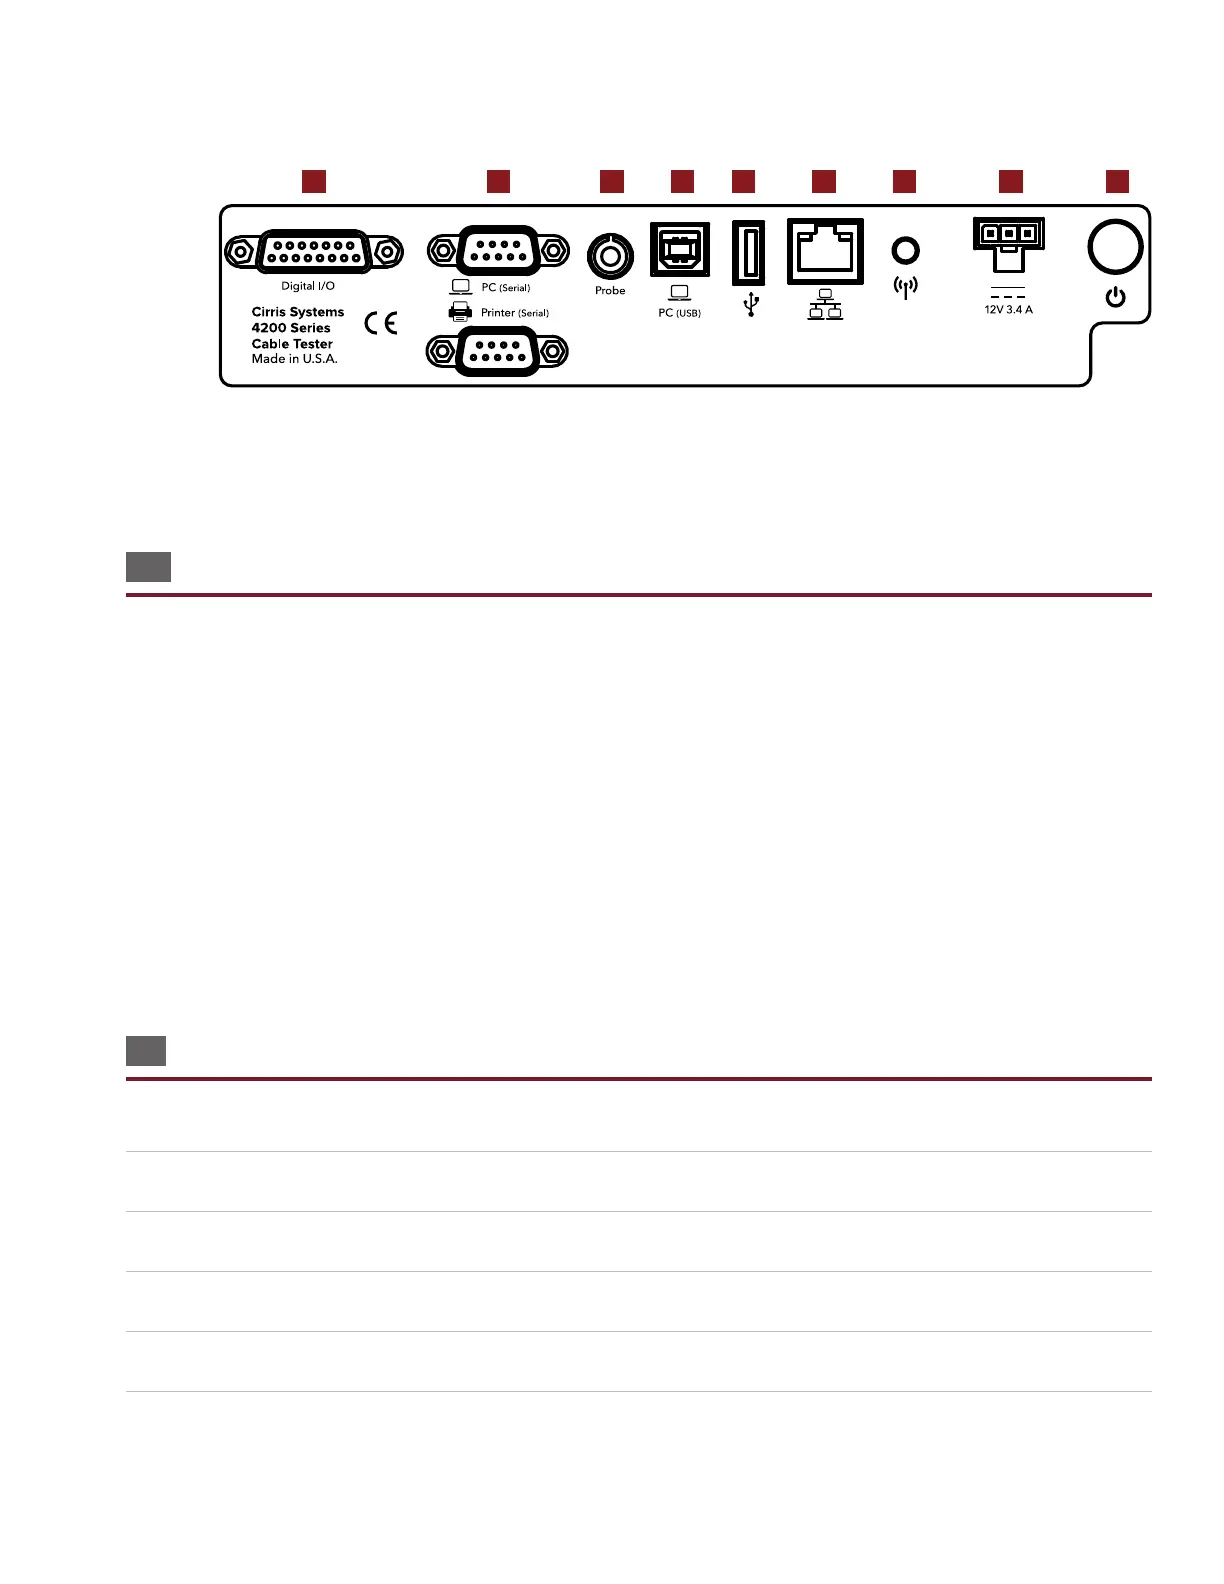
3.3. Top of Tester
a. Digital I/O: Build automation into your test process.
b. Serial ports: Connect a PC and label printer directly to your tester.
c. Probe: Attach the probe for troublshooting and diagnosing failures.
d. PC (USB): Connect your tester to a computer to access test programs and other information.
e. USB port: Use a ash drive to back up test programs and other information.
f. Ethernet: Use an ethernet cable to connect your tester for network printing and back up.
g. Antenna: (Beta) Connect wirelessly to network printers and back up.
h. Power Cord: Attach the power cord.
i. Power button: Turns tester on and o.
3.4 Setting up the Tester
■ Set Up Test Hardware
1. Connect the power cord to your tester.
2. Plug the power cord into a grounded outlet (surge protector recommended).
3. Connect the probe.
4. Press the power button to turn on the tester.
5. The tester will perform a system diagnostic (see page 41).
a b c d e f g h i