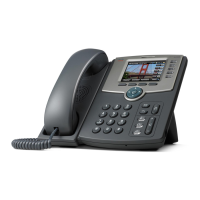
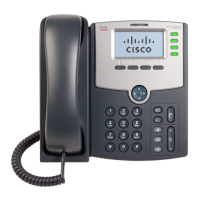
Configuring Lines and Extensions
Configuring Lines
Cisco Small Business SPA300 Series, SPA500 Series, and WIP310 IP Phone Administration Guide 35
2
Each station with an SLA can be configured independently. Although the account
information is usually the same for all of the stations, settings such as the dial plan
or the preferred codec can vary.
Configuring a Line
NOTE This section does not apply to the WIP310.
To configure a phone line:
STEP 1 Log in to the configuration utility.
STEP 2 Click Admin Login and advanced.
STEP 3 Click the Phone tab.
STEP 4 Under each line key for the phone, configure the following:
• Extension—Assign an extension to the line key. Defaults to 1. Generally you
should reserve EXT 1 on the client station as the primary and private
extension of the designated user. Configure shared extensions on EXT 2
through EXT 6 (depending on phone model).
• Short Name—Enter a short name or a number to display on the LCD for the
line key.
• Share Call Appearance—Select shared if you want the line key to share
incoming call appearances with other phones. See Configuring Shared
Line Appearance, page 36. If you select private, the call appearance is
private and not shared with any other phone. Defaults to private.
• Extended Function—See Assigning Busy Lamp Field, Call Pickup, and
Speed Dial Functions to Unused Lines on a Cisco SPA300 Series or
Cisco SPA500 Series IP Phone, page 38.
The number of line keys displayed depends on the type of phone.
STEP 5 Click Submit All Changes.
 Loading...