Getting Started
Using the Web-Based Configuration Utility
Cisco Small Business SPA300 Series, SPA500 Series, and WIP310 IP Phone Administration Guide 21
1
STEP 4 Browse to select the firmware file from your PC. Click Submit. The firmware is
installed and your phone reboots.
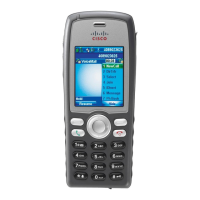
WIP310
STEP 1 Turn off your WIP310 and connect it to your computer by using the USB cable.
STEP 2 Double-click the executable file for the firmware upgrade (for example, double-
click wip310-5-0-11.exe).
STEP 3 Follow the on-screen instructions.
STEP 4 When the upgrade is complete, disconnect the phone from your PC and power it
on.
Using the Web-Based Configuration Utility
You must be connected to the same subnetwork as your phone. If you are
connected to a VPN, you must first disconnect.
NOTE If you are using the Cisco SPA IP Phones with the Cisco Unified Communications
500 Series for Small Business for Call Control, use Cisco Unified Communication
Manager Express or Cisco Configuration Assistant for phone administration. For
more information, refer to the
Cisco Unified Communications 500 Office
Administrator Guide
or the
Cisco Configuration Assistant Smart Business
Communications System Administrator Guide
.
To access the IP phone configuration utility:
STEP 1 Launch a web browser on a computer that can reach the phone on the network.
STEP 2 Direct the browser to the IP address of the phone. To determine the IP address:
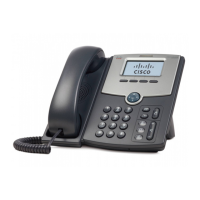
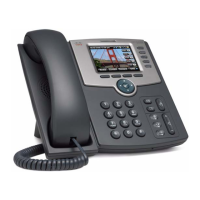
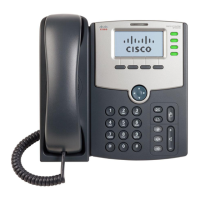
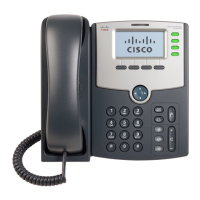
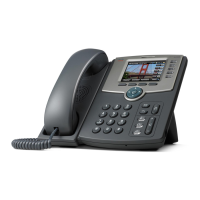
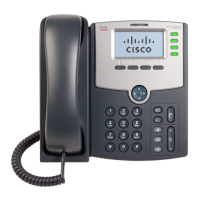
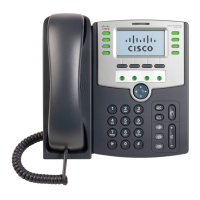
• Cisco SPA301: Press the asterisk (*) button four times. In the IVR menu, enter
110, then press #. The IP address is recited.
• Cisco SPA501G: Press the Setup button. In the IVR menu, enter 110, then
press #. The IP address is recited.
 Loading...