Chapter 8 Advanced Configuration for Compex CGX3224
49
1. Connect a RJ45 MDI straight Ethernet cable from the Control Station to
CGX3224 Unit #1. Enter
http://192.168.100.128 in the internet browser
and select Master option in the Stacking State field. You may name your
switch for identification. Refer to Section 9.2 “System Configuration”
for details.
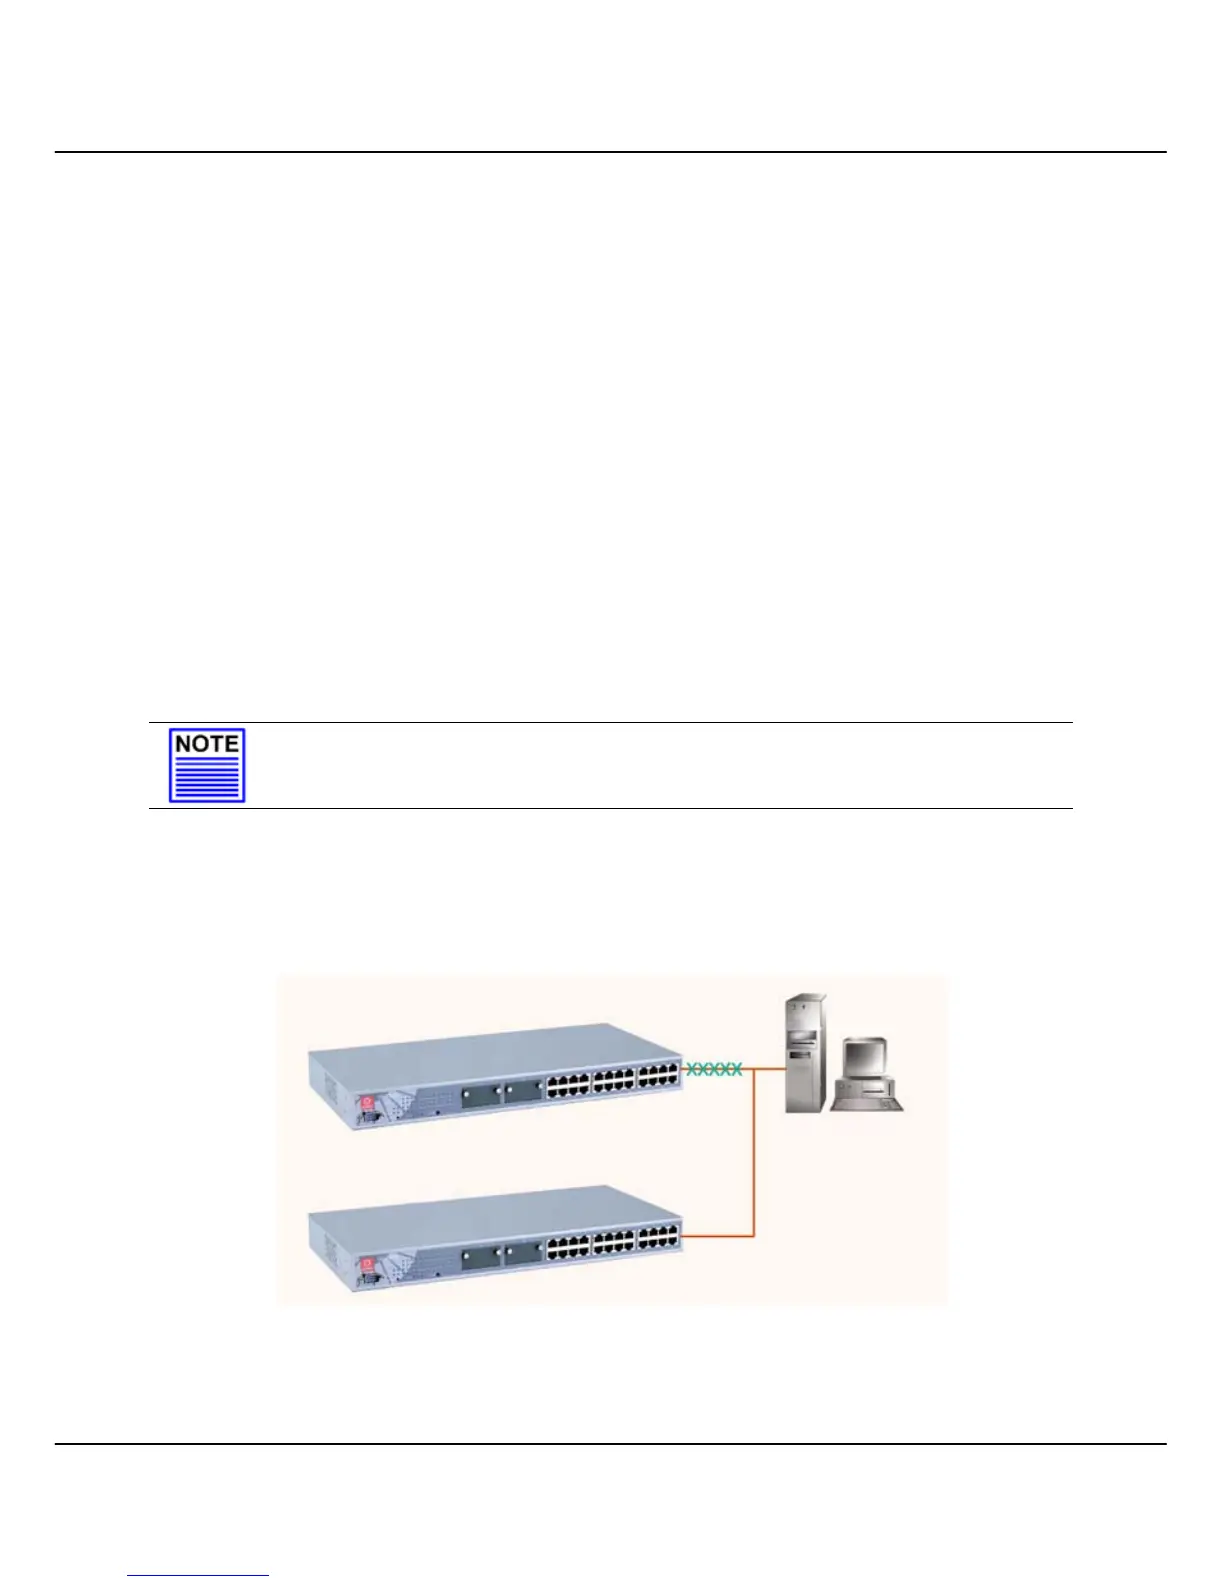
2. Next, disconnect one end of the Ethernet cable from CGX3224 Unit #1
and establish a link to Unit #2. Please refer to Figure 8.3a.
3. Go the MS DOS Prompt and enter this command:
arp –d 192.168.100.128
This will delete the ARP cache so that you can access to Compex
CGX3224 successfully. Please note that adding the IP address in the ARP
command allows system to delete the ARP cache which is belonged to
that particular device.
4. Enter
http://192.168.100.128 in the internet browser to select Slave option
in the field provided. Give a name to your switch.
NOTE
You may also use the console port to activate the stacking function of all
switches.
We are using 3 switches in this example, therefore, please repeat the
procedures of Steps 1 and 2 for CGX3224 Unit #3. Select Slave option in the
Stacking State field.
Figure 8.3a Establish a connection to CGX3224 Unit #2
CGX3224 Unit #2
CGX3224 Unit #1
Control Station