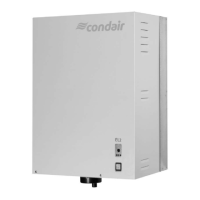
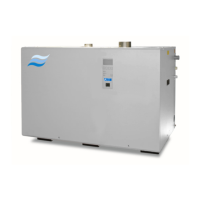
72 Fault elimination
7.3 Saving fault and service histories to a USB memory stick
The fault and service histories of the Condair EL can be saved to a USB memory stick for logging and
further analysis. For this purpose proceed as follows:
DANGER!
Dangerofelectrichazard!
The Condair EL is mains powered. Live parts may be exposed when the door panels of the
steamhumidierareromoved.Touchinglivepartsmaycausesevereinjuryordangertolife.
Prevention: Before carrying out any work on the Condair EL switch off the unit, disconnect it from the
mains and secure the unit against inadvertent power-up.
1. Set the On/Off switch on the front side of the steam humidier to the Off position, then switch off the
voltage supply to the steam humidier via the external disconnect switch (electrical isolator) and
secure switch in the off position to prevent it from inadvertent power up.
2. Unlock the door panel on the control compartment side of the steam humidier and remove it.
3. Swing control panel assembly open.
4. Carefully insert FAT32 formatted USB memory stick into the USB port on the control board. Make
sure that the maximum length of the memory stick does exceed 75 mm.
5. Close control panel assembly, then close the door panel of the control compartment and lock it with
the screw.
7. Remove the lock and tag from the external disconnect switch. Then, switch on external disconnect
switch to restore power to the humidier.
7. Set the On/Off switch on the front side of the steam humidier to the On position.
8. When the standard operating display appears, select the <Menu> button, then enter the password
(8808) to login.
9. Select "Service > Fault/Service History tab > Export History". The last 40 humidier fault and
service history events are then downloaded to the memory stick as separate .csv les labelled
"WARNING_FAULT.csv" and "SERVICE_HISTORY.csv".
Note: the CSV tables can be processed with a spread-sheet program on a PC
10. Repeat steps 1 to 3, then carefully remove the USB memory stick.
11. Close control panel assembly, then close the door panel of the control compartment and lock it with
the screw.
12. Repeat Step 6 and 7 to power up the humidier.