19
Step 1: Programming the gate limits with the Setup Wizard
=> Connect the baery power
=> Connect the charge power (transformer/solar)
=> The controller will automacally begin the Setup Wizard
=> Follow the voice prompts unl complete
Step 2: Set Collision Sensing
=> From the Quick NAV screen select Features
=> Select Gate Setup
=> Select Safety Sengs
=> Refer to page 39 for informaon on seng Closing Force and Opening Force.
Note: If the gate needs to be reprogrammed, select GATE SETUP WIZARD on the QUICK NAV screen and follow the
voice prompts.
Step 3: Programming a Remote to trigger the gate
=> From the Quick Nav screen Remotes
=> Select Add Remotes
=> Press SET for Teach Single Funcon to Remote Buon
=> On SELECT FUNCTION screen press SET for Trigger
=> Hold the Joysck UP (North) while pressing the buon on the remote which is to be programmed
Note: if mulple remotes are to be programmed, connue to hold the Joysck UP (North) unl all the remotes
have been programmed to the operator.
Please refer to page 30 in this manual to learn more on Remote Sengs.
The operator has now been commissioned and can be triggered by the remote. Read further in the
Instrucon Manual to learn about the many funcons and features that the Ulma Operator has to
oer.
……..connued
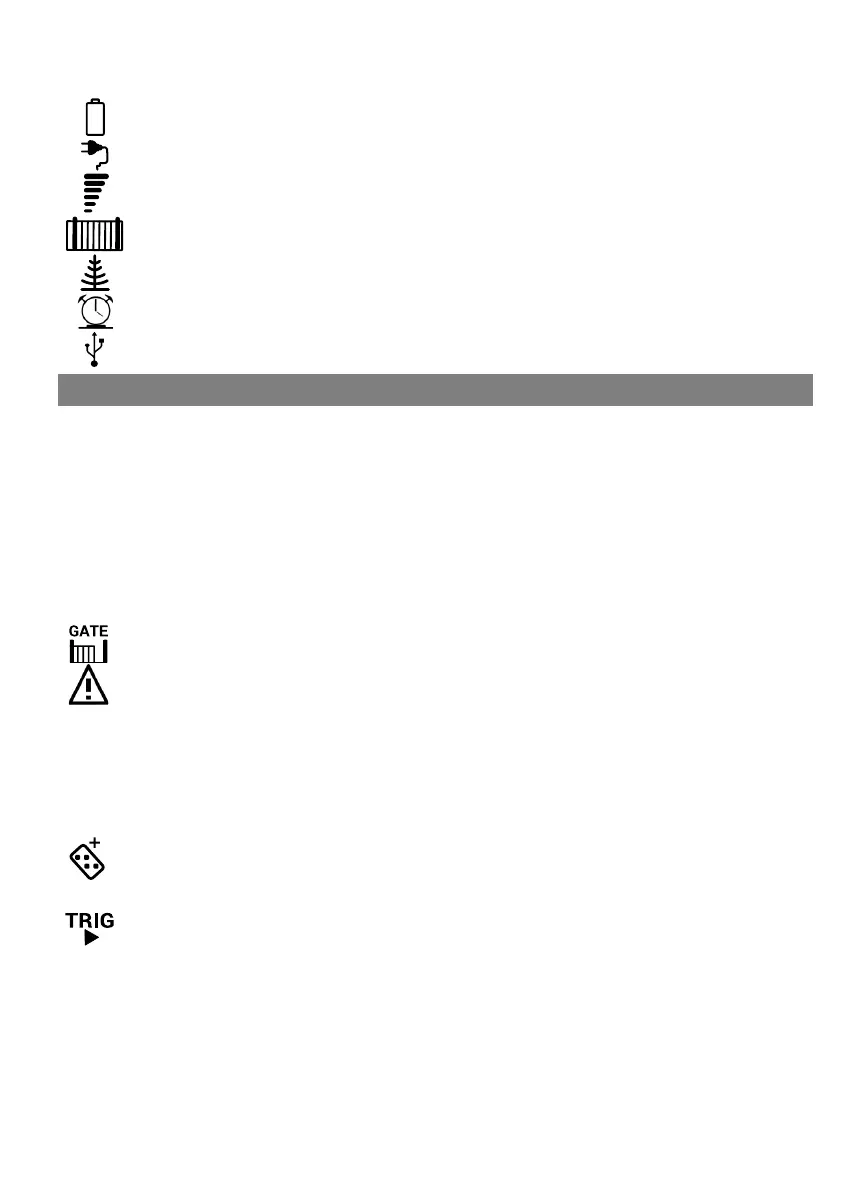
INFORMATION SCREEN MENU ICONS:
Baery - Displays the current baery voltage, charge current and charge voltage.
Mains Supply - Displays the current type of supply, supply voltage and output voltage.
GSM / WiFi - Displays the status of the GSM or WiFi module connected to the controller
Gate - Displays the number of operaons, average force and maximum force of the gate while
running
Receiver - Displays informaon about the last remote signal that was received.
Time Manager - Displays the current date, me and acve mer events.
USB - Displays informaon regarding any connected USB devices.
COMMISSIONING THE OPERATOR FOR THE FIRST TIME