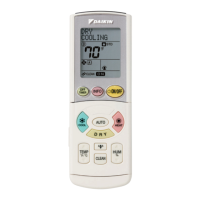
Control Panel
Cleaning the Control Panel
Use a soft damp cloth to clean the control panel. Avoid harsh
cleaners which could scratch the display window.
Changing the Battery in the Assistant
Control Panel
A battery is only used in Assistant Control Panels that have the
clock function available and enabled. The battery keeps the
clock operating in memory during power interruptions.
The expected life for the battery is greater than ten years. To
remove the battery, use a coin to rotate the battery holder on
the back of the control panel. Replace the battery with type
CR2032.
NOTE: The battery is NOT required for any control panel or
drive functions, except the clock.
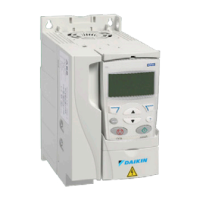
LEDs
There is a green and a red LED on the front of the drive. They
are visible through the panel cover but invisible if a control
panel is attached to the drive. The Assistant Control Panel has
one LED. The table below describes the LED indications.
Table 72: LED Indications
Where LED off LED lit and steady LED blinking
On the front of the drive. If a control panel is
attached to the drive, switch to remote control
(otherwise a fault will be generated), and then
remove the panel to be able to see the LEDs.
No power
Green
Power supply on the
board OK
Green Drive in an alarm state
Red
Drive in a fault state.
To reset the fault, press
RESET from the control
panel or switch off the
drive power.
Red
Drive in a fault state. To
reset the fault, switch off
the drive power.
At the top left corner of the
Assistant Control Panel
Panel has no power or
no drive connection.
Green Drive in a normal state Green Drive in an alarm state
Red
Drive in a fault state.
To reset the fault, press
RESET from the control
panel or switch off the
drive power.
Red —
maInTenanCe and Hardware dIagnosTICs
www.DaikinApplied.com 101 OM 1190-1 • MD4 VFD
 Loading...