6-32 Removal and Replacement
Upper Printer Motors
Transport Motor
Removal Procedure
1. Turn off the printer and unplug the power cord.
2. Remove the ribbon cartridge and cleaning roller.
3. Remove the
Main Enclosure (page 6-15).
4. Remove the
Upper Printer Assembly from the interstage platform (page 6-
38).
5. If the transport motor is not already disconnected from the main control
board, unplug it.
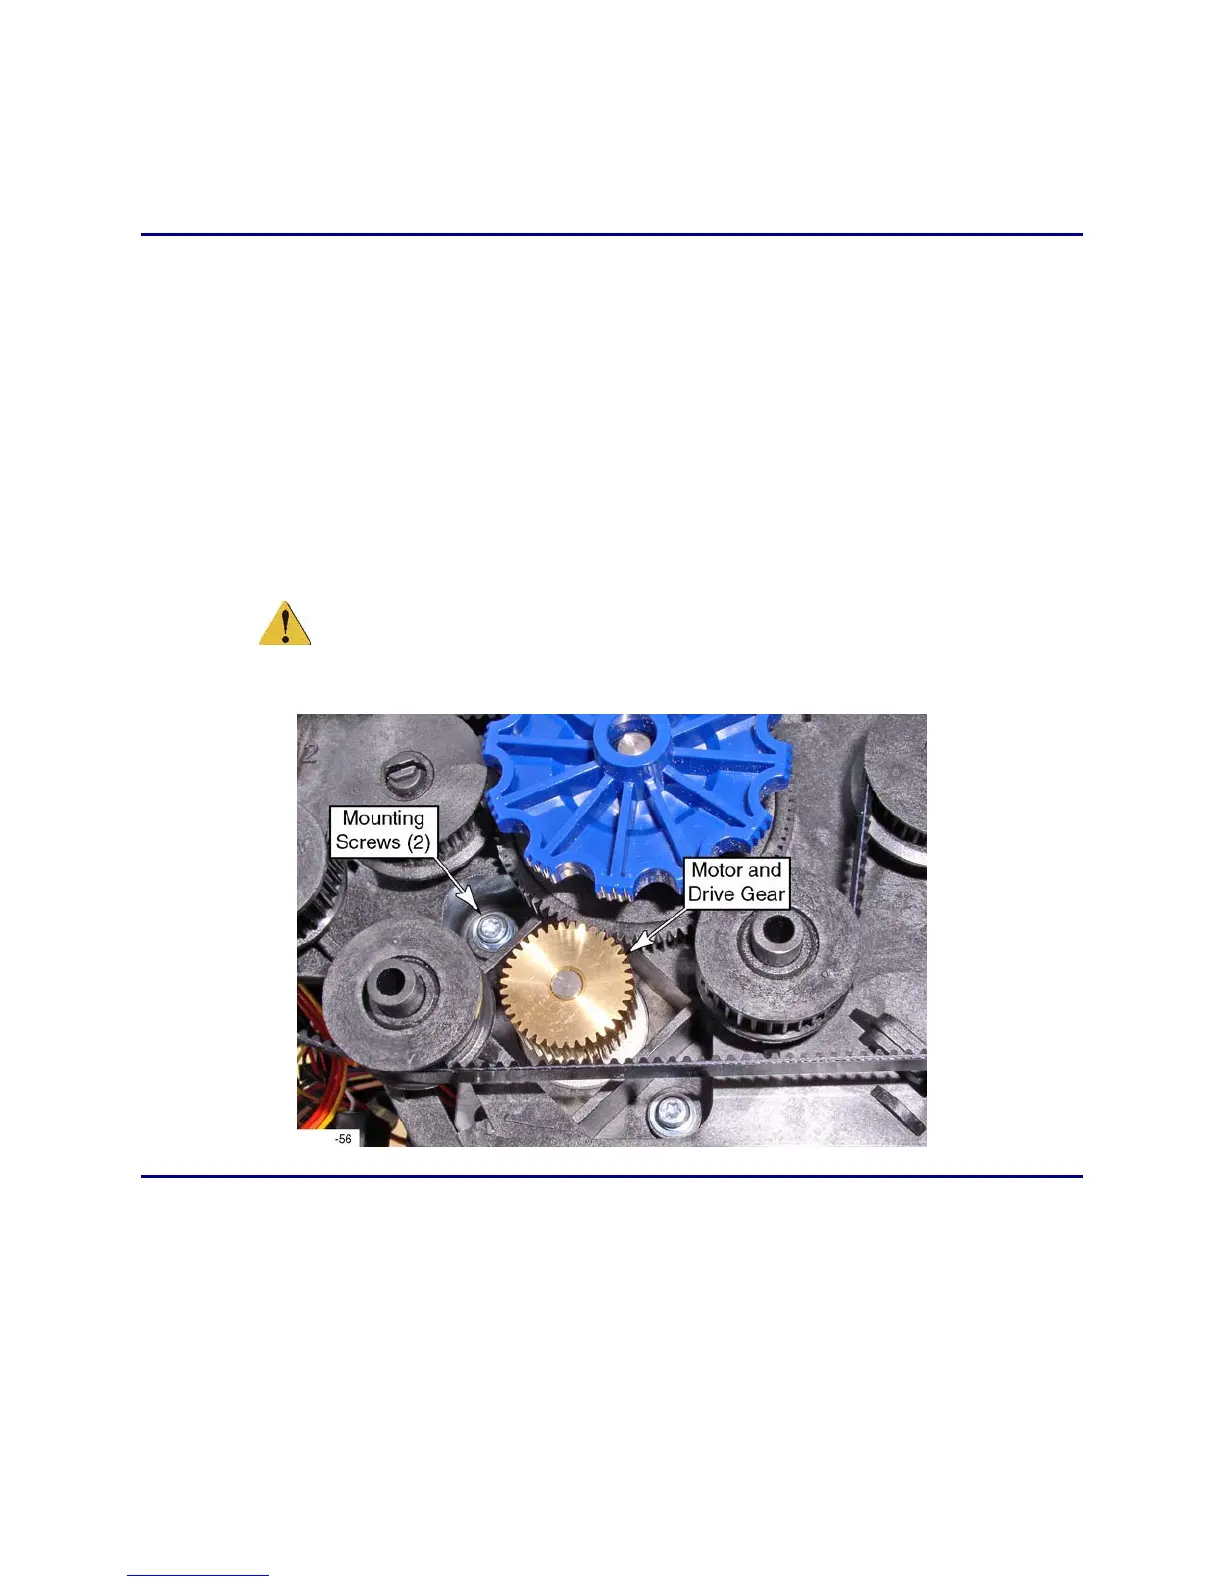
6. Using the T10 Torx driver, remove the two screws that hold the transport
motor. During replacement, tighten the screws to 8 in-lbs.
Caution. Do not force the motor against the platen roller. Doing so causes
print artifacts.
Follow-up Procedure
• Refer to the Print Engine Cable Connection Diagram for replacement details.
• Use the motor tests in Diagnostics to verify the motor is functioning properly.
• Print several test cards.