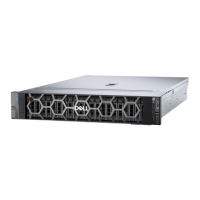
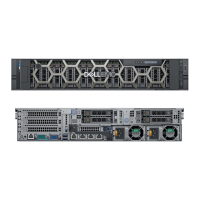
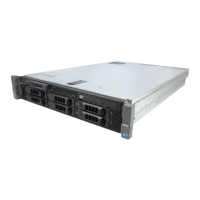
Figure 122. Installing the heat sink
Next steps
1. If removed, install the air shroud.
2. Follow the procedure listed in the After working inside your system.
Installing the Direct Liquid Cooling module
Prerequisites
Never uninstall the heat sink from a processor unless you intend to replace the processor or system board. The heat sink is
necessary to maintain proper thermal conditions.
1. Follow the safety guidelines listed in the Safety instructions.
2. Follow the procedure listed in the Before working inside your system.
3. If installed, remove the air shroud.
4. If installed, remove the processor dust cover.
5. For new heat sinks, refer to Installing the heat sink step 1 and 2 for applying the thermal grease.
NOTE: Ensure anti-tilt wires on the DLC module are in the unlocked position.
NOTE: The recommended maximum operating pressure is 15 psi (diverter opens at 15 psi).
Steps
1. Align the DLC module with the standoff screws on the system board.
NOTE: Ensure that the DLC tubes and liquid cooling leak detection cable are placed towards the rear of the system.
154 Installing and removing system components
 Loading...
