36
Configuring the OpenCom 100 Configuration
Loading SW Updates
New versions of the system and ter-
minal software can be loaded to the
system:
New software versions of the Open-
Com 100 are loaded from the con-
figuration PC, which accesses the
Configurator (see the SYS Configu-
ration: Firmware menu).
For information on connecting a
configuration PC, please see System
Prerequisites on page 25.
The terminal software is part of the
OpenCom 100 software and is auto-
matically loaded into the terminals
via the OpenCom 100 if the software
version in the terminal is different
from the terminal software stored in
the OpenCom 100.
For further information, please refer
to the online Help under the item
SYS Configuration: Firmware.
Resetting the System
Data
The OpenCom 100 configuration can
be reset to the factory setting by
means of the hardware basic set-
tings switch.
Attention! If this is done, all indi-
vidual settings and the user data are
then lost. For this reason, you should
backup your configuration regularly
the best time being after every
change. For details, please refer to the
chapter Saving and Loading the Con-
figuration starting on page 35 and to
the Web console online Help.
In order to reset the OpenCom 100 to
its basic settings, proceed as follows:
1. Switch the OpenCom 100 off by
removing the power plug from
the mains socket.
2. Remove the cover.
3. Press the OpenCom 100 basic
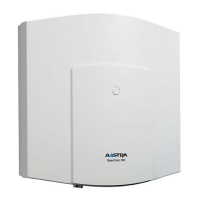
settings switch.
– OpenCom 105: The basic set-
tings switch is realised as a key
switch. You press the basic set-
tings switch by inserting a sharp
object in the aperture of the
cover. Hold the switch de-
pressed.
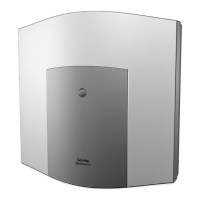
– OpenCom 110/120: The basic
settings switch is realised as a
gravity hook. Close the switch.
You can see the positions of the
respective switches in the dia-
gram Positions of the Ports on
page 15.
4. Replace the power plug in the
mains socket, and wait about 30
seconds until the green lamp on
the front of the OpenCom 100
starts to flash steadily.