3 • Set up your Dexcom ONE+ | Dexcom ONE+ User Guide
18
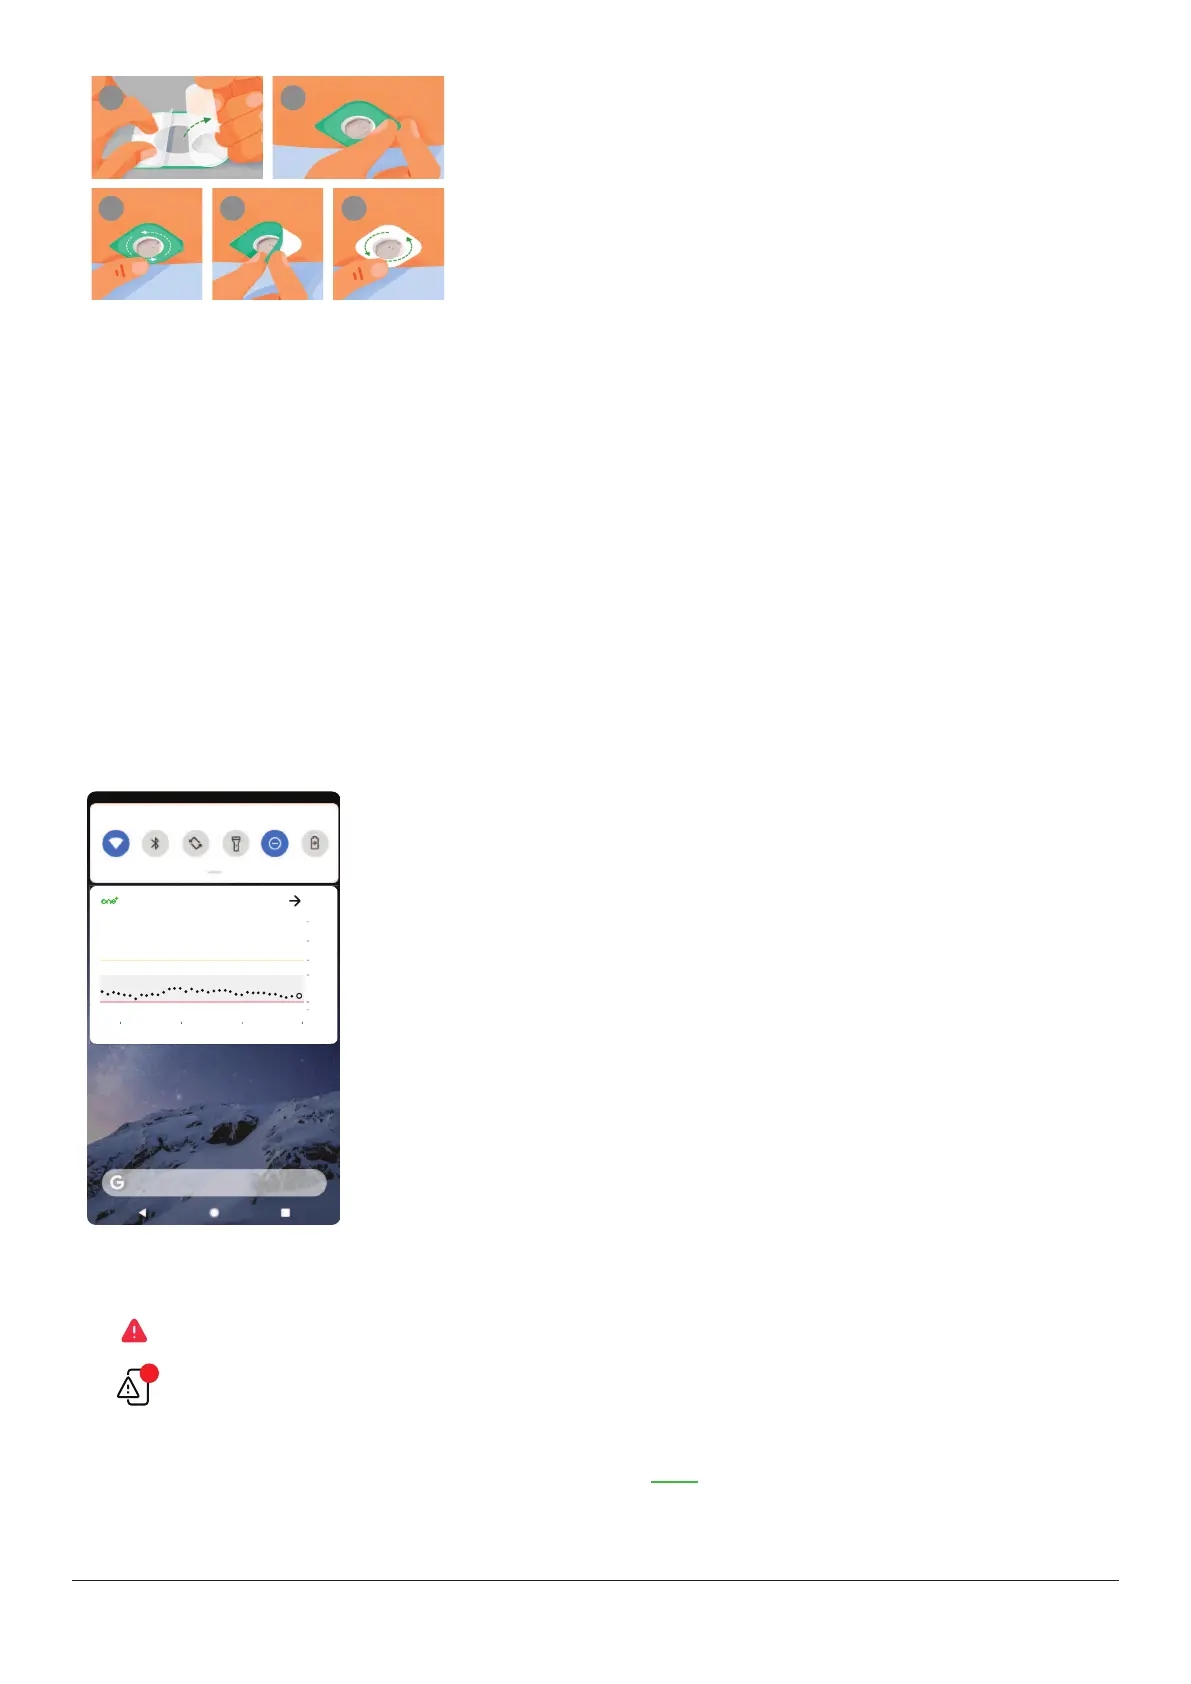
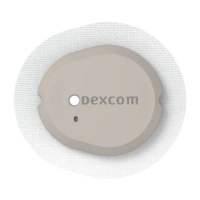
7 Use overpatch (when needed)
The overpatch helps keep the sensor on your skin.
Find the overpatch in the sensor box.
a. Carefully pull off both clear liners, one at a time. Don’t touch white
adhesive area.
b. Use colored tab to place overpatch around sensor.
c. Rub around overpatch.
d. Use tab to peel off colored liner.
e. Rub around overpatch.
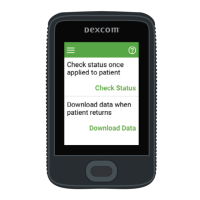
8 Continue setup
l
Go back to the app or receiver to finish setup.
Adhesive patch care
l
The longer you keep the patch dry and sweat-free in the first 12 hours, the longer it may stick to your skin.
l
When it gets wet, gently pat it dry as soon as you can.
l
If it peels off your skin, trim the peeled parts, and put on a new overpatch or use medical tape.
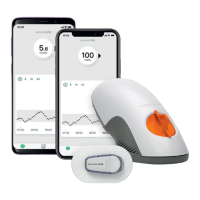
Quick Glance (Android)
If you set up your Dexcom ONE+ app on an Android phone, you can check your sensor reading, trend arrow, trend graph (3-
hour view), and other Dexcom ONE+ information from the notification drawer. Swipe down from the top of your screen to see
Quick Glance.
To open the app, just tap the notification.
Now
98
7
2
14.0
22
18
10
3.9
4.0
mmol/L
The colors work the same as in the app: yellow for high, red for low, gray for target range.
Other icons appear near the sensor reading to give you more information when needed, such as:
l
If the system isn't working correctly. Tap Quick Glance to open the app to get more information.
l
If there's a phone settings conflict.
Quick Glance is on by default. Turn it off in your display device settings or in the app Profile tab.
To find out how to acknowledge alerts from the Lock screen, go to the Alerts chapter.