C • Professional use instructions | Dexcom ONE+ User Guide
69
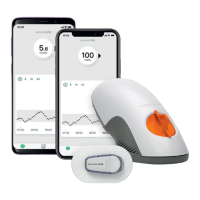
Set up Dexcom ONE+ with patient
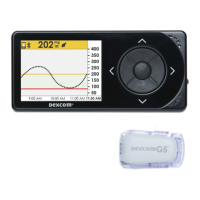
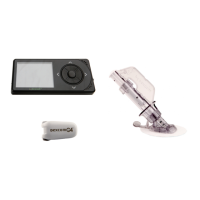
With your patient, follow the setup instructions in Start Here to set up the app or receiver.
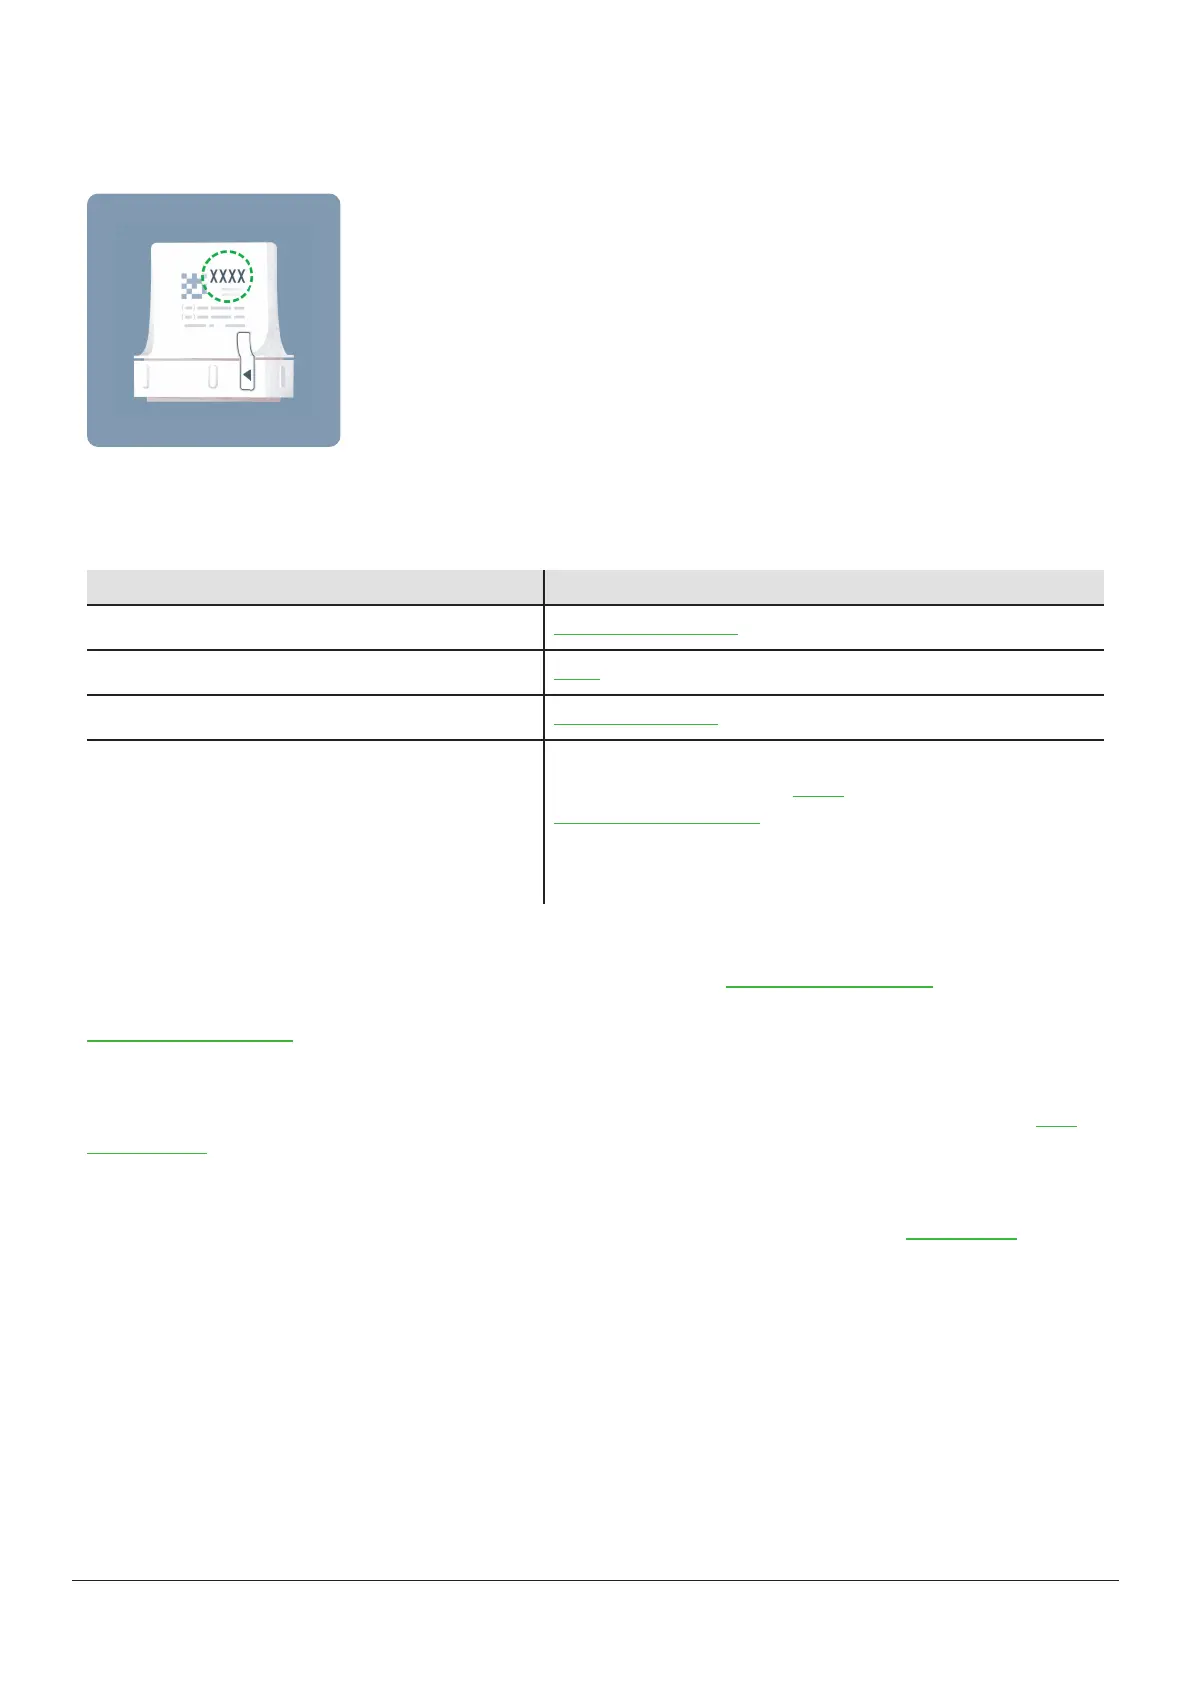
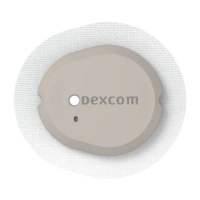
You'll need the pairing code. Find it on the applicator:
While setting up Dexcom ONE+ with your patient, you will create a personalized glucose zone by setting Low and High alerts
appropriate for their A1C.
During sensor warmup, use the table below to explain how to interpret the information on Dexcom ONE+.
Explain Show
Introduce display screens Display device screens chapter
What are alerts Alerts chapter
Managing diabetes with Dexcom ONE+ Treatment decisions chapter
Dexcom Clarity app Let your patients who use the app know about Clarity’s trends,
statistics, and patterns. Go to Clarity appendix and
dexcom.com/clarityapp for more information.
Have patients download the Clarity app and enter the sharing
authorization code provided by your clinic.
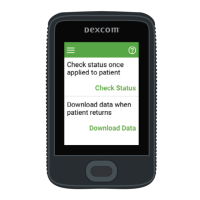
Check patient reports in Clarity
For patients using the app, at any time during the sensor session, you can go to dexcom.com/clarityapp to see their glucose
data. For patients using only the receiver, that data is available after they return the receiver and you upload the data at
dexcom.com/clarityapp.
End of sensor session
At the end of the sensor session, remove Dexcom ONE+ from the patient. Go to the Remove your sensor section of the Next
sensor session chapter for more information.
Next steps
Your patient may want to have their own Dexcom ONE+. It's available for personal use. Direct them to dexcom.com for more
information.
After cleaning, disinfecting, and resetting the receiver, you're ready to use Dexcom ONE+ on another patient and introduce
them to its benefits.