3 • Set up your Dexcom ONE+ | Dexcom ONE+ User Guide
17
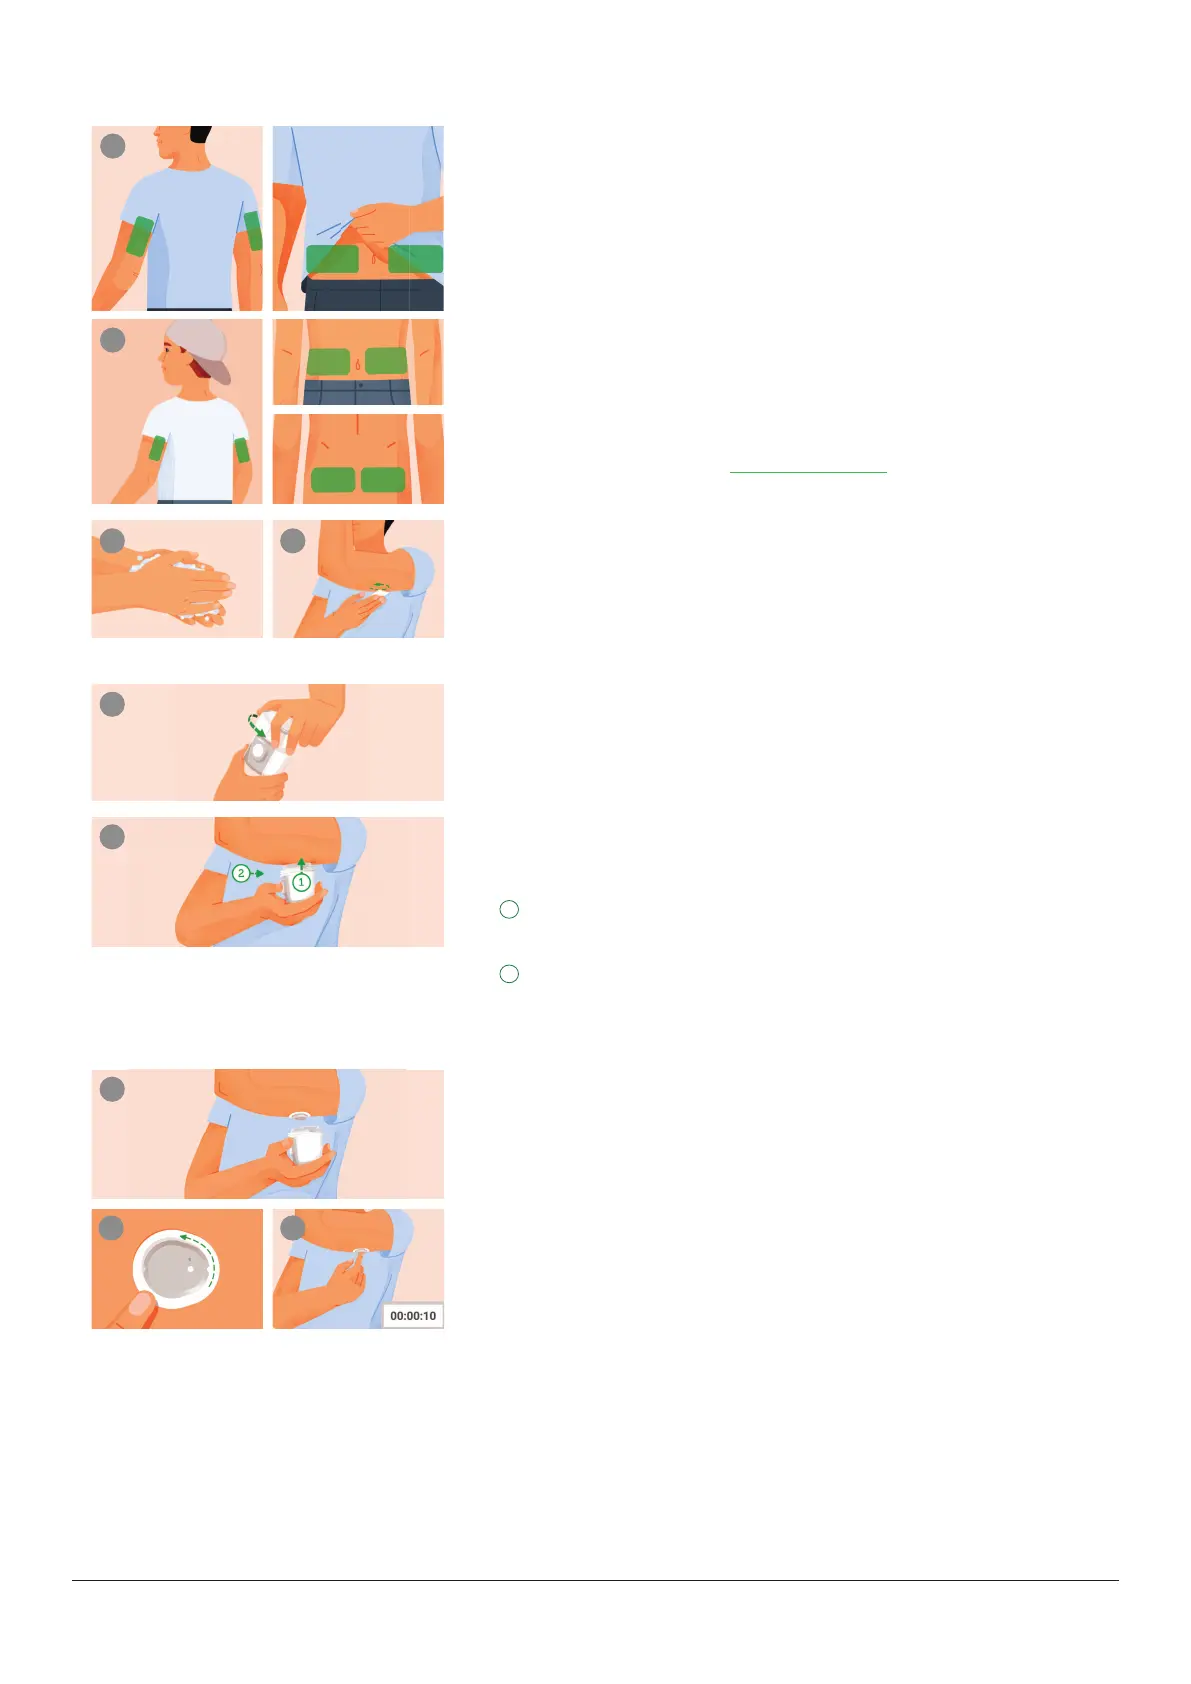
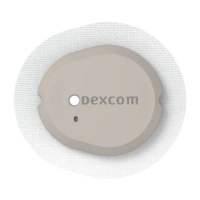
Insert sensor
1 Choose sensor site by age
(with advice from your healthcare provider)
a. Age 7 years and older: Use back of upper arm or abdomen.
b. Age 24 months – 6 years: Use back of upper arm, abdomen, or upper
buttocks.
Precaution, avoid areas:
l
With loose skin or without enough fat to avoid muscles and bones
l
That get bumped, pushed, or you lie on while sleeping
l
Within 8 centimeters of infusion or injection site
l
Near waistband or with irritations, scarring, tattoos, or lots of hair
To keep sensor attached see dexcom.com/faqs.
2 Clean and dry site
a. Wash hands with soap and water. Dry.
b. Rub site with an alcohol wipe to get rid of all oils.
c. Let dry completely so sensor will stick.
3 Unscrew cap
l
Don’t touch inside applicator.
l
Don’t use if damaged or previously opened.
4 Use applicator to insert sensor
Relax any muscles near site.
Press and hold firmly against skin until clear safety guard is pushed
in.
Press button while guard is pushed in.
Tip: Pressing applicator firmly against skin unlocks the button.
5 Remove applicator
a. Save applicator because you’ll need its pairing code.
b. Screw cap back on applicator.
6 Rub and press
To help keep the patch on your skin:
a. Rub firmly around patch 3 times.
b. Gently press on top of sensor for 10 seconds.