Interfaces Local Area Networks (LANs)
IX14 User Guide
122
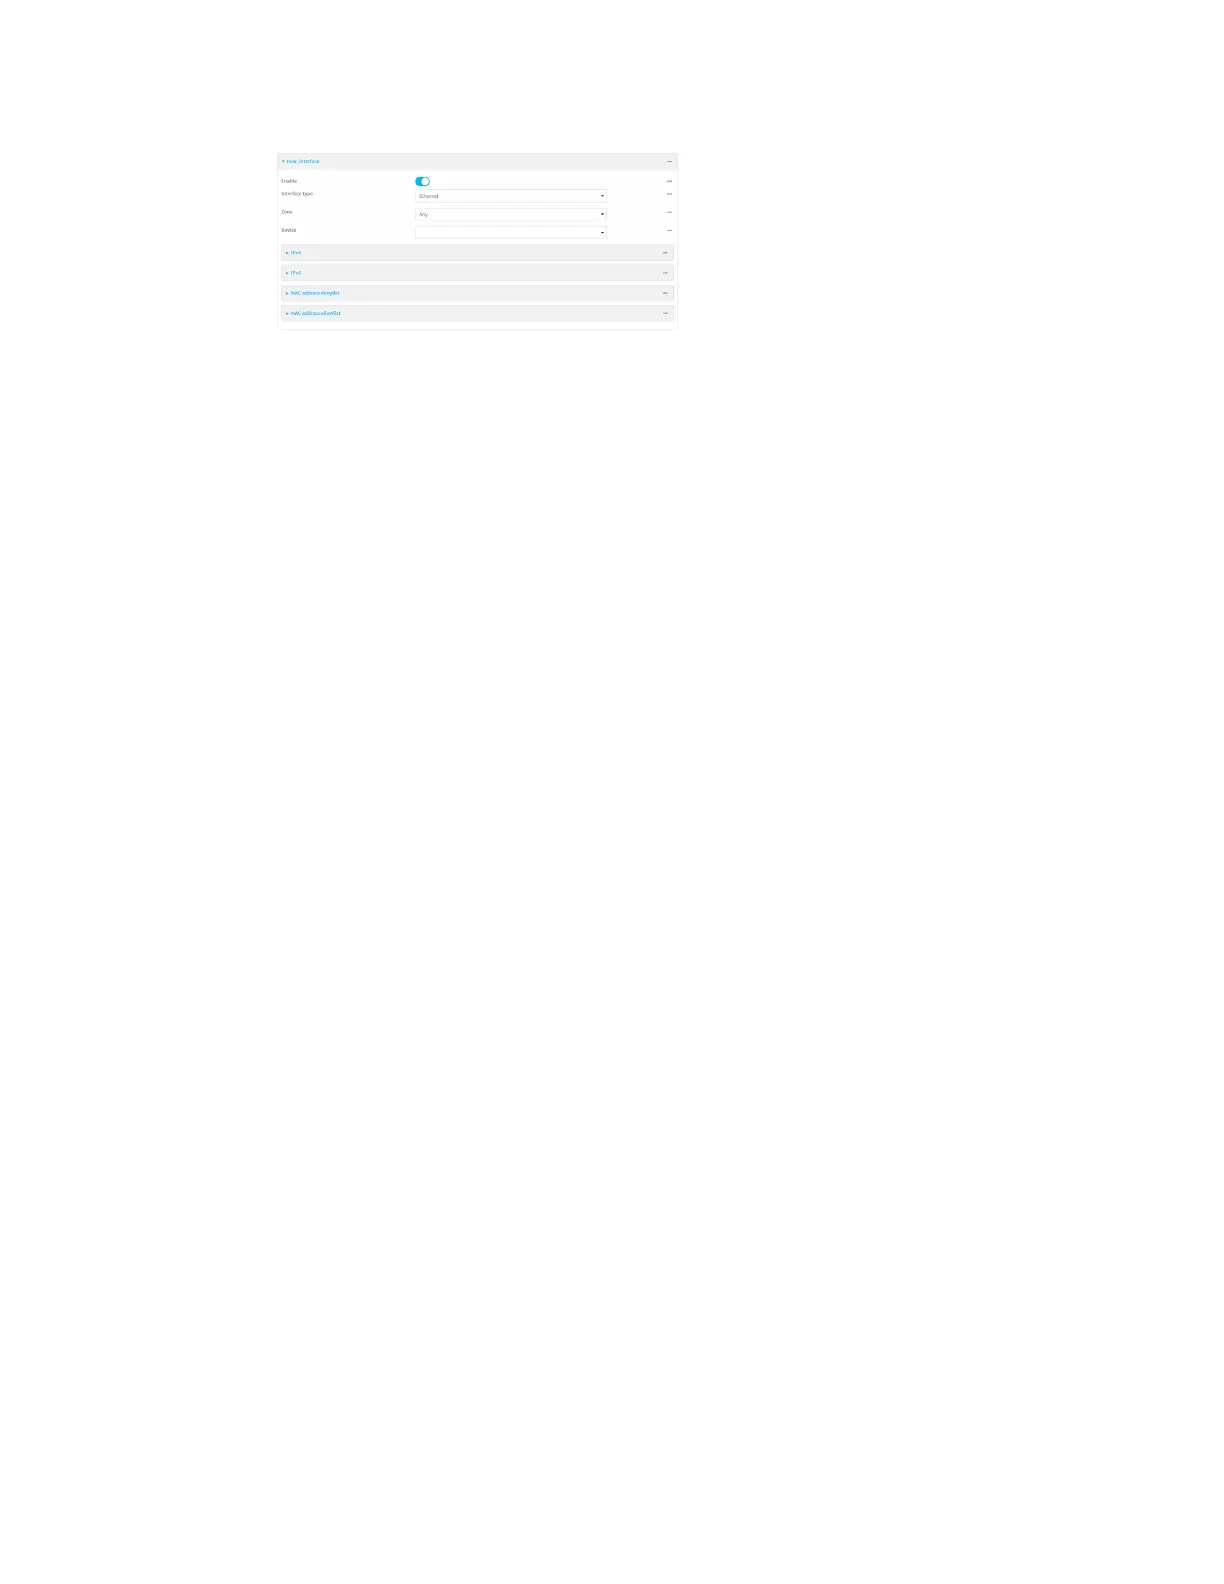
New LANs are enabled by default. To disable, click Enable.
5. For Interface type, leave at the default setting of Ethernet.
6. For Zone, select the appropriate firewall zone. See Firewall configuration for further
information.
7. For Device, select an Ethernet device.
8. (Optional) Click to expand 802.1x to configure 802.1x port based network access control.
The IX14 can function as an 802.1x authenticator; it does not function as an 802.1x supplicant.
a. Click to expand Authentication.
b. Click Enable server to enable the 802.1x authenticator on the IX14 device.
c. Type the Server IP address of the authentication server.
d. Server Port number defaults to 1812. Type a new port number for the authentication
server if different than the default.
e. Type the Server Password for the authentication server.
f. Set the Reauth period.
g. (Optional) Click to expand Accounting.
h. Click Enable server to enable 802.1x authentication auditing on the IX14 device.
i. Type the Server IP address of the auditing server.
j. Server Port number defaults to 1813. Type a new port number for the auditing server if
different than the default.
k. Type the Server Password for the auditing server.
9. Configure IPv4 settings:
a. Click to expand IPv4.
IPv4 support is enabled by default.
b. For Type, select Static IP address.
c. For Address, type the IP address and subnet of the LAN interface. Use the format IPv4_
address/netmask, for example, 192.168.2.1/24.
d. Optional IPv4 configuration items:
i. Set the MTU.
e. Enable the DHCP server:
i. Click to expand DHCP server.
ii. Click Enable.
See DHCP servers for information about configuring the DHCP server.
10. See Configure DHCP relay for information about configuring DHCP relay.
11. (Optional) Configure IPv6 settings: