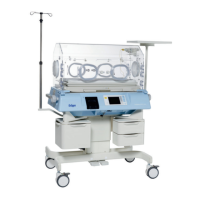
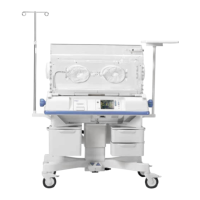
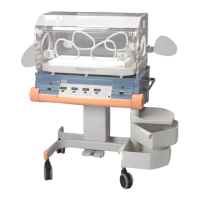
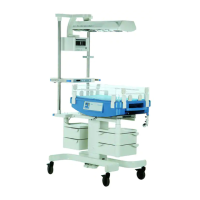
64 Instructions for use Isolette 8000 plus SW 5.n
Getting started
1 Unplug the power cable from the controller on the front of the incubator.
The Power Failure alarm sounds.
The Power Failure indicator on the front panel of the controller
illuminates.
2 Reconnect the power cable to the controller.
The incubator self-test runs.
Display 1 appears on the screen.
3 Check the Low Air Temperature alarm.
1 Rotate the locking knobs and open the front or rear access panel of the
incubator.
Within approximately 5 minutes, the Low Air Temperature alarm
message is displayed in the Trend/Alarm window.
The acoustic alarm signal sounds.
The alarm does not occur until the temperature falls 2.5 °C (4.5 °F) below the
set point. At high ambient temperatures, fanning the air within the hood can be
performed to induce the alarm.
2 Close the front or rear access panel, and rotate the locking knobs until they
are fully engaged.
4 Check the Low Skin Temperature alarm.
1 Set the air temperature to 35 °C (95 °F), and allow the temperature to
stabilize for 1 hour.
2 Insert a skin probe into the central skin probe connector of the sensor
module.
3 Place the skin probe 10 cm (4 in) above the center of the bed.
4 Set the skin set temperature to 35 °C (95 °F).
5 Rotate the locking knobs, and open the front or rear access panel.
Within approximately 5 minutes, the Low Skin Temperature alarm
message is displayed in the Trend/Alarm window.
The acoustic alarm signal sounds.
The alarm does not occur until the temperature falls 0.5 °C (0.9 °F) or 1.0 °C
(1.8 °F) (depending on the skin temperature alarm limit setting) below the set
point. At high ambient temperatures, fanning the air within the hood can be
performed to induce the alarm.
6 Close the front or rear access panel, and rotate both latches until fully
engaged.
7 Press the Audio Paused/Reset key.
The alarm is silenced.
5 Check the Central Probe Missing alarm.