Do you have a question about the Dräger Interlock Series and is the answer not in the manual?
Defines warning signs, signal words, and classifications of warnings.
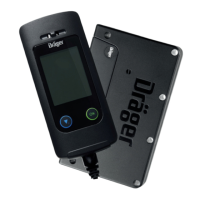
Illustration showing the components of Interlock 7x00 and Interlock 5x00 with numbered parts.
Details the terminal assignments, colors, and descriptions of connection leads on the control unit.
Outlines the necessary conditions and warnings before starting the installation process.
Explains the device's installation mode and the need to deactivate it for operation.
Provides guidance on temporarily installing components and selecting suitable locations for safety and protection.
Provides instructions on checking and connecting vehicle-specific wiring for the Interlock.
Details how to connect the horn and headlights for the Interlock 7x00 model.
Describes how to connect an external indicator light for drivers with impaired hearing.
Explains how to connect the door contact to activate the device upon door opening.
Covers securing the control unit and handset using cable ties and screws.
Outlines the steps to test the device's functionality after installation.
Instructs to complete the installation certificate provided with the instructions.
States that device settings and calibration must be performed by an authorized service center.
Covers the process of removing the Interlock device, including battery disconnection.
| Category | Medical Equipment |
|---|---|
| Manufacturer | Dräger |
| Model Series | Interlock Series |
| Technology | Electrochemical fuel cell sensor |
| Calibration | Periodic calibration required |
| Data Storage | Stores data on alcohol levels, date/time, and events (tampering, violations) |
| Compliance | Complies with international standards for breath alcohol testing |


