52 Instructions for use Isolette 8000 plus SW 5.n
Assembly and preparation
10 Ensure that all sensor cables are properly routed.
– To allow the bed to be fully withdrawn from the hood, and to allow the sensor
module to be withdrawn from the hood for O
2 calibration, ensure that there is
sufficient cable slack between the edge of the hood and the scale.
– To allow for correct weight measurements, make sure that there is no
interference or rubbing of the cable with the scale top.
– Secure the scale cable to the incubator end wall using the cable clips
provided inside the incubator wall.
– Loop the cable at the lower clip.
11 To ensure proper operation, perform the scale functional check (see Weighing
system (option) functional check on page 75).
6.5 Installing the humidification system (option)
WARNING
Risk of death or serious injury
Using older software versions can lead to incorrect operation of the humidification
system which may cause patient injury.
► The humidification system with the heater/impeller cover with duct cover must
be used with software version 5.n or higher.
The humidification system is normally factory installed. To install the
humidification system in the field, refer to the assembly instructions provided
with the system.
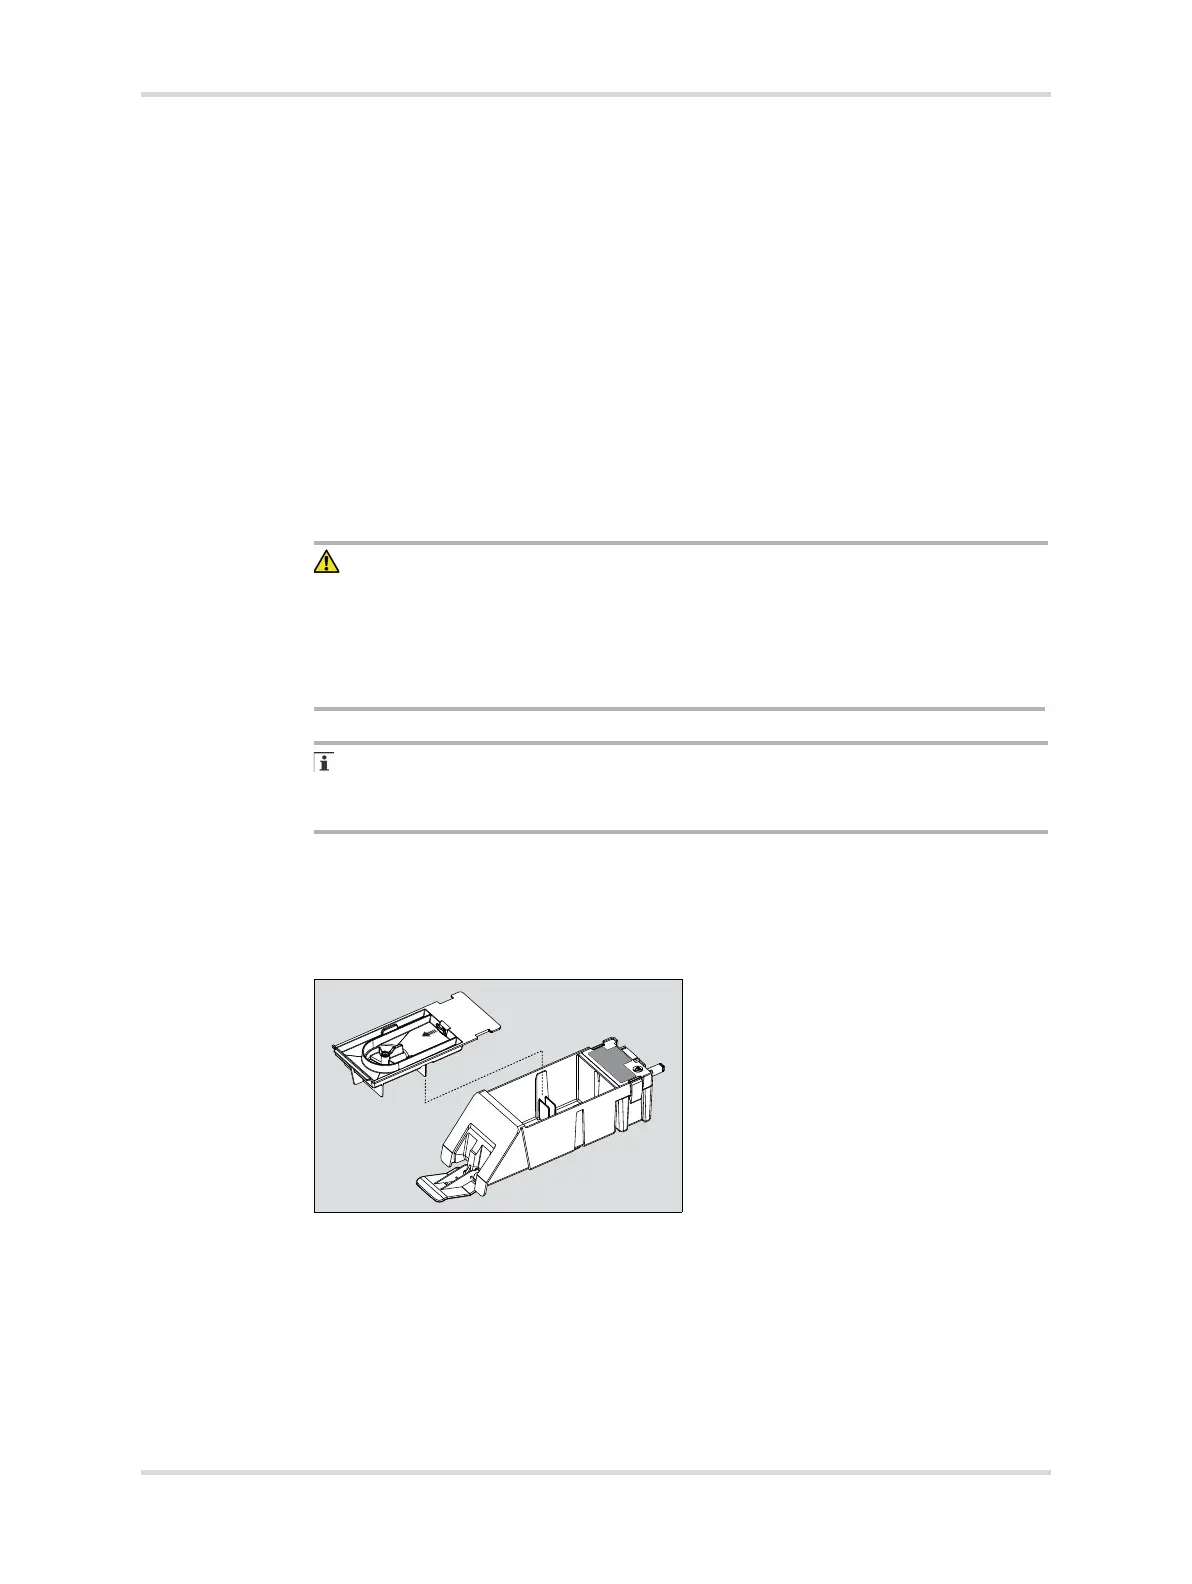
On factory installed systems, install the water reservoir assembly:
1 Pull the latch on top of the water reservoir lid forward (A), and remove the lid.
2 Ensure that the evaporator is installed in the evaporator chamber (B) at the rear
of the reservoir.
3 Secure the lid by reinstalling it on the reservoir and pushing back the latch on top
of the lid.
045