2-7
MODEL 424 DYNOWARE RT UPGRADE WITHOUT EDDY CURRENT
Remove the DynoWare EX Electronics
Version 5 DynoWare RT Upgrade for Model 424x Dynamometers Installation Guide
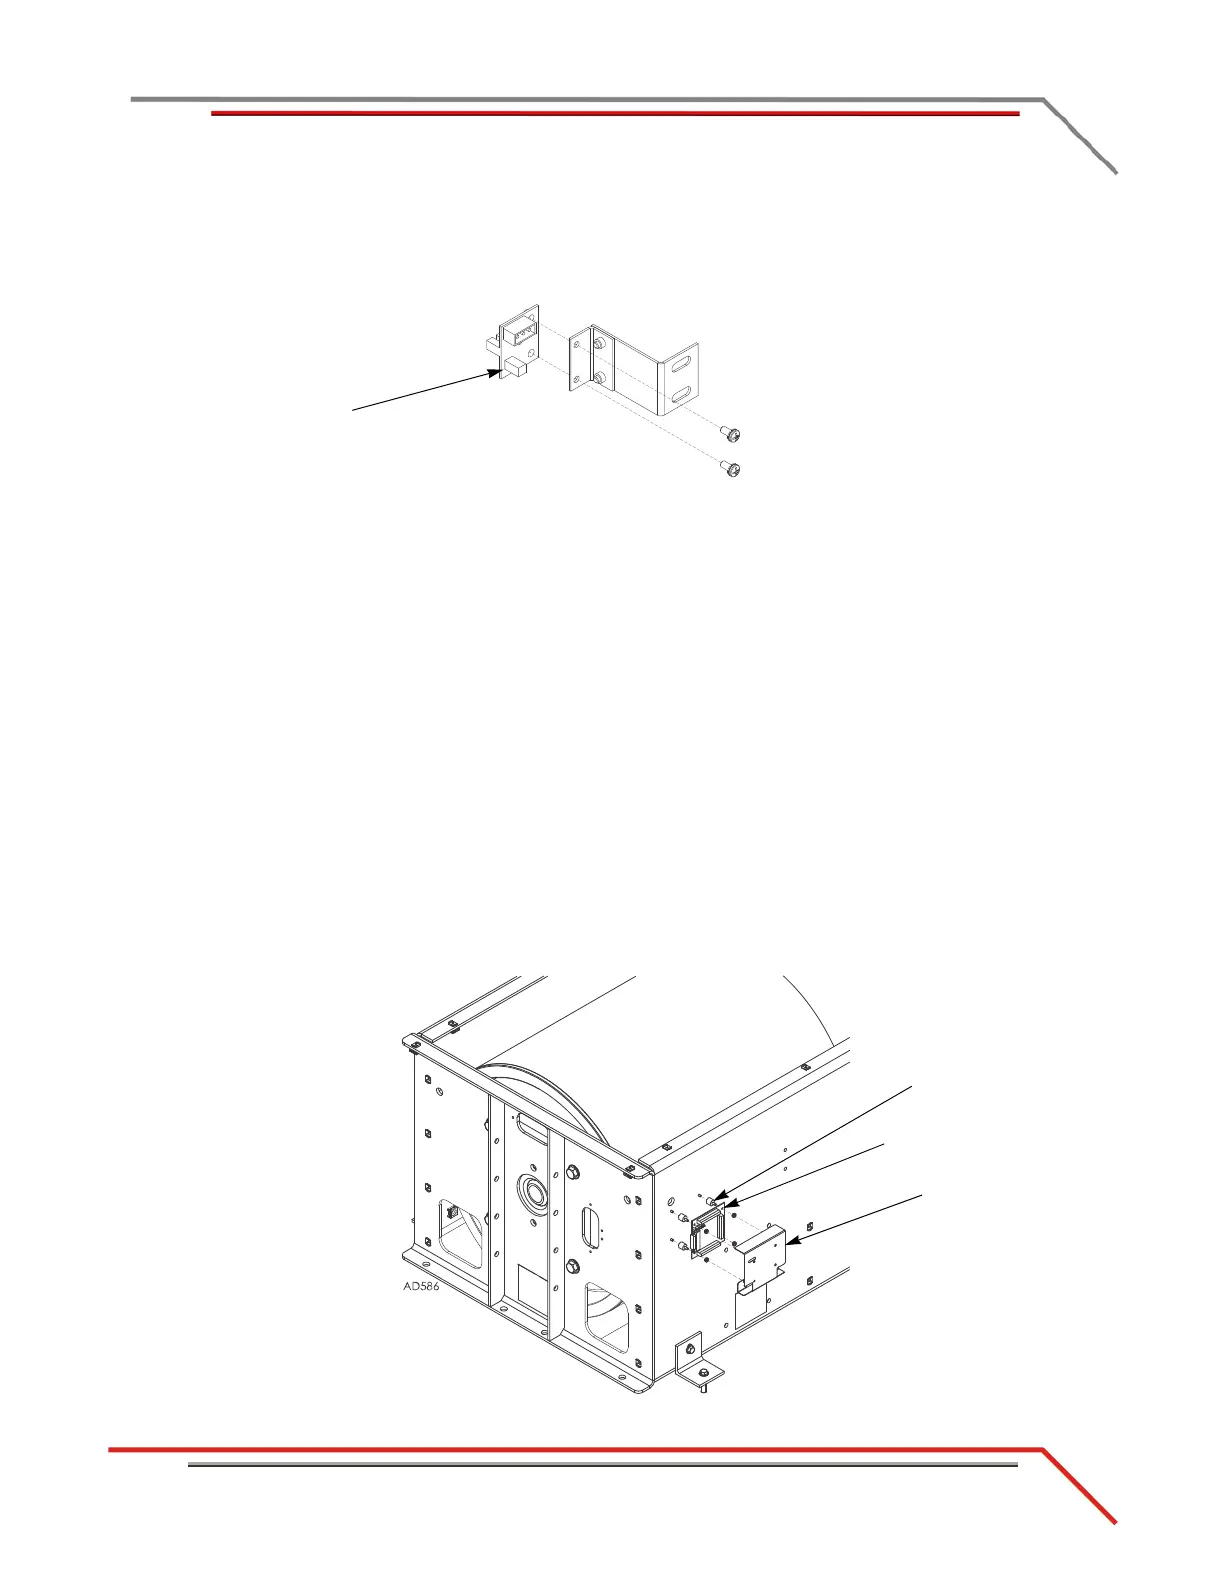
7 Disconnect the speed pickup cable.
8 Remove the two screws securing the card to the bracket and set aside.
9 Remove the pickup card.
Figure 2-4: Remove the Pickup Card
REMOVING THE BREAKOUT BOARD
Use the following instructions to remove the Breakout board from both the above and
in ground dynos. The Breakout board is located on the stationary dyno.
1 Disconnect the brake solenoid leads from the Breakout board. These are the black
wires running from the air solenoid to the Breakout board.
2 DynoWare RT does not support the Breakout board controlled Gen 4 (AFR-4) air
pump and O2 sensors used with DynoWare EX and WinPEP 7. Disconnect and
remove the Gen 4 relay and wires from the Breakout board. Remove the Gen 4
components from the dyno. You may replace the Gen 4 air pump and sensor(s)
with the optional DynoWare RT Air Fuel Ratio module kit (P/N 77000008).
Please contact Dynojet for more information.
3 Remove the two nuts securing the Breakout board cover and remove the cover.
4 Remove the two remaining nuts securing the breakout board to the bumpers and
remove the board.
5 Remove the four screws securing the bumpers to the dyno and remove the
bumpers.
Figure 2-5: Removing the Breakout Board
cover
breakout board
bumper