MAINTENANCE, SERVICE AND FAULT FINDING
25364 Issue 8 March 2018 4-15
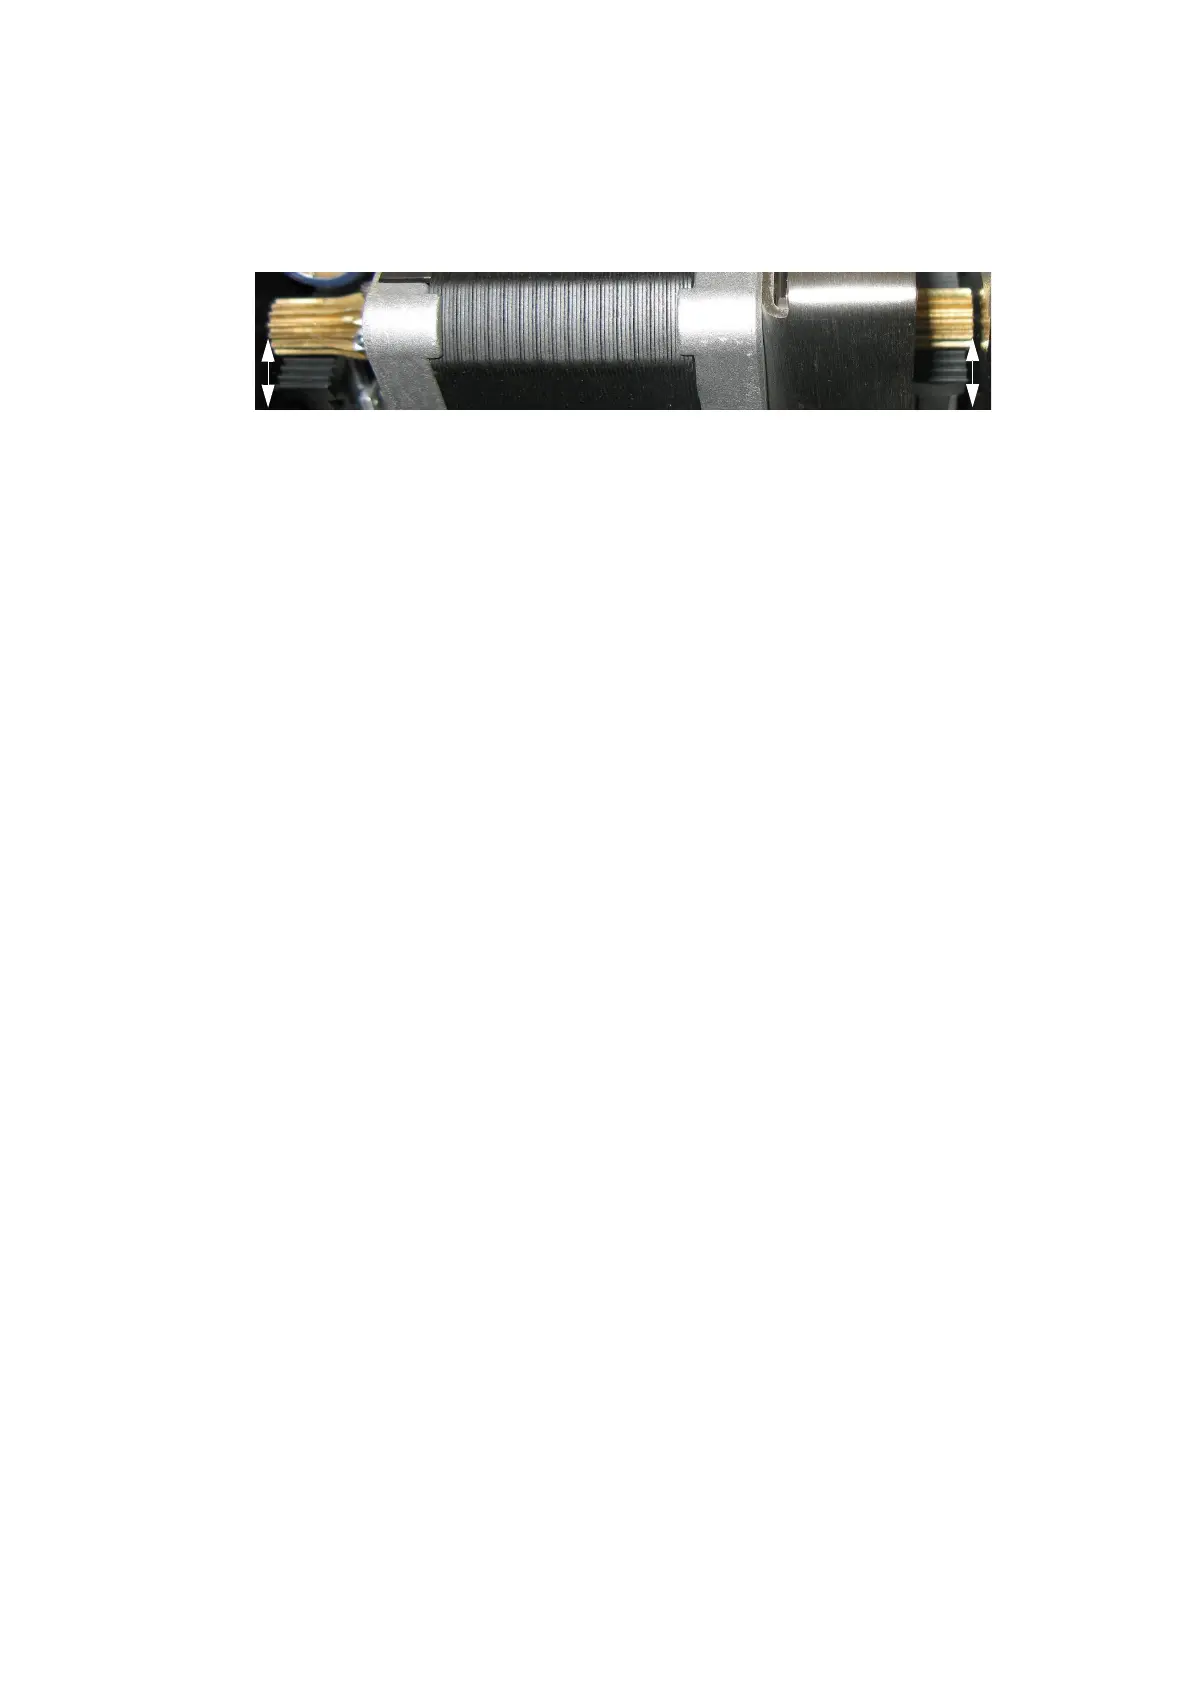
(3) Lift the stepper motor and position the gears so that the plastic side
arm teeth are even on both sides of the stepper motor, as shown in
the following photo:
(4) Hold the stepper motor in place and retighten the four screws.
(5) Refit the printer back cover and print head.
(6) Go to Settings >
Production Line Setup > Head Functions and select
Calibrate.
Communicator II
If the Print Head Actuator assembly develops air leaks or the actuator
mechanism jams, it must be replaced.
There are two versions of the Print Head Actuator, one for 2” and one for 5”
printers. Both versions can be used in right-hand and left-hand printers.
Notes: (1) The Print Head Actuator is supplied without the print head and
print hea
d adaptor board.
(2) Tools required: Screw driver 1,2 x 6,5mm, Allen key 2mm,
L
octite Thread Locker type, Medium Strength
To change the Print Head Actuator:
(1) Turn off the printer and disconnect it.
(2) Refer to the print head removal instructions at “Replacing The Print
Head” on page 4-7.