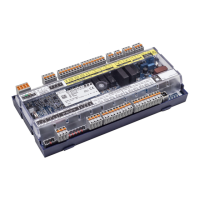
Installation and Startup of UA 300 D
33
E 2007 − ECKELMANN | BERLINER STRASSE 161 | 65205 WIESBADEN | FON +49(0)611 7103-0 | FAX 49(0)611 7103-133 | eckelmann.de
Version 2.03 27. Juni 2008
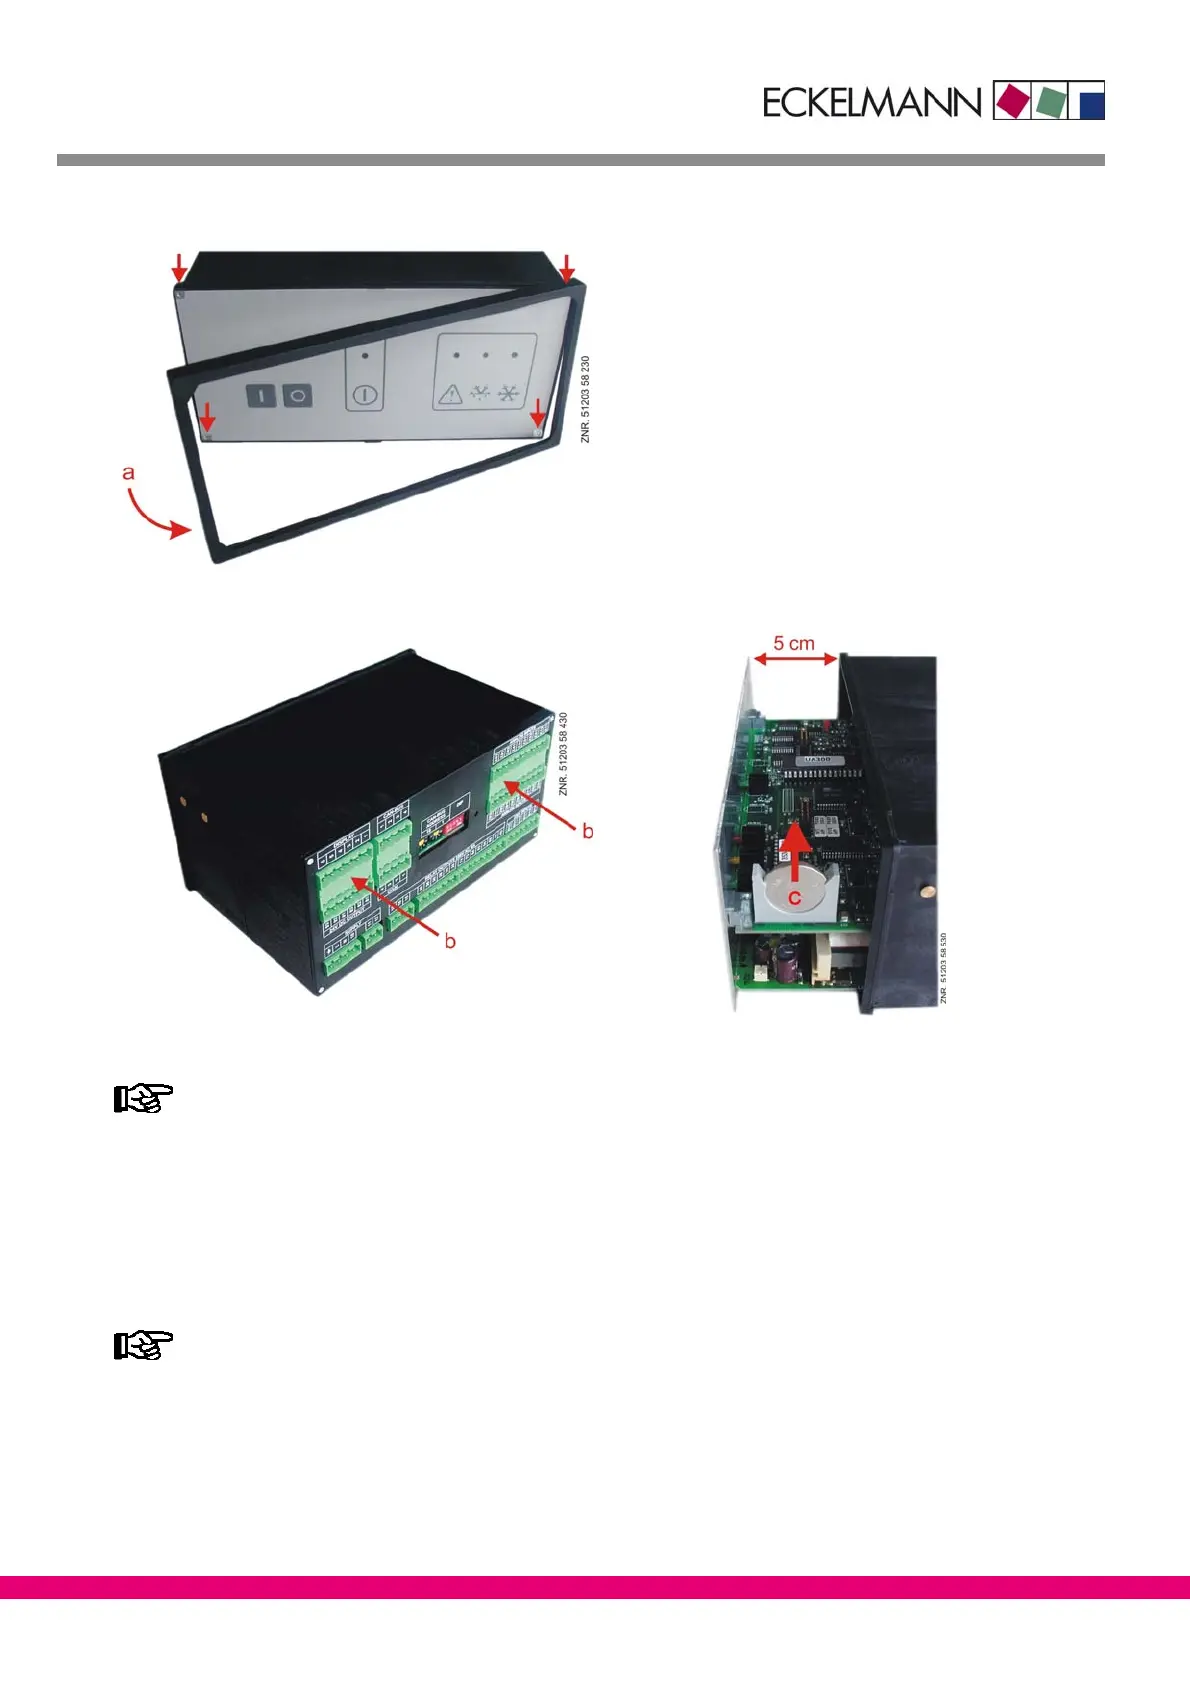
3. Carefully remove plastic frame (a) and undo the four corner screws.
4. Push unit out about 5 cm at front by pressing lightly on the rear connector (b).
5. Pull battery (c) up out of its holder and dispose of it in regulation manner.
− Do not grip the new battery with metal pliers,
as this may cause it to be destroyed by short circuiting:
− Do not touch the contact surfaces on the edges.
− Wipe with a clean and dry cloth.
6. Grip the new battery with a cloth and press it into place in its holder.
7. Re−assemble in the reverse order. Re−connect all connectors.
8. Turn on power to the refrigeration point to restore it to operational condition.
Messages or fault messages that are output on restarting the UA 300 D must be checked or cancel-
led on the CI 3000 Store Computer or AL 300 Operator Terminal!
9. Controller in CAN bus system (UA 300 D CC/CS/AC/AS): Provided there is no change of configuration
on the CI 3000 Store Computer or AL 300 Operator Terminal, the controller is automatically re−detected via
the CAN bus. Date, time and automatic daylight saving time change are set automatically by central time
synchronization.
10. Controller without CAN bus (UA 300 D TC/TS/AC/AS): Date, time and automatic daylight saving change
must be entered for data archiving (EU Archive).