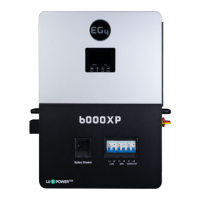
10
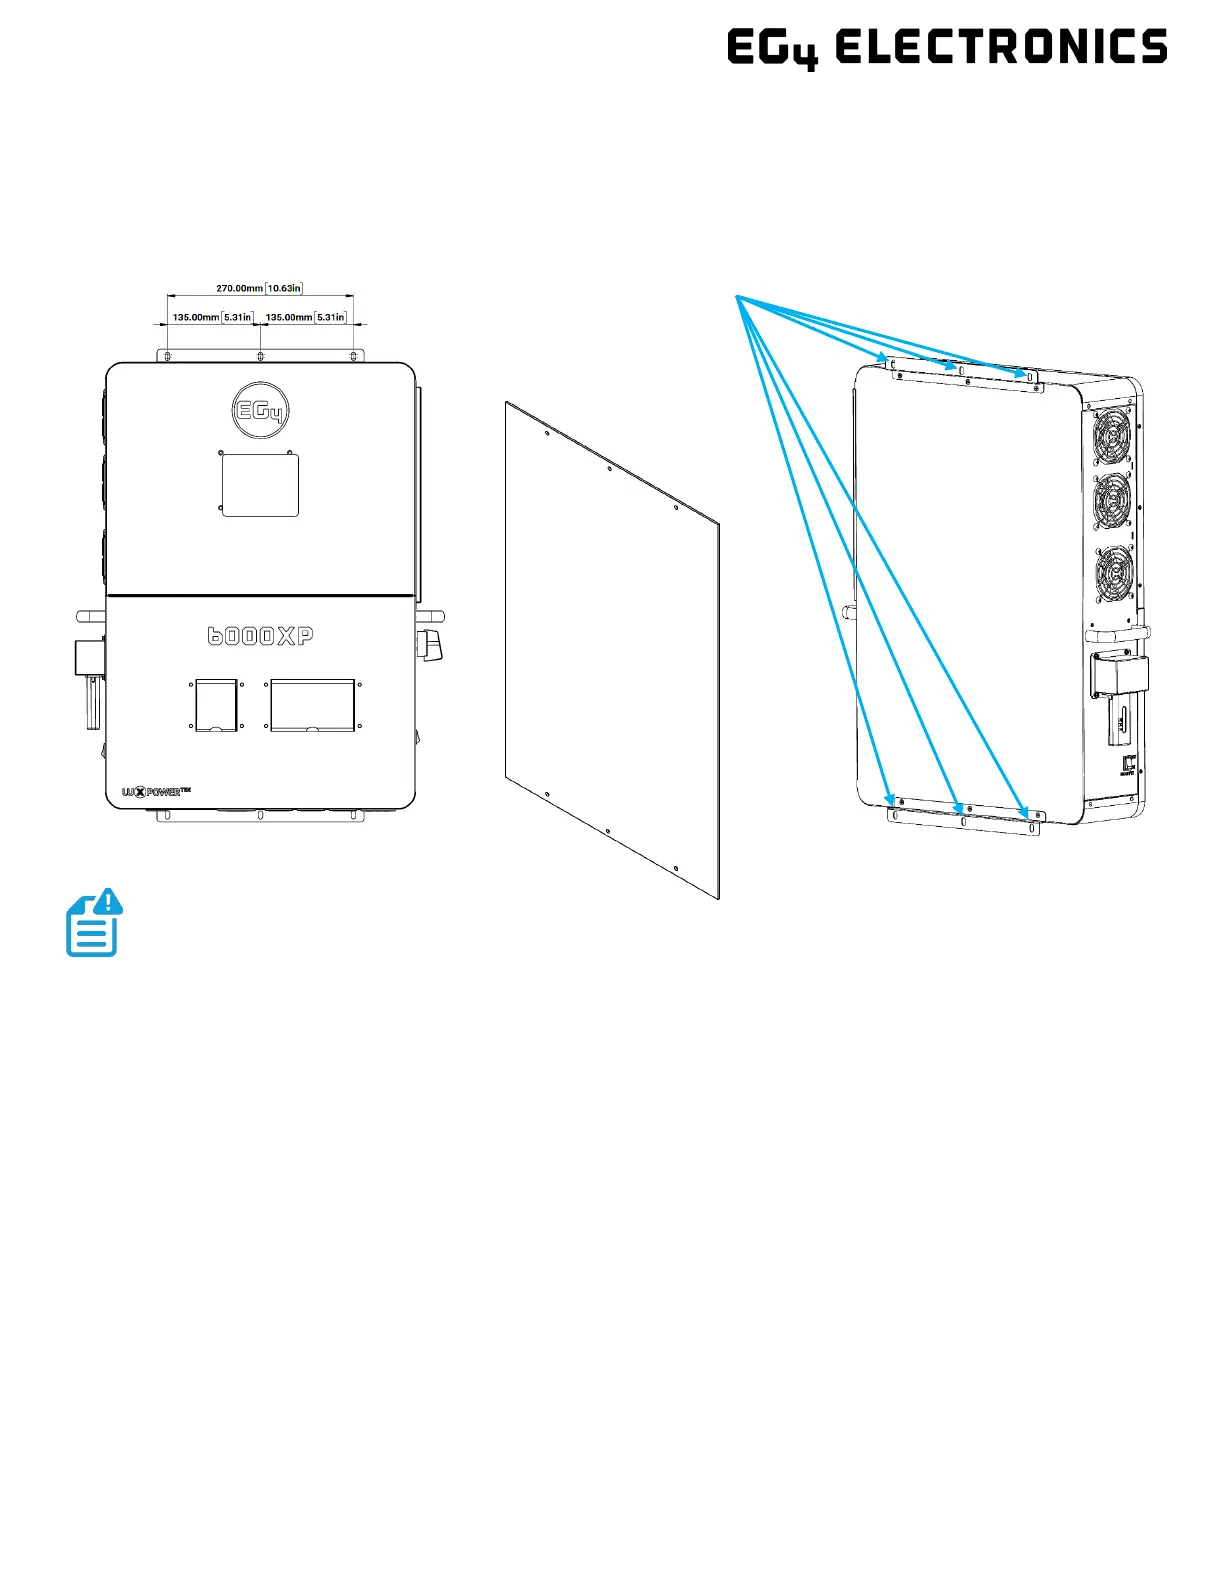
5.3.1 INSTALLING THE INVERTER
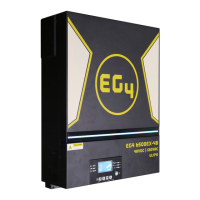
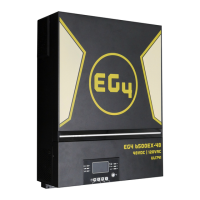
The inverter is designed to be wall-mounted and should be installed on a vertical,
solid, mounting surface, such as brick, concrete, or other non-combustible material.
Two or more people may be needed to install the inverter due to its weight (≈53 lbs.).
5.3.2 MOUNTING STEPS
1. Identify where the inverter’s final placement will be.
2. Use the included cardboard template to mark where the mounting screws will be
installed.
3. Using a ruler, ensure the top left to top right marks are ≈10.63in. apart, along with the
bottom left to bottom right marks.
4. Using a ruler, ensure the top left to bottom left marks are ≈26.2in., along with the top
right to bottom right marks.
5. Place the inverter over the holes to ensure they line up with the bracket plate. Upon
confirmation, proceed to the next step.
6. Drill 5/16 in. (8 mm) diameter holes on the marks, making sure the holes are deeper
than 2 in. (50 mm).
7. Insert the expansion bolts into the drilled holes.
8. Use the corresponding nuts and washers (packaged together with the
expansion bolts) to install and ax the inverter onto the wall. Use the
team-lift technique to ensure the users’ safety.
Ensure the surface the inverter is being mounted to is able to support the
weight of the unit and has proper spacing as per the diagram on the previous page.