20
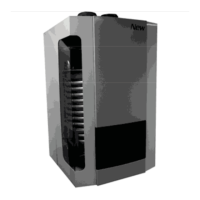
Installation
Cascade oor standing in line
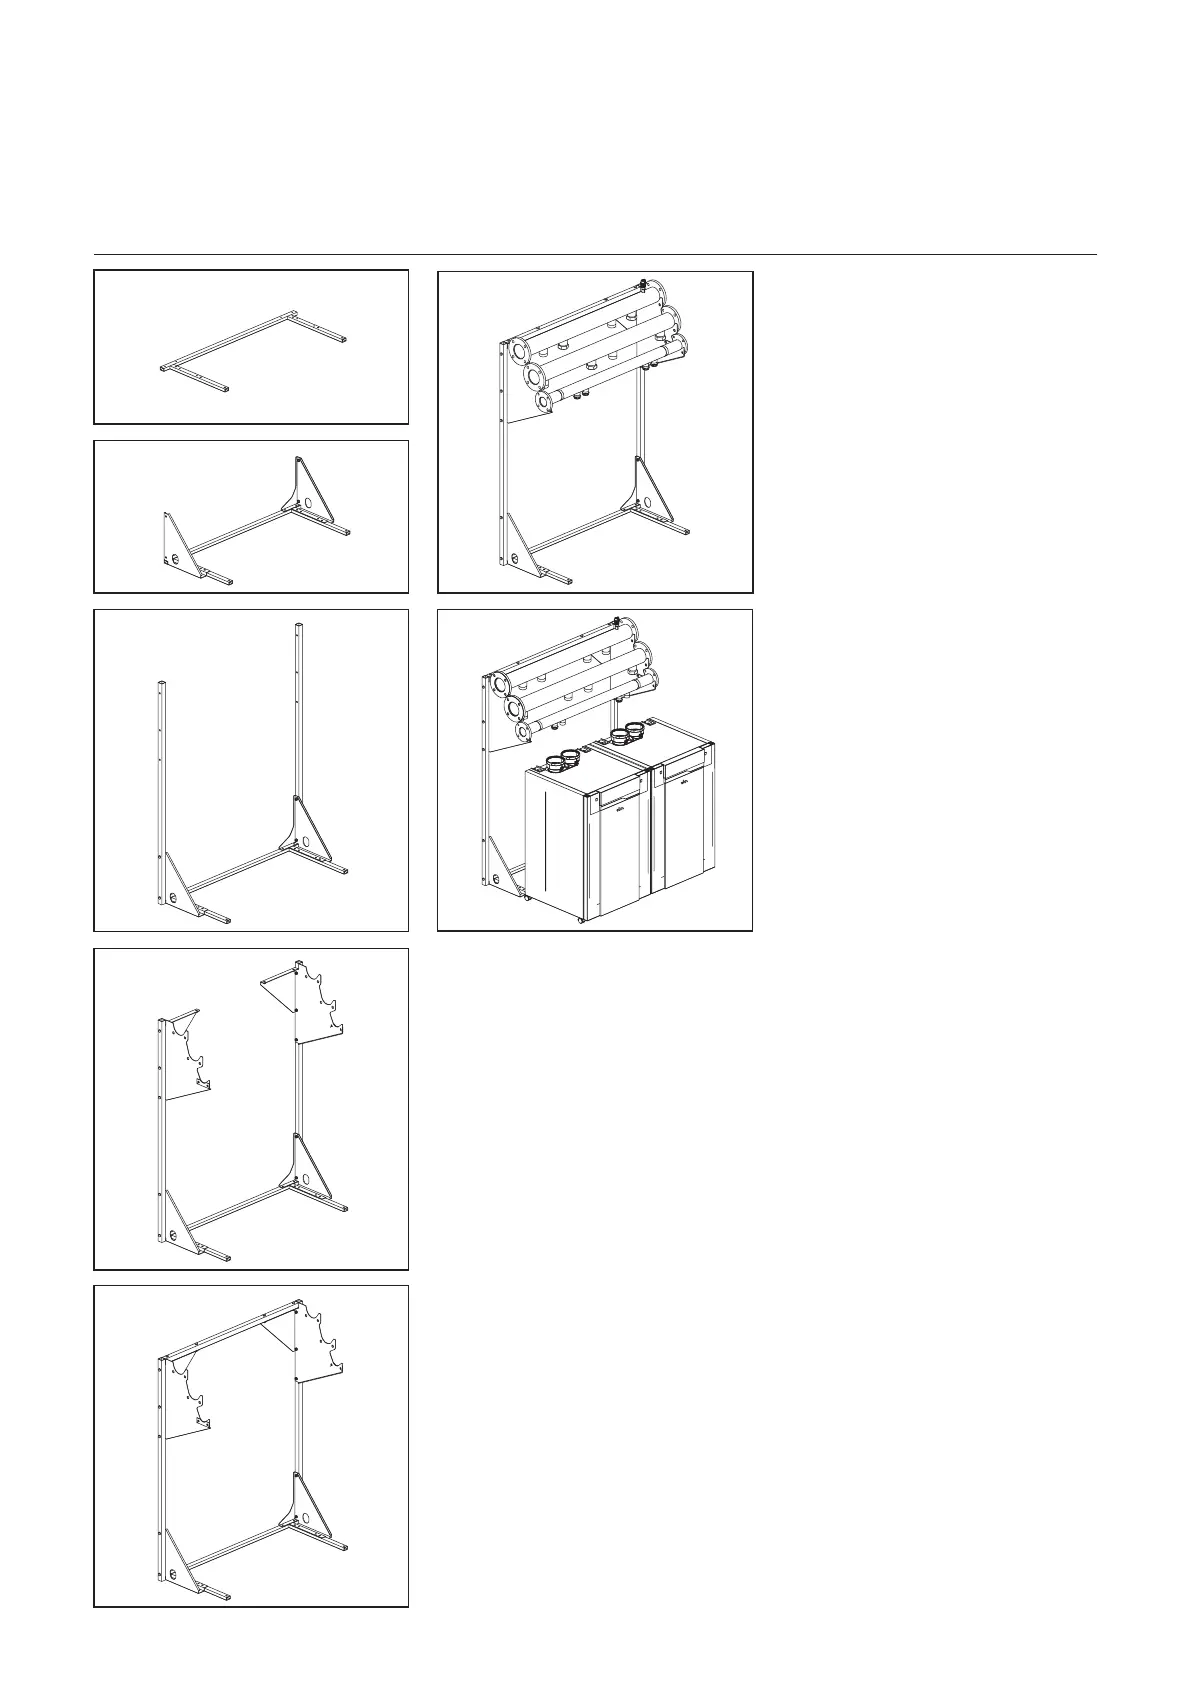
Floor standing rack assembly
1. Positionthelowerbeamonthe
ground in the required location.
2. Fitthelowerbracketsonthelower
beamusingthesuppliedM8bolts,
spring washers and nut.
3. Fit the vertical columns on the lower
bracketusingthesuppliedM8bolts,
spring washers and nut.
4. Fittheupperbracketsonthe
vertical pale using the supplied M8
bolts,springwashersandnut.
5. Fittheupperbeamontheupper
bracketsusingthesuppliedM8
bolts,springwashersandnut.
Attention: once in the correct and
nal position, the oor standing
rack has to be xed on the ground.
Collector assembly
6. Placetheowwatercollectorsin
the upper recess.
7. Place the return water collectors in
the middle recess. Couple the water
lines using the supplied DN100
gaskets,M16bolts,springwashers
and nuts.
8. Place the gas collectors in the lower
recess. Couple the gas lines using
the supplied DN65 gaskets, M12
bolts,springwashersandnuts.
Boiler positioning
9. Movetheboilerinfrontoftheoor
standing rack. Once connected the
boilerwithdedicatedconnectionkit,
pushthefourbrakestoblockit.
1
3
4
5
6-7-8
9
2