4.5 The cooling water supply is provided
The analyser must be cooled with water during operation. When establishing the water supply for
the device, please observe the relevant instructions on the water connections of the device. The
directions of the water flow are clearly marked there. There are two options for the cooling:
1. supplied heat exchanger or
2. a heat exchanger provided by a third party.
The following requirements are placed on the water supply:
▪ Drinking or industrial water
▪ Water temperature ≤ 15°C
▪ Water pressure 2...6 bar
▪ Flow rate 7-10 l/min.
▪ Inline filter ≤ 0.3 mm
▪ pH value 7-8.5
▪ No biological or chemical contamination. Any solids must be removed via an inline filter.
The water supply for the device is established as follows:
1. Please make sure that no water is able to flow (switch off cooling devices, switch off the
device itself, close the water taps).
2. Connect the water connections of the device (please see „Rear side of the analyser “) with
the selected heat exchange device. For details, please refer to the following two sections.
Please observe the direction of the water flow at this point. This is clearly visible on the
water connection of the device.
3. Select the heat exchanger in the software. For details, please see the software
instructions.
4. Check all water connections for any leaks.
The cooling water supply is now established.
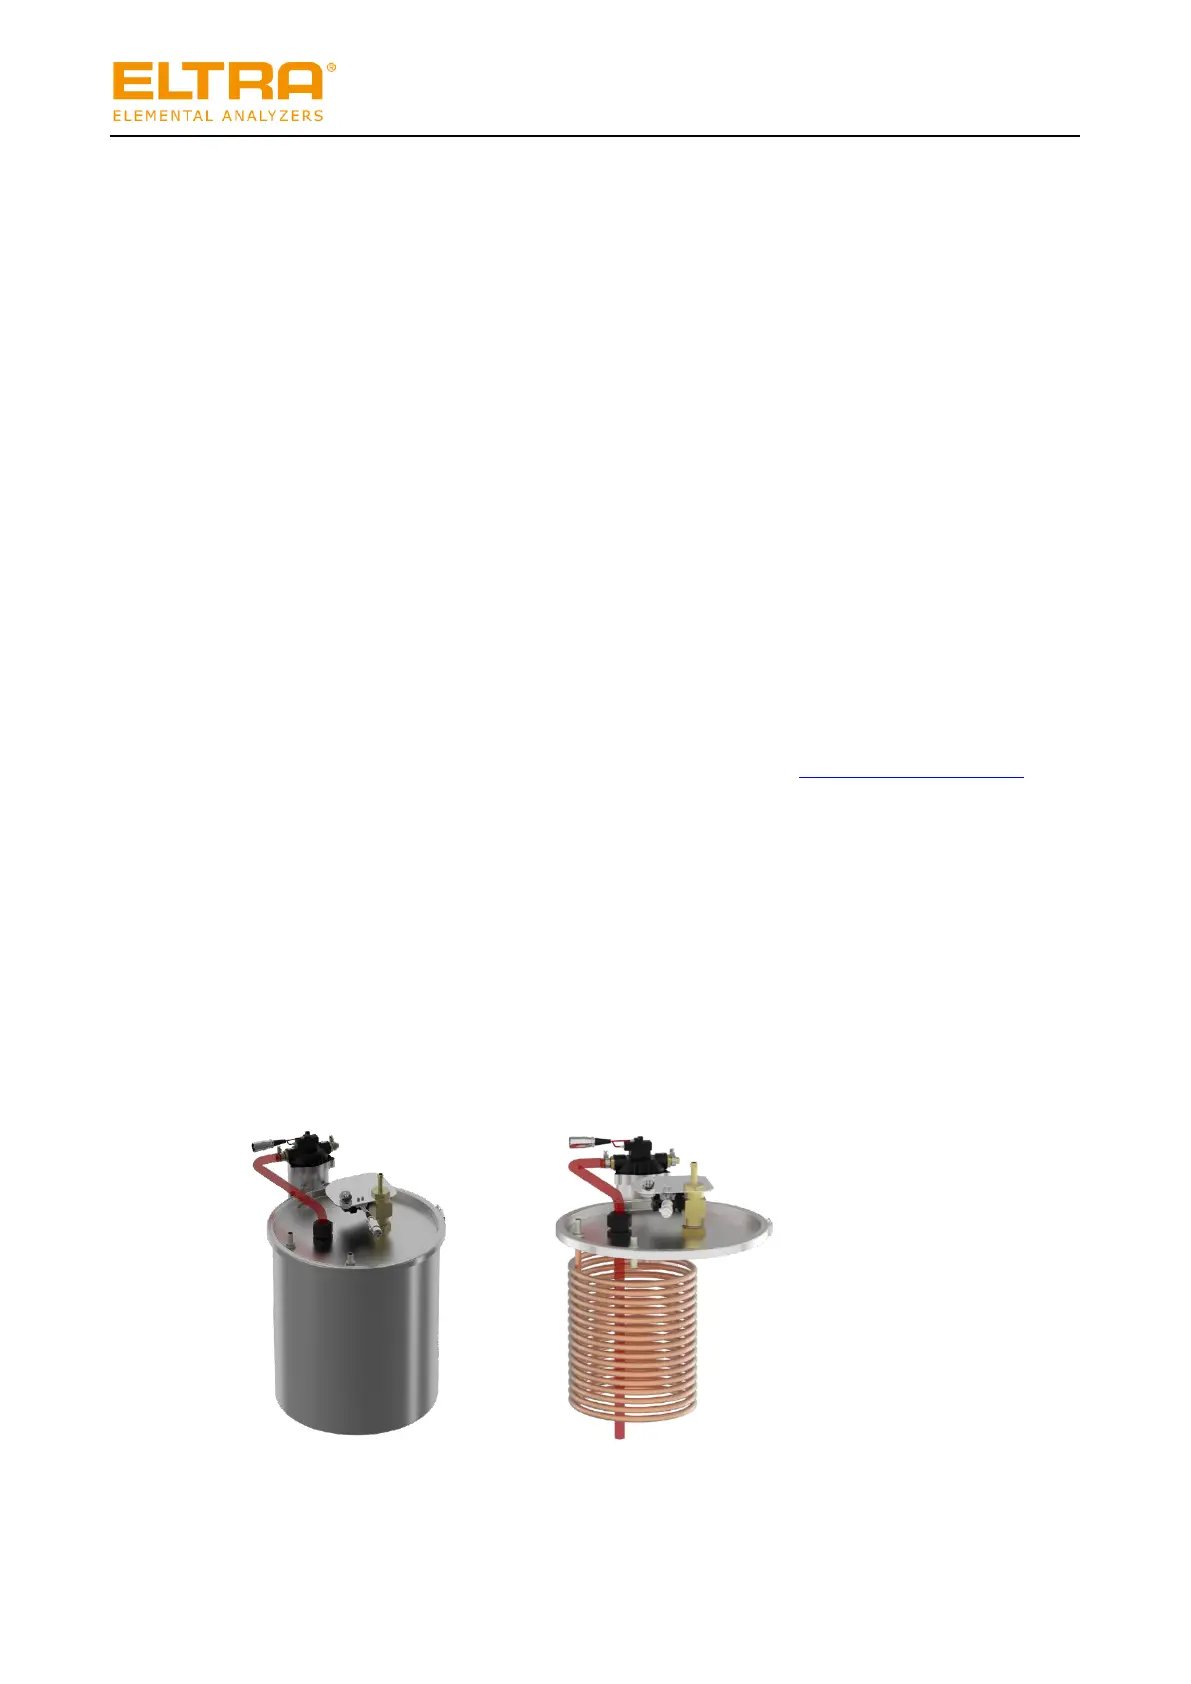
4.5.1 Connecting the supplied heat exchanger
1. Loosen the lid of the supplied heat exchanger and carefully put the lid to one side.
2. Fill the bucket with water to approx. 6cm below the edge.
3. Place the lid on the bucket and fix it in place
.