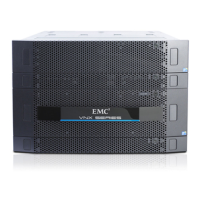
Introduction
5
Introduction
Audience
Although your VNX system is customer installable, EMC recommends that the installation be
performed by someone who has a general background in information technology. While prior
training is not required, customers who successfully installed this product were trained as either:
◆ EMC Proven Professionals
◆ Microsoft Certified Technology Specialists
◆ Cisco Certified Network Associates
◆ CompTIA A+ certified technicians
Your service provider offers a variety of installation and implementation services designed to
assist you in putting your VNX system into production as quickly and efficiently as possible.
Contact your sales representative to take advantage of these service offerings.
Shipping Methods
There are two ways in which the product is packed and shipped to you. It will be shipped
completely-installed and cabled in an EMC cabinet or it will be shipped in multiple boxes for
installation into a customer-provided cabinet.
Overview of installing in an EMC cabinet
If your system was shipped in an EMC cabinet, the installation process involves the following
steps:
1. Read and complete the prerequisite tasks as described in “Before you begin” on page 7.
2. Unpack the shipping boxes and verify the shipping contents from the packing instructions on
the outside of the box as described in “Unpack your system” on page 9.
3. Verify cabling and connect the system to your network as described in “Cable your system” on
page 27.
4. Power up your system and verify that the system powered up correctly by checking the LEDs of
the Control Stations, blade enclosures, storage processors, standby power supply, and
disk-array enclosures as described in “Power up” on page 41.
5. Complete the tasks listed in “Set up” on page 59.