Assembling the DAEs
51
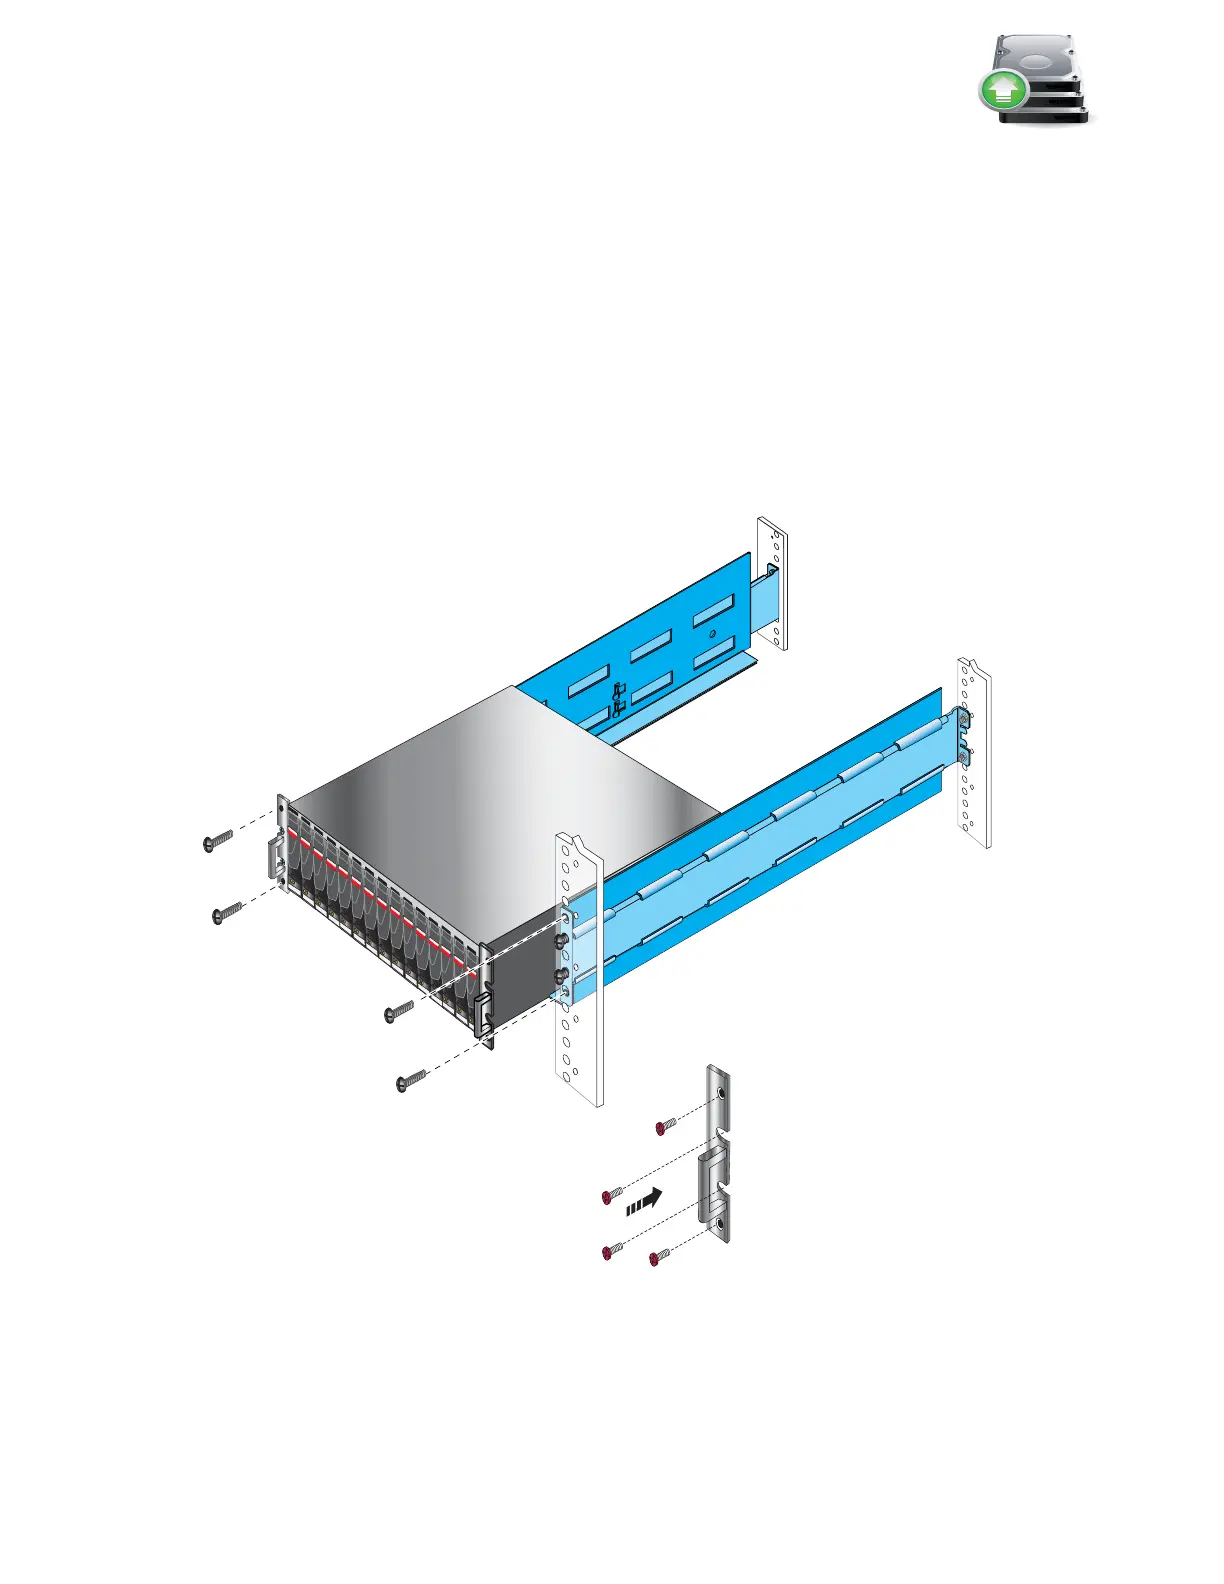
Install the DAE
1. Slide the DAE into the cabinet until the tabs on the rails are inserted into the component.
Ensure that the enclosure is fully in the cabinet as shown in Figure 41. The rail stops in the
back will seat into the back of the enclosure at the correct depth, and the front of the
enclosure will be flush with the cabinet face.
2. Working in a diagonal pattern bottom left and top right, bottom right and top left, attach, but
do not tighten, the component by inserting the four screws through the component, the
cabinet and into the rail.
3. Repeat, as appropriate, with any other DAEs.
4. When the last DAE is attached, tighten all screws which hold the components in place
Figure 41 Installing a 3U DAE in the cabinet
SAS
SAS
SAS
SAS
SAS
SAS
SAS
SAS
SAS
SAS
SAS
SAS
SAS
SAS
SAS
R
VNX-000152
Right side bracket
Through rack, through rail
Through component, through rack, through rail
Through component, through rack, through rail
Through rack, through rail
Front