5-22 • Site Supervisor Controller User Guide 2.0 026-1800 Rev 3 02-AUG-2016
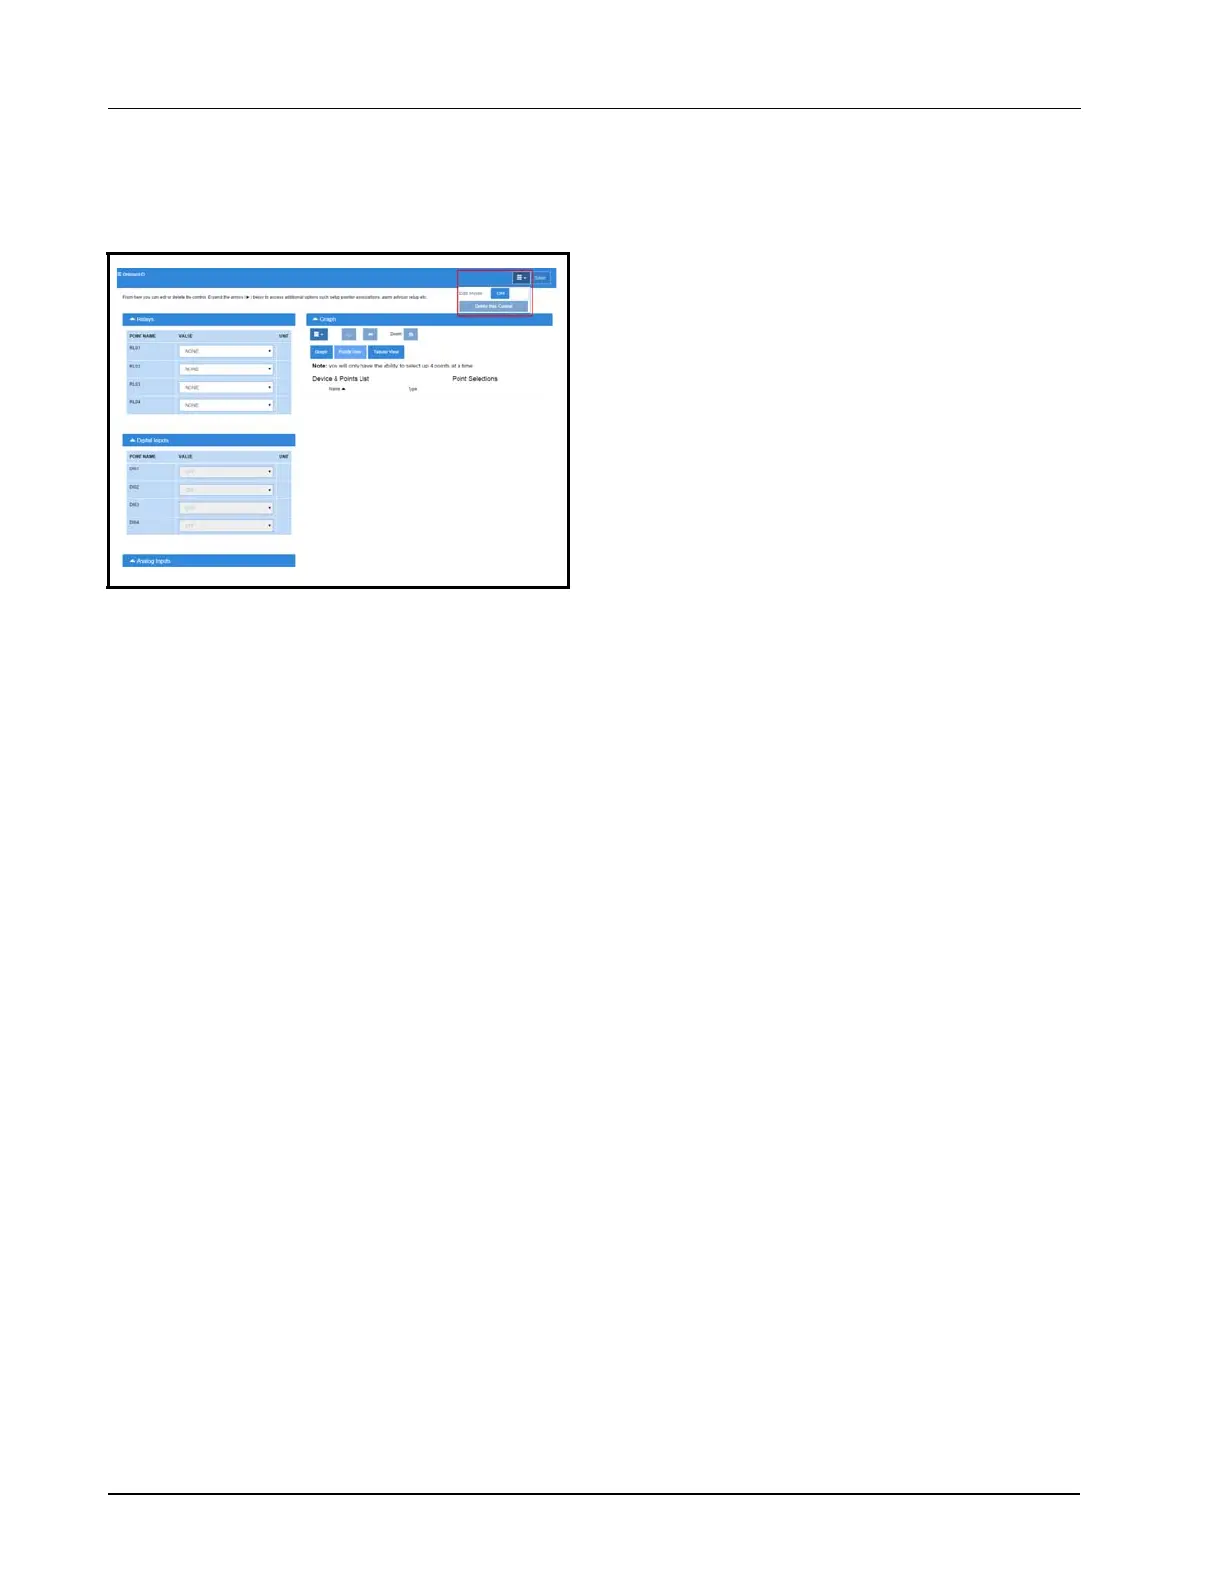
The Onboard I/O properties can be configure by
setting the Edit Mode to ON on the screen drop-down
menu on the upper right side of the screen.
5.9.4 Alarming
The alarm Read Data Failed AI# is generated if
sensors are configured but disconnected.
If the advisory is reset, and the alarm/notice condition
still exists, the delay period is honored.
Advisories returns to normal if the command value
stays in the non-alarm/notice condition.
5.10 XR75CX 5.6
The XR75CX is a microprocessor based controller,
suitable for applications on medium or low temperature
ventilated refrigeration units. It has four (4) relay outputs
to control compressor, fan, and defrost, which can be
either electrical or reverse cycle (hot gas) and light
(configurable).
It can also have up to four (4) NTC, CtC (EU or US
type) probe inputs. The first probe is used for temperature
control. The second probe is used to control the defrost
termination temperature at the evaporator. One of the two
(2) digital inputs can operate as a third temperature probe.
The fourth probe is used to control the condenser
temperature (for condenser alarm management) or to
display a temperature value. Set the PbC parameter to CtC
to support standard Emerson Retail Solutions temperature
sensors (factory default).
The controller is fully configurable through special
parameters that can be easily programmed through the
keyboard.
How To Add an XR75CX 5.6 Device on the Site
Supervisor:
1. From Home screen, navigate to Main Menu>
Summaries and Floor Plans> Site Summaries>
Refrigeration, click the screen drop-down arrow
on the upper right of the screen, click Add
Controls.
2. Select the Control or Application Type -
XR75CX 5.6, enter the Quantity, Control Name
and Serial Type. Note that Serial Type
information can be enter later. Click Save to add
the application.
3. A Confirmation box will appear saying that the
application is successfully added to the system,
click Close or Edit these controls.
4. The system will display the new application(s) on
the Site Summary screen.
5. Click the XR75CX 5.6 application panel box to
view the application.
6. The system will display the XR75CX 5.6
application parameters.
7. The user can view and configure the properties of
the application by setting the Edit Mode to “ON”
on the screen drop-down arrow on the upper right
of the screen.
Figure 5-5
- Onboard I/O Detail Screen