CadJet 3D Service Manual
ASSEMBLY/
DISASSEMBLY
Assembly\Disassembly 5-29
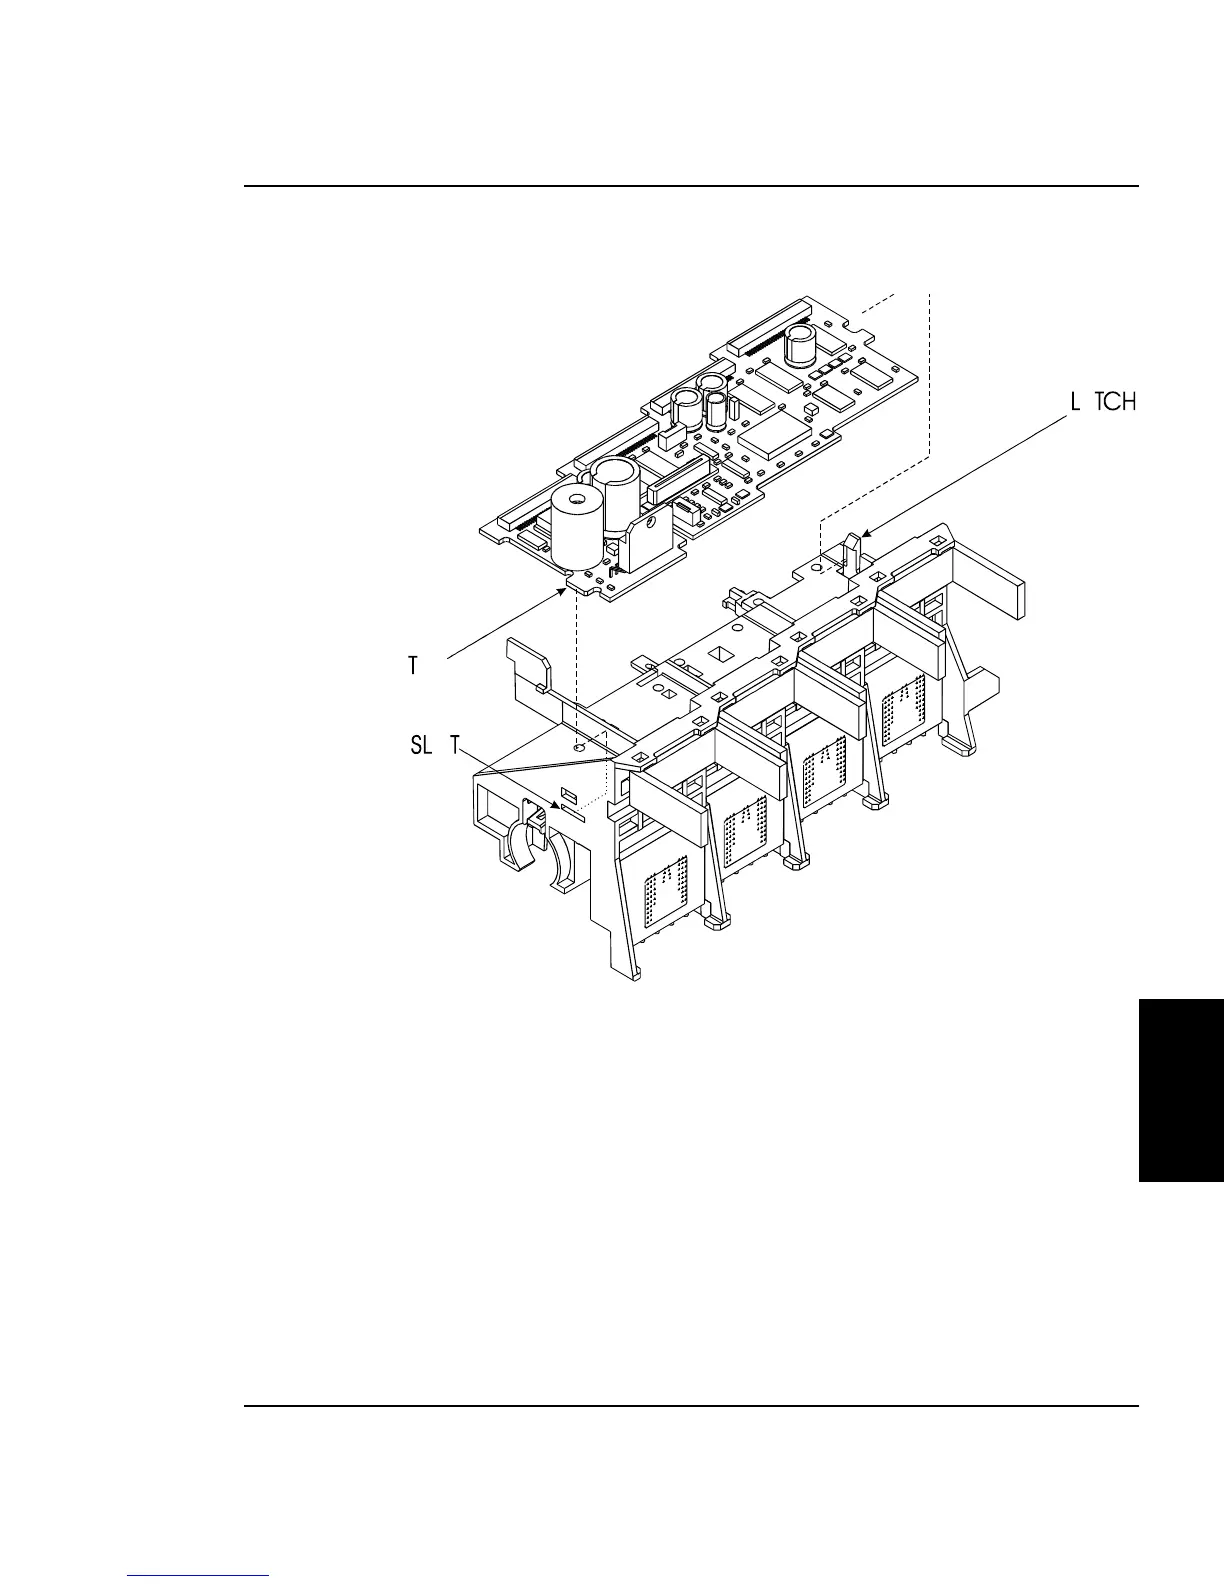
Figure 5-15. Carriage PCB Removal/Installation.
4. Unlock the latch on the right end of the Carriage Assembly and
lift up the right end of the Carriage PCB. See Figure 5-15.
5. Slide the Carriage PCB to the right to remove the tab on the left
end of the Carriage PCB from the slot in the Carriage Assembly.
 Loading...