Installation and commissioning PlasmaQuant 9100 (Elite)
30
The device may only be set up, installed and repaired by the customer service depart-
ment of Analytik Jena AG
or by persons authorized by Analytik Jena AG.
When installing and commissioning your device, observe the information in the "Safety
instructions" section. Compliance with these safety instructions is a requirement for the
error-free installation and the proper functioning of your measuring station. Observe all
warnings and instructions that are attached to the device itself or displayed by the con-
trol and analysis program.
To ensure trouble-free operation, please make sure that the installation conditions are
observed.
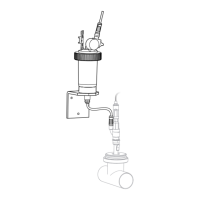
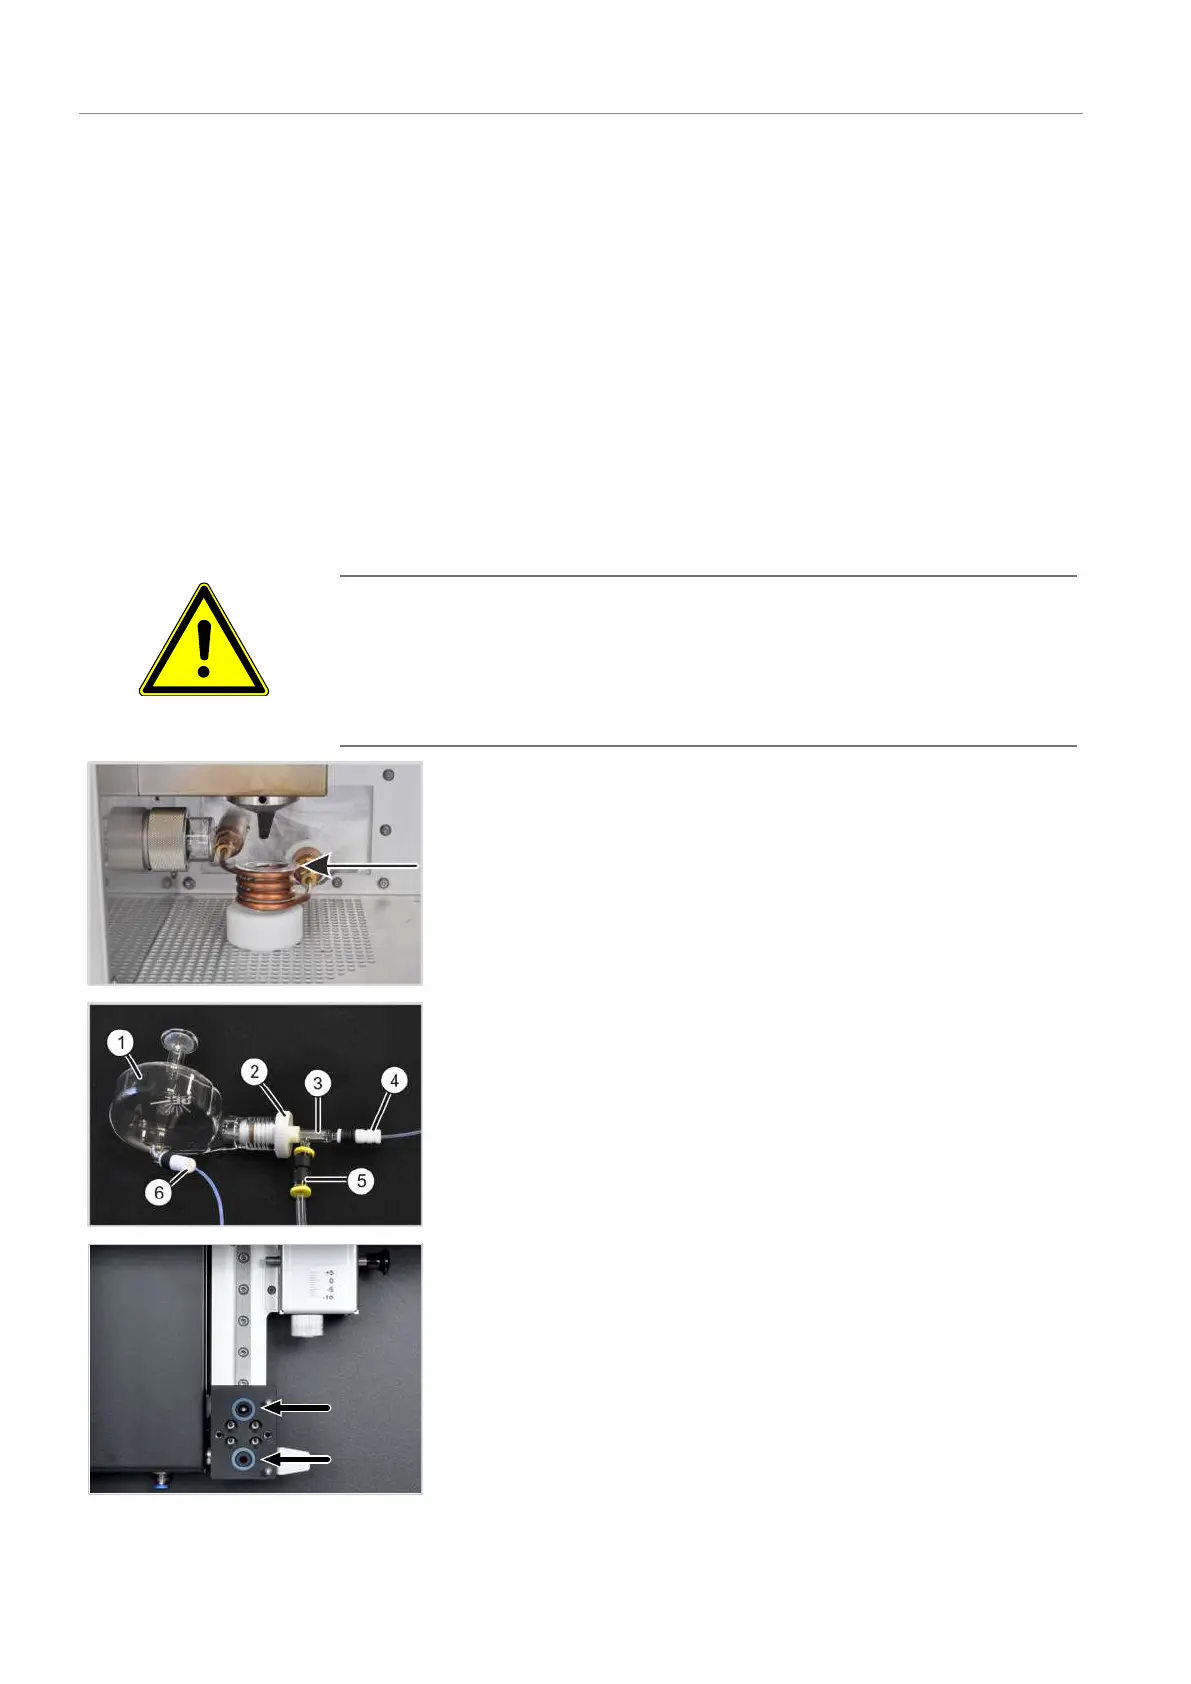
4.2.1 Installing the sample supply system
The systems for sample supply, the torch and the nebulizer with spray chamber and the
sampler must be installed by the customer during maintenance.
CAUTION
Risk of injury
A risk of injury due to broken glass is present when handling glass parts.
¡ Handle glass parts with extreme caution.
} Place the bonnet in the induction coil. The beveled edge of the bonnet
must rest on the topmost coil winding.
} Attach the sample hose (4) and the carrier gas hose (5) to the nebulizer.
} Loosen the plastic nut (2) on the spray chamber (1). Push the nebulizer
(3) into the spray chamber as far as possible and tighten the plastic nut
hand-tight.
The connector to connect the carrier gas to the nebulizer should point
downward.
} Attach the waste hose (6) to the bottom connector of the spray chamber.
} Check on the carriage if the O-rings are in the gas connections.
(The O-rings can stick to the torch holder when the torch is removed).
 Loading...