PlasmaQuant 9100 (Elite) Installation and commissioning
37
4.4 Installing other accessories
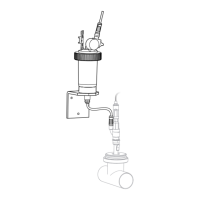
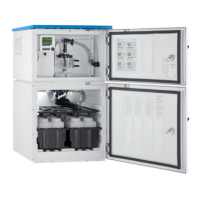
4.4.1 Coupling the Teledyne Cetac ASX-560 sampler with other accessories
The following instructions describe connecting the Teledyne Cetac ASX-560 sampler
with the Teledyne Cetac SDX(HPLD)
dilution system and the Cetac ASXPress Plus
switching valve, and connection to the emission spectrometer.
When supplied together with the emission spectrometer, the accessories are commis-
sioned together with the basic device. The operator is only required to perform installa-
tion if the accessories were ordered and supplied individually.
Details descriptions for installing the accessories can be found in the corresponding user
manuals.
Connecting the sampler and
the dilution system
} Connect the sampler and the dilution system via the following interfaces and connect
them to the power grid:
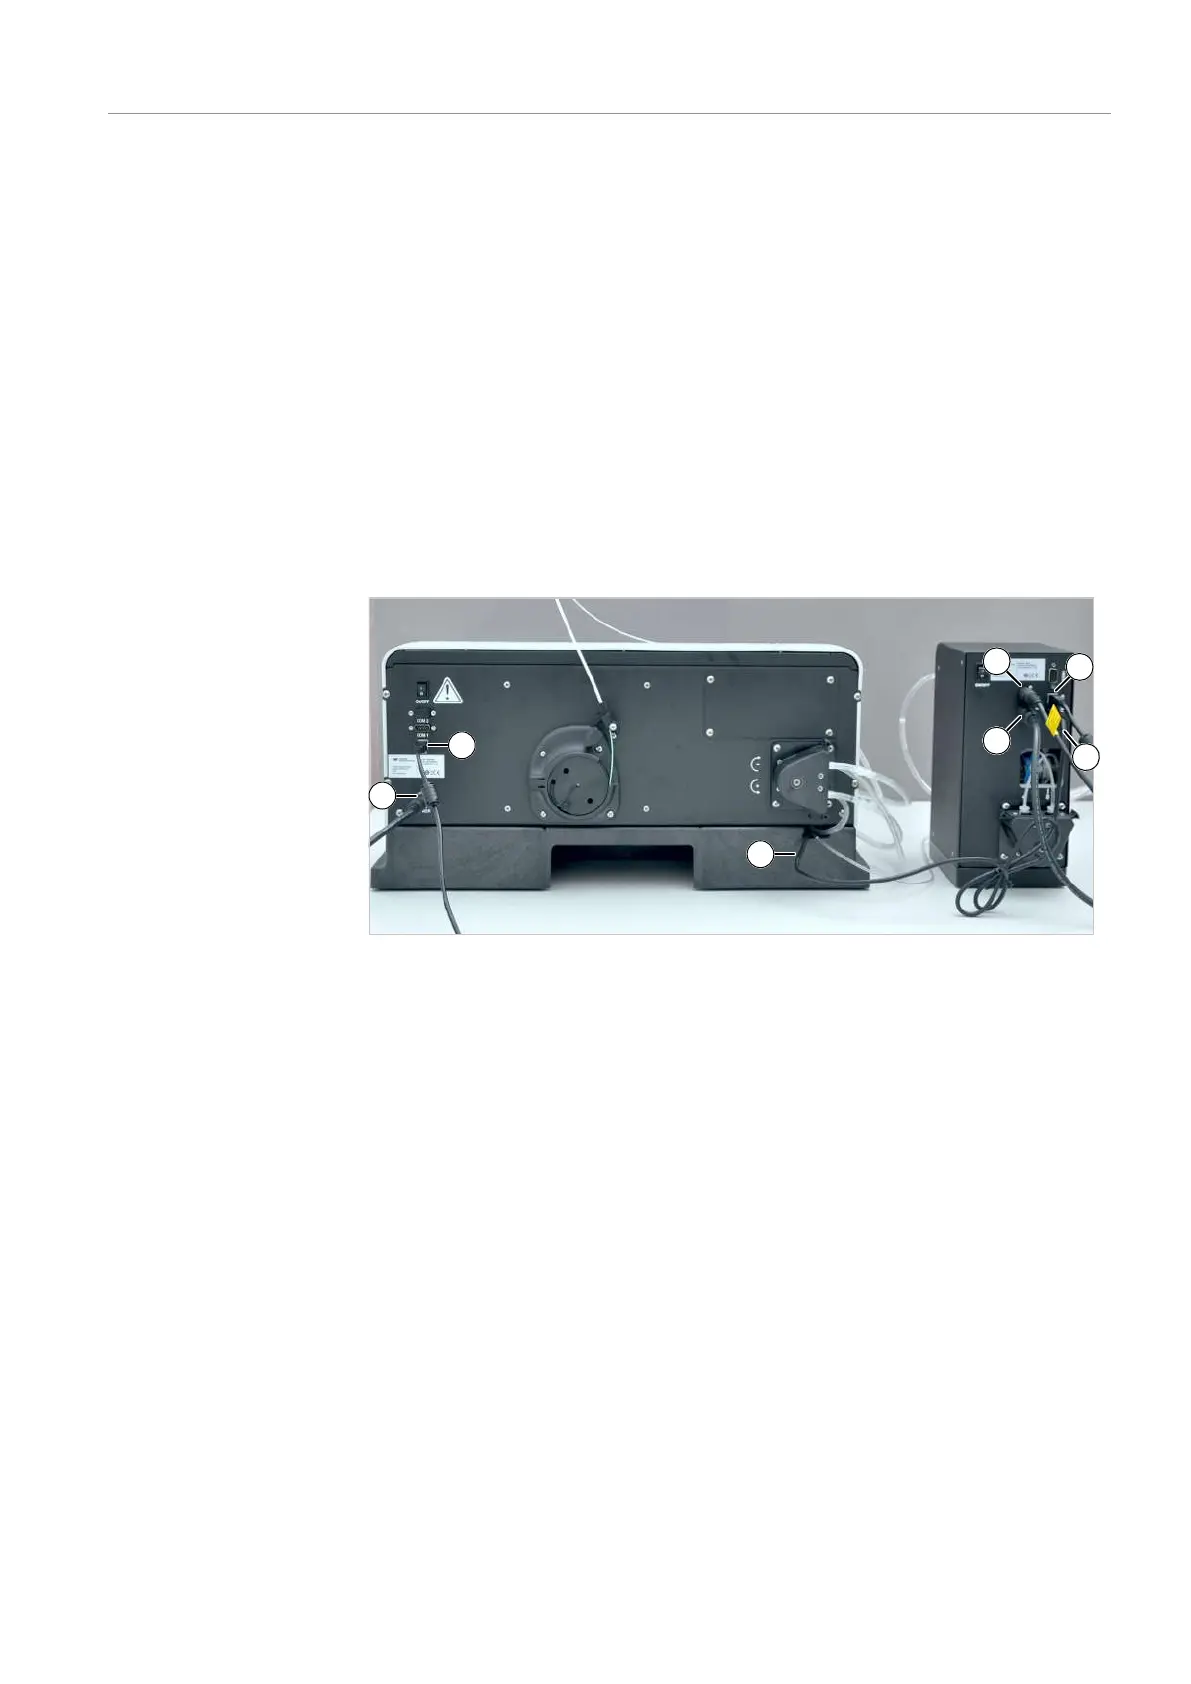
Figure20Connecting the sampler and the dilution system
Connections on the rear of the sampler:
1 Sampler power supply
(via dilution system)
2 USB interface to PC (via hub)
3 Vortexer cable
(to dilution system)
Connections on the rear of the dilution system:
4 Dilution system power supply 5 Sampler power supply connection
6 USB interface to PC (via hub) 7 Vortexer cable connection
} Connect the sampler and the dilution system with the control PC via a hub.
 Loading...