PlasmaQuant 9100 (Elite) Table of figures
87
Table of figures
Figure 1 Emission spectrometer, with opened plasma compartment ............................................................................. 14
Figure 2 Torch diagram with gas flows ............................................................................................................................. 15
Figure 3 Demountable torch .............................................................................................................................................. 15
Figure 4 One-piece torch.................................................................................................................................................... 15
Figure 5 Concentric nebulizer and spray chamber............................................................................................................ 16
Figure 6 Connections on the left device side..................................................................................................................... 17
Figure 7 Interfaces and fuses ............................................................................................................................................. 18
Figure 8 Gas and cooling water connections..................................................................................................................... 19
Figure 9 Plug-in connectors for gas connections.............................................................................................................. 19
Figure 10 Type plate ............................................................................................................................................................. 20
Figure 11 Device rear............................................................................................................................................................ 20
Figure 12 Plasma compartment........................................................................................................................................... 21
Figure 13 Sample chamber................................................................................................................................................... 21
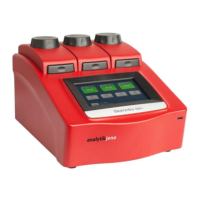
Figure 14 ASPQ 3300 sampler ............................................................................................................................................ 22
Figure 15 Spatial requirements (view from front).............................................................................................................. 29
Figure 16 Spatial requirements (view from above) ............................................................................................................ 29
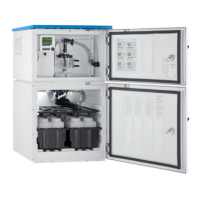
Figure 17 ASPQ 3300 sampler ............................................................................................................................................ 33
Figure 18 Connection panel on the right side of the sampler............................................................................................ 34
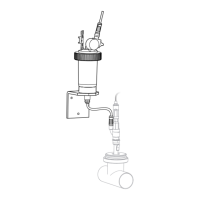
Figure 19 Purging vessel and pump on the sampler........................................................................................................... 34
Figure 20 Connecting the sampler and the dilution system............................................................................................... 37
Figure 21 Control PC connection via hub............................................................................................................................. 38
Figure 22 Hose connections on the dilution system........................................................................................................... 38
Figure 23 Connecting the switching valve control unit....................................................................................................... 39
Figure 24 Connecting the hoses to the switching valve ..................................................................................................... 39
Figure 25 Autosampler page, Dilute tab ............................................................................................................................. 40
Figure 26 Installing the temperature-controlled spray chamber....................................................................................... 42
Figure 27 Installing the argon humidifier............................................................................................................................ 43
Figure 28 Installing the inline filter ..................................................................................................................................... 44
Figure 29 Fit of the ferrule in the banjo bolt....................................................................................................................... 44
Figure 30 Nebulizer cleaning tool........................................................................................................................................ 66
Figure 31 Plug-in connectors for gas connections.............................................................................................................. 67
Figure 32 Connections for argon and oxygen ..................................................................................................................... 68
Figure 33 Device fuses.......................................................................................................................................................... 71
Figure 34 Replacing the cannula and sample hose of the sampler ................................................................................... 73
Figure 35 Cannula and sample hose of the sampler (disassembled) ................................................................................ 74
Figure 36 Purging vessel and pump on the sampler........................................................................................................... 75
Figure 37 Replacing the fuses on the sampler.................................................................................................................... 76