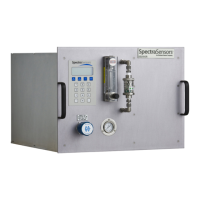
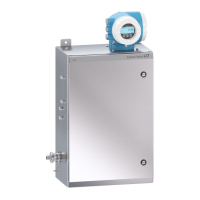
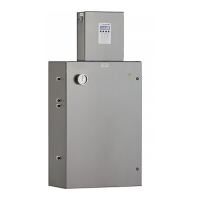
SS500/SS2000 Analyzer
B–4 4900002285 rev. B 3-25-20
The stainless steel mirrors have been identified with either an “X” engraved on
the external bottom side of the mirror or a groove around the rim of the mirror.
Glass mirrors can be used on any size cell. To determine the type of mirror
being used for the system cell:
1. Feel at the bottom of the cell for the engraved “X” marking or the
side of the mirror for a groove. Refer to Figure B–2 below.
a. If the bottom surface is smooth, a glass mirror is being used.
b. If the bottom surface is rough or engraved, or a groove on the
side of the mirror is detected, a stainless steel mirror is being
used.
Figure B–1 Measurement cell types
0.1 m CELL
0.8 m CELL
Figure B–2 Stainless steel mirror marking
MIRROR MARKED
WITH ‘X’
MIRROR GROOVED
RIM - SIDE VIEW
 Loading...
