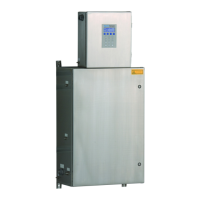
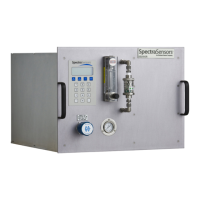
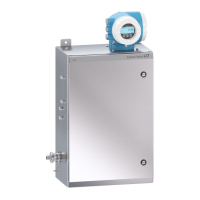
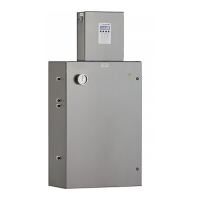
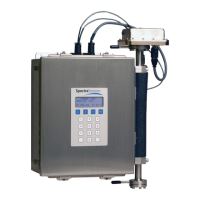
SS500/SS2000 Analyzer
B–6 4900002285 rev. B 3-25-20
3. If possible, purge the system with nitrogen for 10 minutes.
4. Carefully mark the orientation of the mirror assembly on the cell
body.
5. Gently remove the mi rror ass embly from the ce ll by removing the six
socket-head cap screws and set on a clean, stable and flat surface.
6. Look inside the sample cell at the top mirror using a flashlight to
ensure that there is no contamination on the top mirror.
7. Remove dust and other large particles of debris using a bulb blower
or dry compressed air/nitrogen. Pressurized gas duster products are
not recommended as the propellant may deposit liquid droplets onto
the optic surface.
8. Put on clean acetone-impenetrable gloves.
9. Double fold a clean sheet of lens cleaning cloth and clamp near and
along the fold with the hemostats or fingers to form a “brush.”
10. Place a few drops of isopropyl alcohol onto the mirror and rotate the
mirror to spread the liquid evenly across the mirror surface.
11. With gentle, uniform pressure, wipe the mirror from one edge to the
other with the cleaning cloth only once and only in one direction to
remove the contamination. Discard the cloth.
12. Repeat with a clean sheet of lens cleaning cloth to remove the streak
left by the first wipe. Repeat, if necessary, until there is no visible
contamination on the mirror.
13. For glass mirrors only, replace the mirror assembly onto the cell in
the same orientation as previously marked.
14. Make sure the O-ring is properly seated.
15. Tighten the 6 socket-head cap screws evenly with a torque wrench
to 13 in-lbs.
Careful marking of the mirror orientation is critical to restoring
system performance upon reassembly after cleaning.
Due to its proximity to the optical head, SpectraSensors does not
recommend cleaning the top mirror. If the top mirror is visibly
contaminated, contact your factory service representative.
Never rub an optical surface, especially with dry tissues, as this
can mar or scratch the coated surface.
 Loading...
