Envision One cDLM® User Manual
TS-MAM-EnvisionOneCDLMUserManual-V5.0-FN-EN , 2021-12-15
4. Tap Generate.
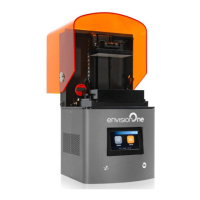
→ The following screen appears.
5. Make sure you have the UV protection glasses on and tap [OK] to proceed.
6. Connect your USB Light Sensor to the printer via USB cable.
→ The following screen appears.
Each box on the screen shown above corresponds to a spot of light that is projected onto the
calibration plate.
You can tap the required box to adjust its projection power or just tap [Next] to move to the next
7. Place the USB light sensor in the center of the light spot that is projected and tap [Next] to start adjustment
of projection power.
→ The Next button becomes Pause button.
→ The projection power is being adjusted.
→ The red Pause button becomes active, allowing to pause the adjustment of the current box.
8. Repeat step 7 for each of the remaining boxes.
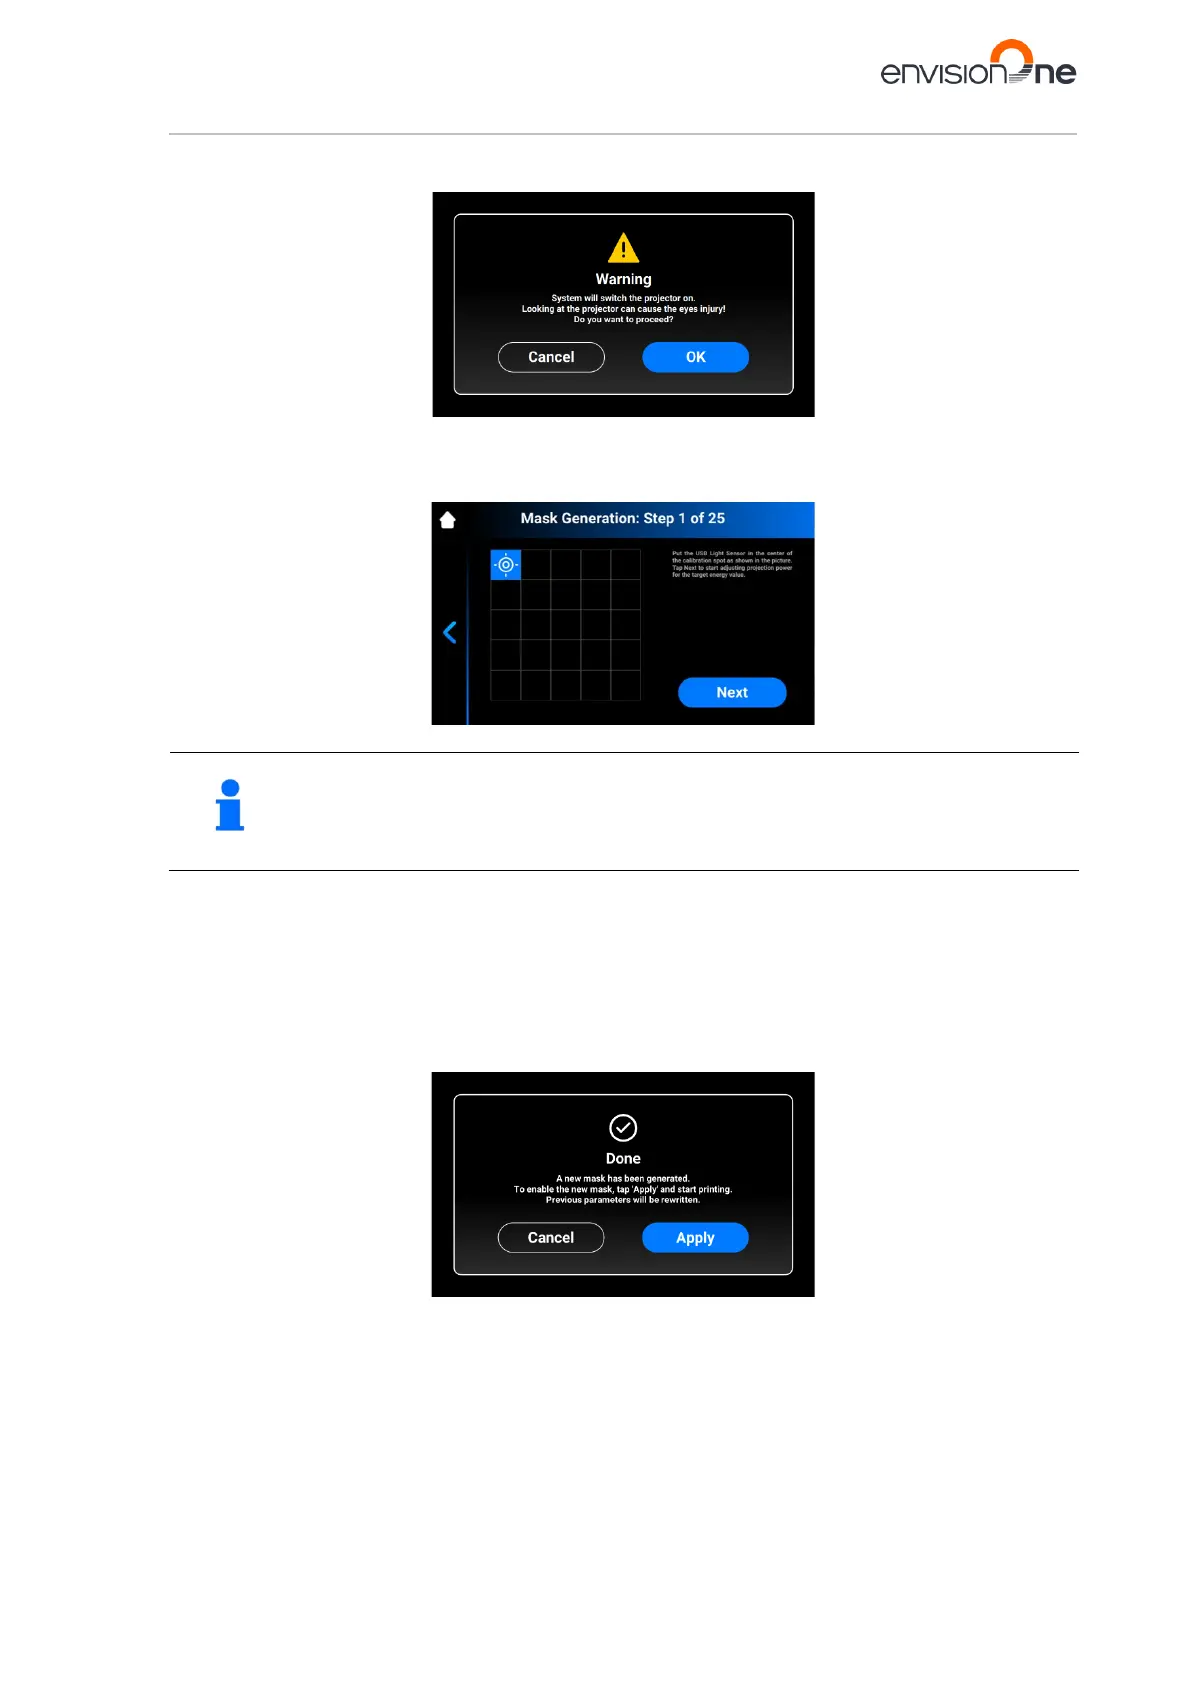
→ The following screen appears.
9. Tap [Apply] to save the newly generated mask and proceed working with the printer.
→ The newly generated mask has been saved.