Envision One cDLM® User Manual
TS-MAM-EnvisionOneCDLMUserManual-V5.0-FN-EN , 2021-12-15
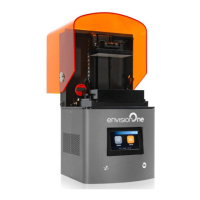
8.7 Job Settings Tab
This tab allows the user to check or change the printer settings.
Tap Settings |Job settings to open the tab.
The following settings are available:
• Check Image: function of image verification.
o [Yes] - all layers of the job are checked before starting the job.
o [No] - the layers are not checked before starting the job.
• Shutdown at the End: shutdown of the printer when the job is finished.
o [Yes] - the printer turns off automatically after completion of the job.
o [No] - the printer does not turn off after completion of the job.
• Use Compensation Mask: function of mask application.
o [Yes] - the mask is applied to the projected image.
o [No] - the mask is not applied to the projected image.
• Auto Exposure Debris: function of automatic exposure of the material tray to make cleaning the material
tray easier.
o [Yes] - the material tray is automatically exposed after the job has failed.
o [No] - the material tray is not exposed automatically when the job has failed. In this case, you
can manually perform the material tray exposure after the completion of the build process.
• Use DLP Table: function of DLP table application.
o [Yes] - the DLP table is used.
o [No] - the DLP table is not used.
• Move to Zero on Pause: function of build platform movement when the job is paused.
o [Yes] - the build platform moves to Zero position.
o [No] - the build platform stays at current layer of the job.
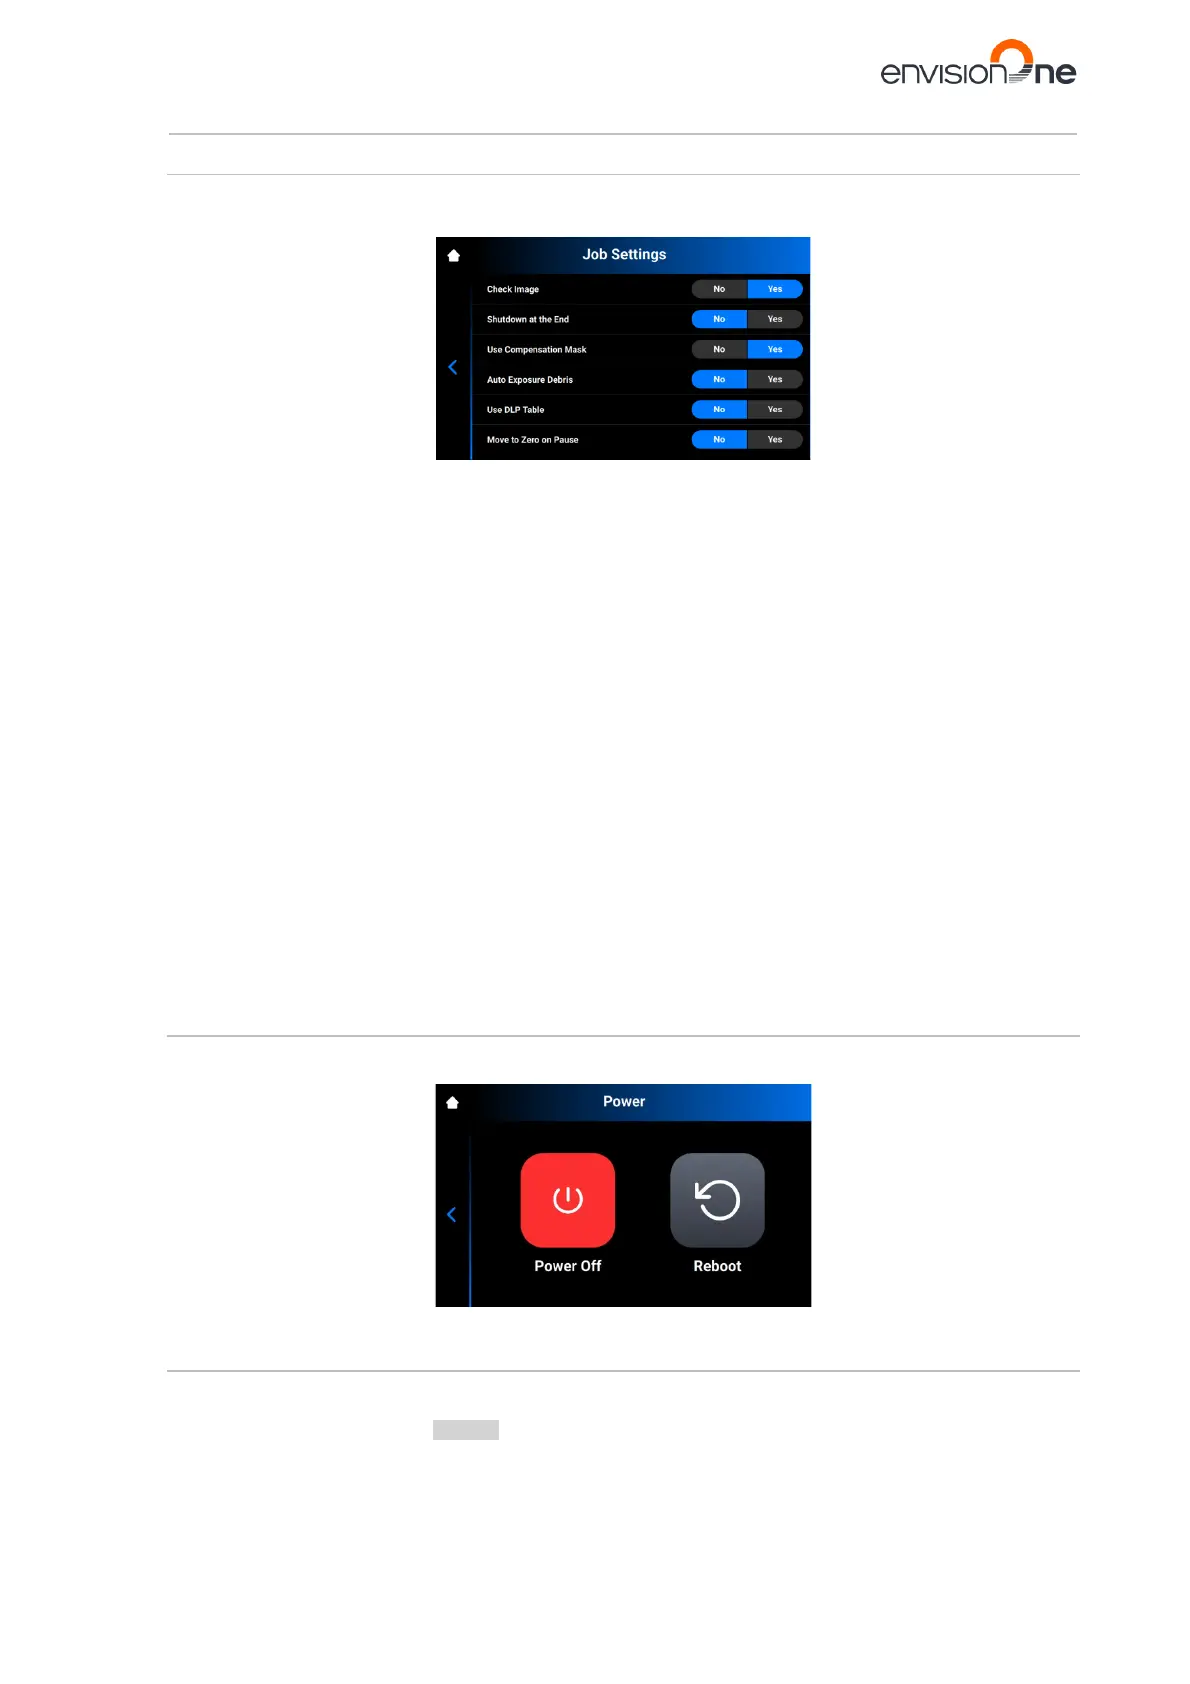
8.8 Power Tab
This tab allows for switching the printer of or reboot it when needed.
Tap Settings | Power to open the tab.
8.9 Ethernet Tab
This tab allows for setting the Network on Envision One printer.
Tap Settings | Ethernet to open the tab.
For detailed information, see the Network section of this User Manual.